DIY Bowstring Installation
By Jared Bloomgren, Rokslide Prostaff
The energy that a bow produces is transferred through the strings and cams and lastly to the arrow. Bowstrings and cables take a beating and having them replaced regularly will keep your bow shooting at its maximum potential. In this article, let’s talk about installing your own bowstrings. This is a very simple, easy-to-do project but it does require a specific tool in order to do so. This subject can get very deep into the weeds in a hurry but the main point will be a focus on just replacing the strings on any bow and getting the bow back into specifications.
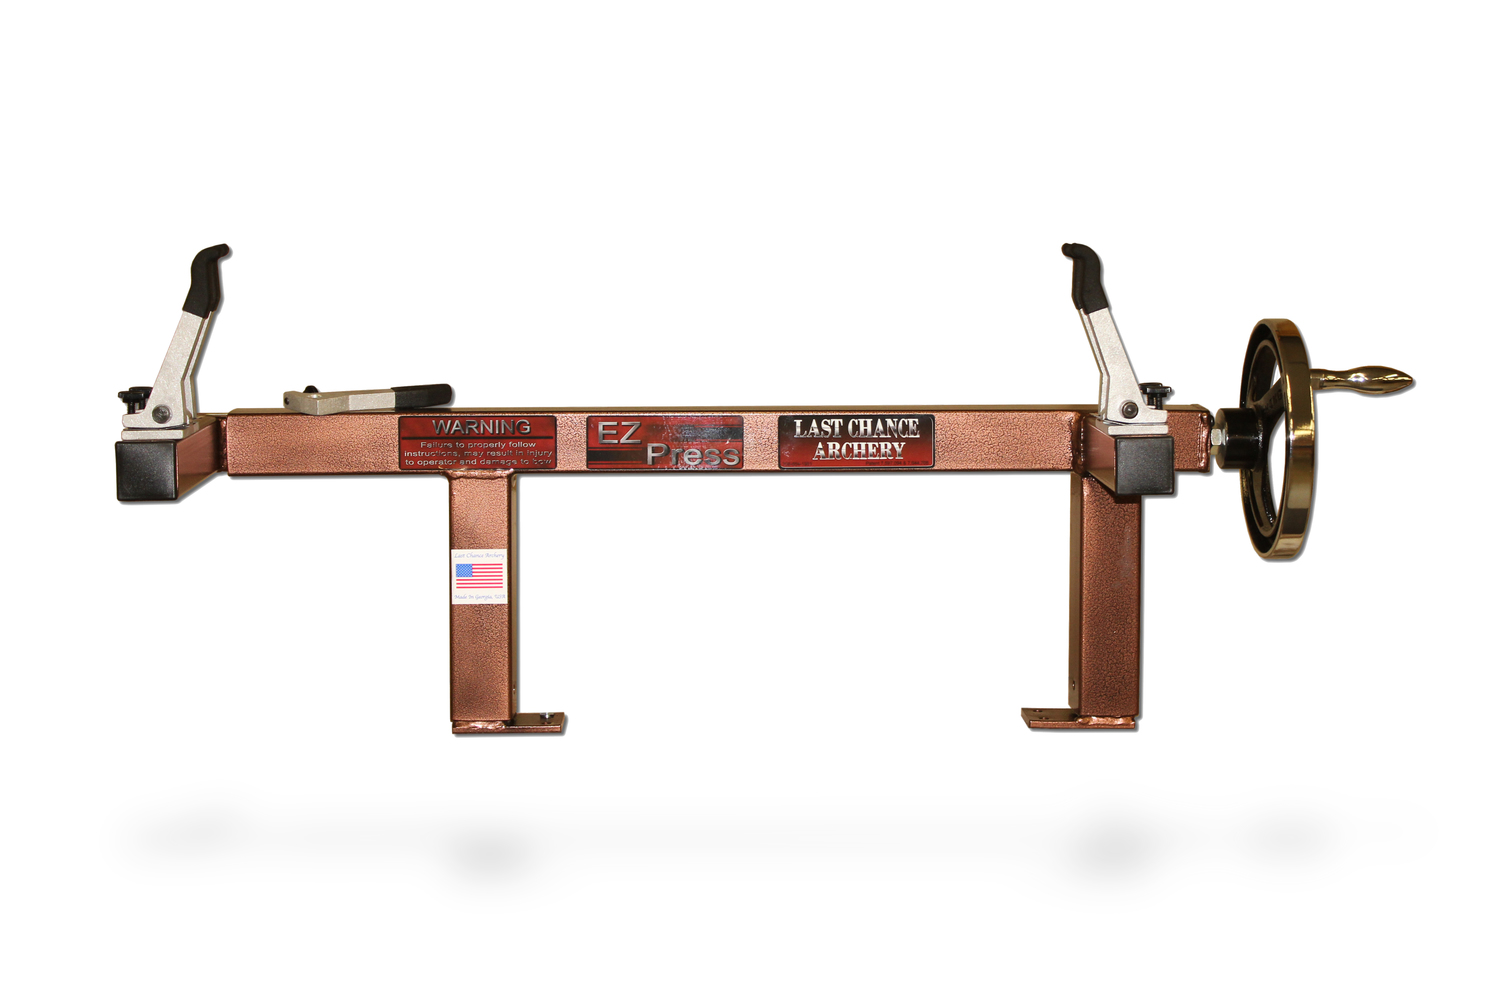
One such tool needed to replace strings is a bow press. There are many bow presses on the market today and finding a press that works best for your bow manufacturer is best. I work on various brands of bows and I have found that my bare bones Last Chance E-Z Press has worked great.

There are also many brands of bowstrings on the market today such as America’s Best Bowstrings, Winner’s Choice, First String, Fuse, and Zebra to name a few. Pay attention to the material used in the strings to help you decide on which strings to go with. Some companies offer different warranty levels and also guarantee no string twist, peep creep, stretch or serving separation. There is something to be said about spending a little extra to ensure that you don’t have movement with your strings. It could be the difference between taking an animal and not. Common materials used are the higher quality BCY 452X and 8190 blends.
Changing bowstrings involves more than just removing the old and installing the new. The strings will come pre-twisted to spec but getting the bow back into tune is very important. Strings will come secured with a paper clip to ensure the twist that was set isn’t lost.
Be sure to keep the strings from untwisting while installing. From the factory, the company twists the strings to spec but that isn’t to say they will be perfect when installing. Factory measurements need to be checked. Having the correct axle-to-axle length is one such measurement that is very important to getting your bow shooting great again. Having too long or too short of an axle-to-axle length measurement will hinder your bow from performing as expected and could even void warranty.
Each bow has specifications in which they were intended to perform. Most companies have the string/cable measurements on the limb or you can go to their website or call their customer service department to get measurements. This would include axle-to-axle and brace height measurements as well. In order to get the bow back within tolerable factory specs, sometimes it requires twisting or untwisting the strings or cables.
Here are some common things to remember when it comes to twisting and untwisting strings and cables:
1) Twisting cables adds weight while untwisting them removes weight, but the exact opposite is true with the strings. Twisting the string removes draw weight while untwisting the string adds draw weight.
2) Draw length adjustments should be done with cam setting primarily but if needing to make small tweaks in draw length, you can do so by twisting or untwisting the string as well.
3) Do all this while keeping the bow in the correct axle-to-axle length measurements
It does take some playing around to find the “sweet spot” and what feels best for you, but don’t over-think it! It is easy to do and quite fun! This will give you more confidence in yourself and your bow’s performance.
Before taking strings off any bow, I like to take pictures of the top and bottom cam in order to remember how the strings go back on. This can save you a lot of time. I also ensure the measurements are correct on the package before I remove the strings and I take measurements of the peep height so I can return that to original.
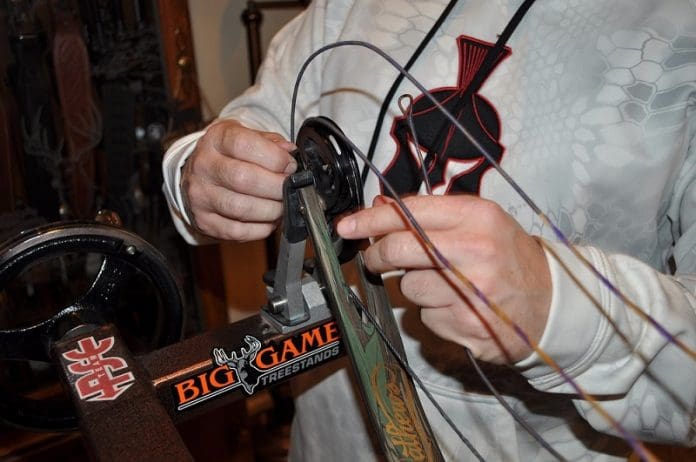
A single cam bow will have one cable and one string. A twin cam bow will have two cables and one string. If you get cables reversed they will work against each other and it won’t draw back, or worse yet, the string/cables will derail and leave you with a mess or damage to the bow or yourself. Pay attention to how the strings/cables come off and go on! Before releasing the pressure of the press, ensure strings and cables are tracking in the cam slots and rails. Ensure that the string eyelets are also secure on the posts of the cam and/or axles. I have made the mistake before of missing this and it’s not a fun experience!
I prefer to change out my strings every year as they take a beating and having new threads in place and restoring lost energy is always a plus! With this particular bow in the pictures you can see how much the old strings have stretched. I put just enough pressure on the bow limbs to remove the old strings and when I installed the new strings I had to add about an inch and a half more to the press to install them. That shows right there how much the old string/cables had stretched over the year or two of use. This is very common with your cheaper brand strings. That is why buying a top quality string is always a good idea. You will pay a bit more but you will always see the benefits.
You can also fine tune your strings to get the proper roll-over of the cam/wheels. It can also help you get the bullet hole through paper that you are looking for. Tuning is another article in itself and it takes time and practice to get to the point of what I like to call “super tuning.” Each bow is different and requires a different set of rules in order to do so. But basics to get the proper rollover are the following:
The control cable is very important. Adjust the control cable a half-twist at the time to advance or delay the rollover of the cam. Once the bow is safely in the bow press and the tension is relaxed, remove one end of this cable and give it a half-twist (180º) before reattaching. Take a few notes before you remove the bow from the press so you know which direction you twisted the last turn. Once the bow’s removed, test the cam timing again. If the timing is still off, return the bow to the press and repeat this step until the timing is correct. Reverse the direction of the twist if the cam timing is worse than before. The cam timing can change significantly with a small twist, so it’s best to go one half-twist at a time.
Once you have installed new threads, it comes time to set your rig up with all the fixins’. I covered this subject in this article Setting Up Your Bow, DIY Style,
Refer to that article to set your bow up after your new strings/cables are installed. By installing your own strings and setting up your own bow you will save money and add a new, fun dimension to your bowhunting experience.
You can ask Jared questions or discuss this article here


