5shot
Lil-Rokslider
These guys make the stays for the Marine ILBE, and they will make you what you need. Just send them a question and tell them what length you want. You can get them bent or not.
USMC Backpack ILBE Recon Corpsman Aluminum Stays | eBay
USMC Backpack ILBE Recon Corpsman Aluminum Stays | eBay


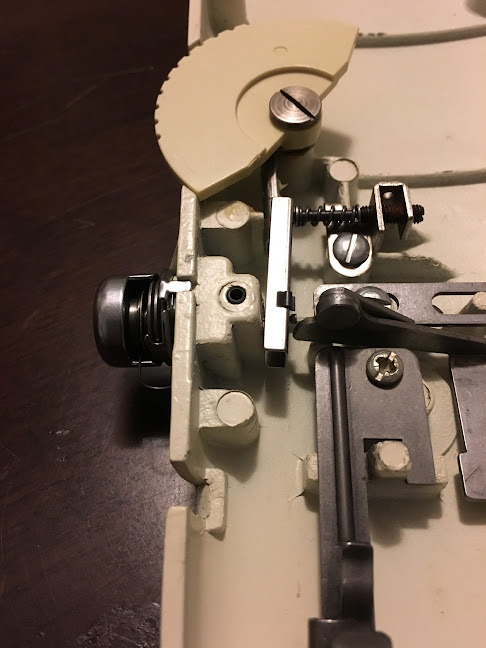
") ) and I was getting good stitches around 9-10 originally. Now I run it ~6.5 most of the time but have room to increase it still but when I back it off to zero it's like what was 3 originally (thus thin thread I run at 0 to 2 range now).
) and I was getting good stitches around 9-10 originally. Now I run it ~6.5 most of the time but have room to increase it still but when I back it off to zero it's like what was 3 originally (thus thin thread I run at 0 to 2 range now).