- Thread Starter
- Banned
- #21
OP
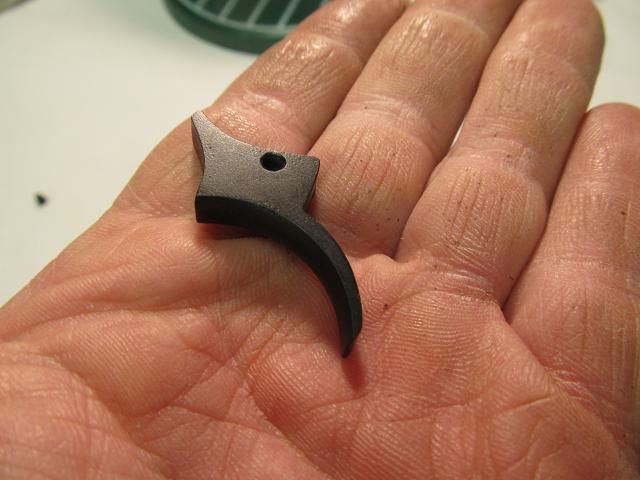
Sharp Things
Lil-Rokslider
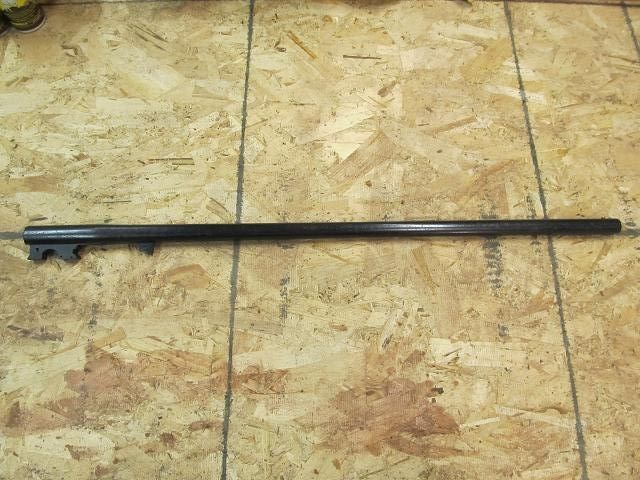
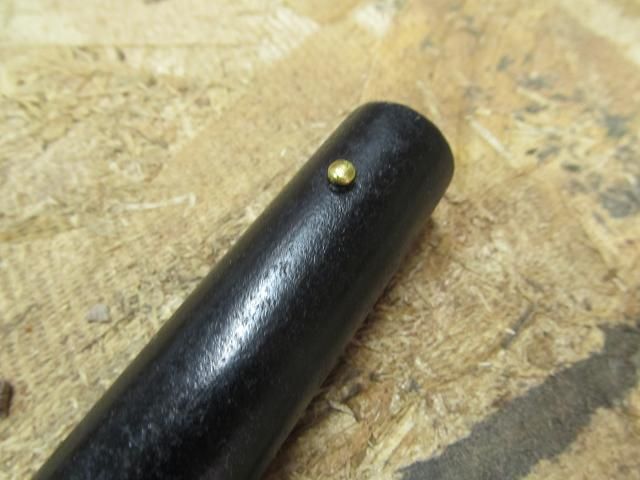
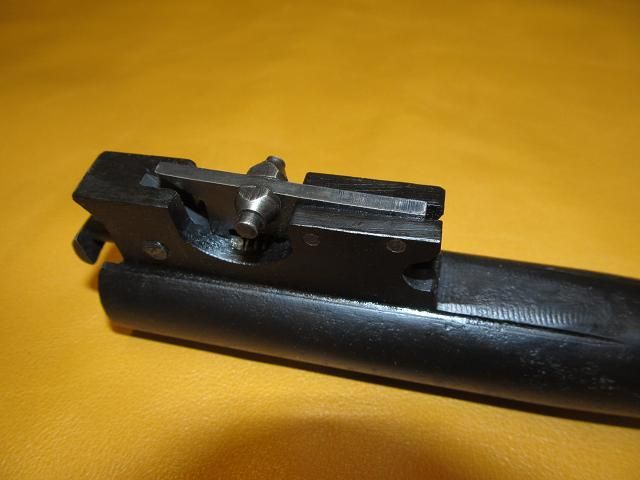
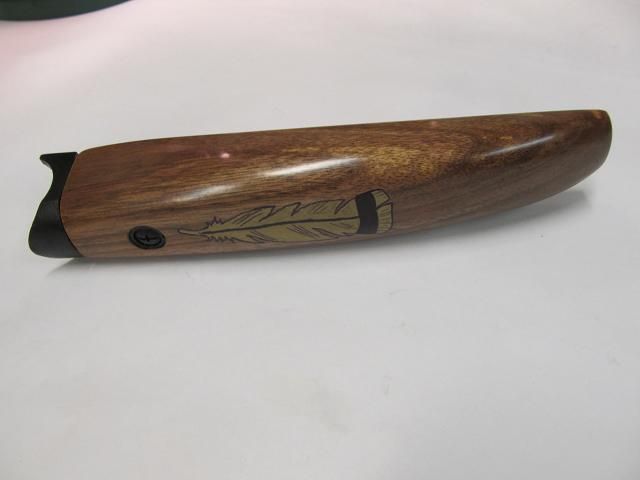
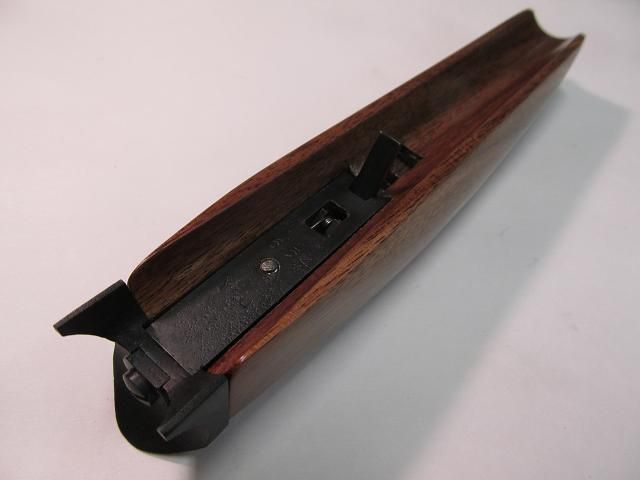
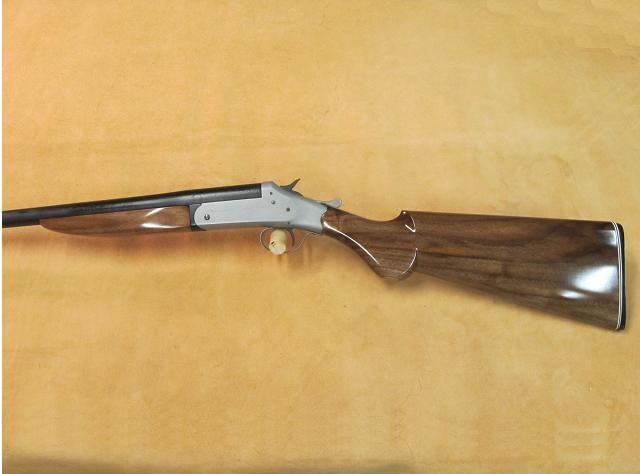
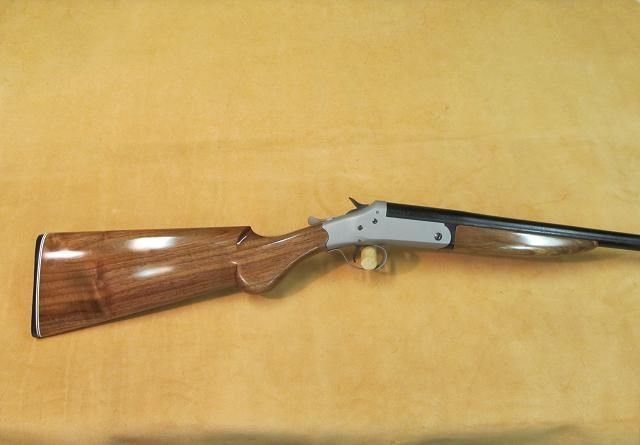
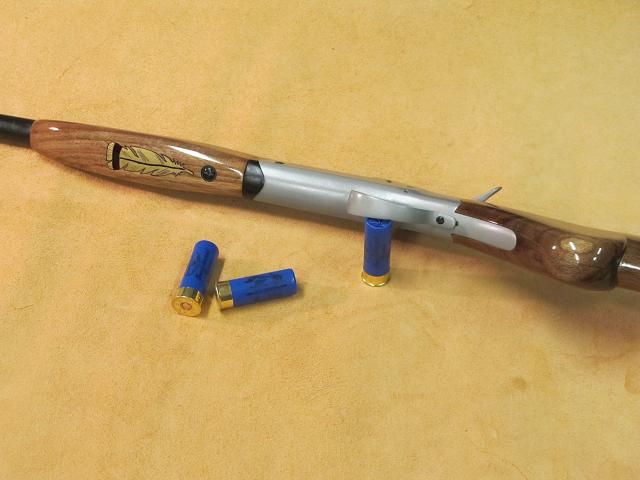
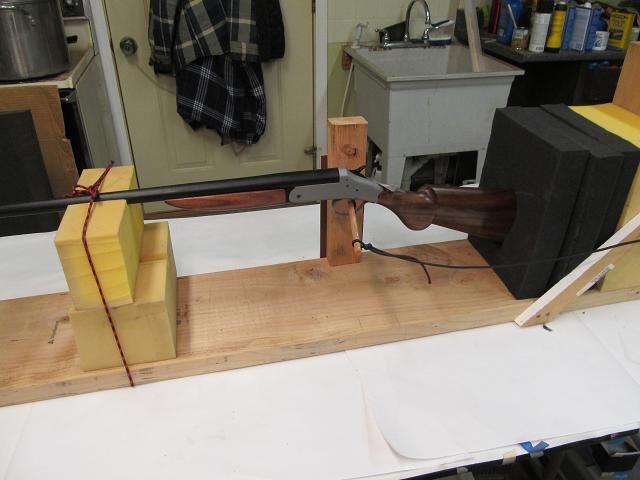
Here is the barrel after its cooled and two applications of paste wax applied.

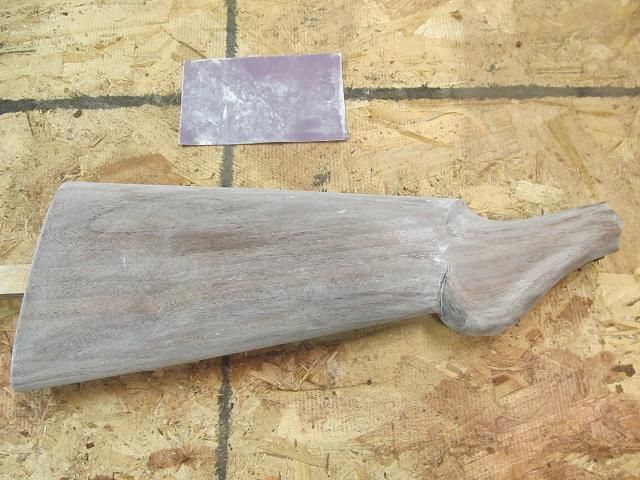
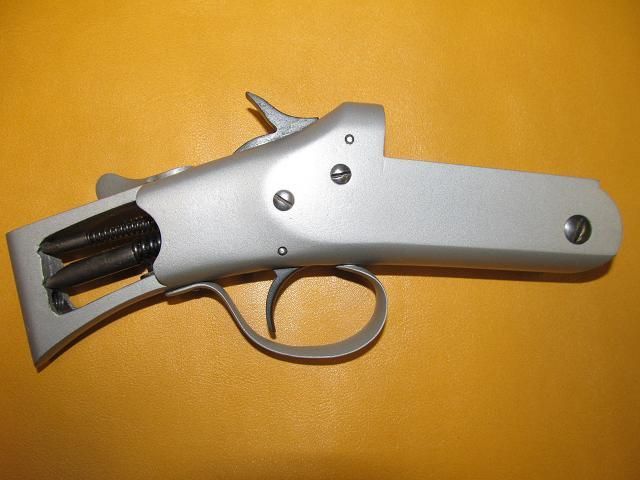
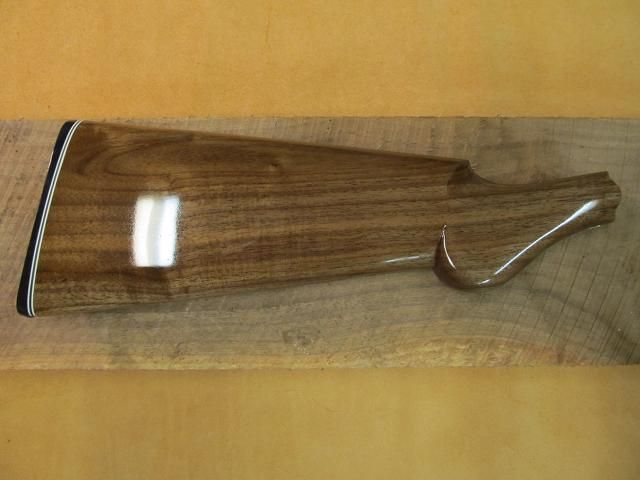
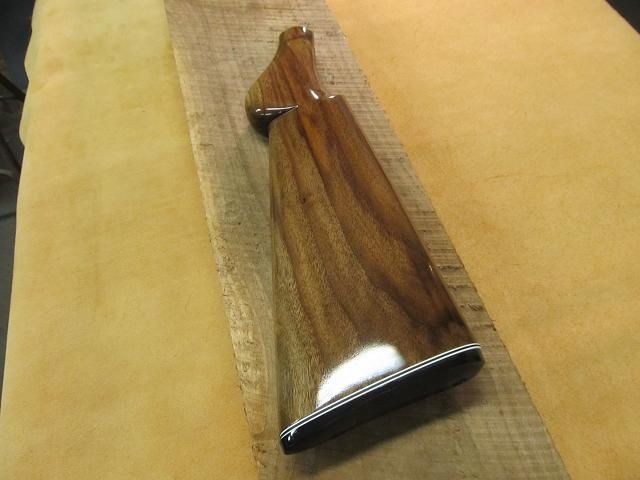
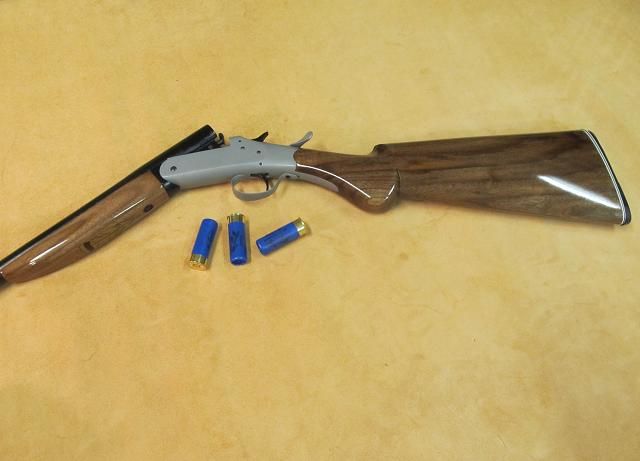
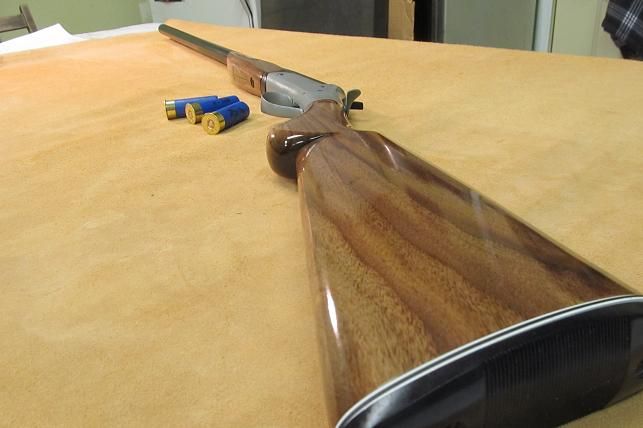
I am ready to begin assembling all the parts into a gun. Im making progress on the butt stock as well. After several coats during this week, I took after it with 600 grit sandpaper and gave it another of many applications of tung oil.


 I like that!