DIY Pullouts, pouches and pockets

colonel00

WKR
Joined
Jun 19, 2013
Messages
4,776
Location
Lost
I wanted to get a thread started even though I don't have a full walkthrough ready as of yet. First, big thanks to Manosteel and his thread here which inspired me to give this a shot. My thought on starting this thread now was that it would allow me to provide some preliminary info so people who were interested could order some items. It would also allow me to see what questions people had which would add to the instruction I could provide. Finally, if I never started the thread, I would continue to put off posting any lessons or videos so now I can be held accountable.

First let me say that these are the first things I have ever sewn, ever. I tend to pick things up quickly and I am good at working with spacial concepts so that has helped but by no means am I an expert and the instructions I can provide will result in a serviceable product but in no way will they be close to retail products that you can get from many of the great supporters of this site. My biggest motivation for doing this was that I wanted the ability to have custom sizes and features that I just couldn't get from sellers out there.

So, winter is on it's way and I have a couple trips planned next year that I am starting to gear up for. Part of the plan is to get a new pack and I wanted a way to have pullouts that were measured to fit closely to the pack's dimensions to reduce wasted space. I know this isn't the biggest deal but I really like being organized and if I was going to go the route of pullouts, it only made sense.

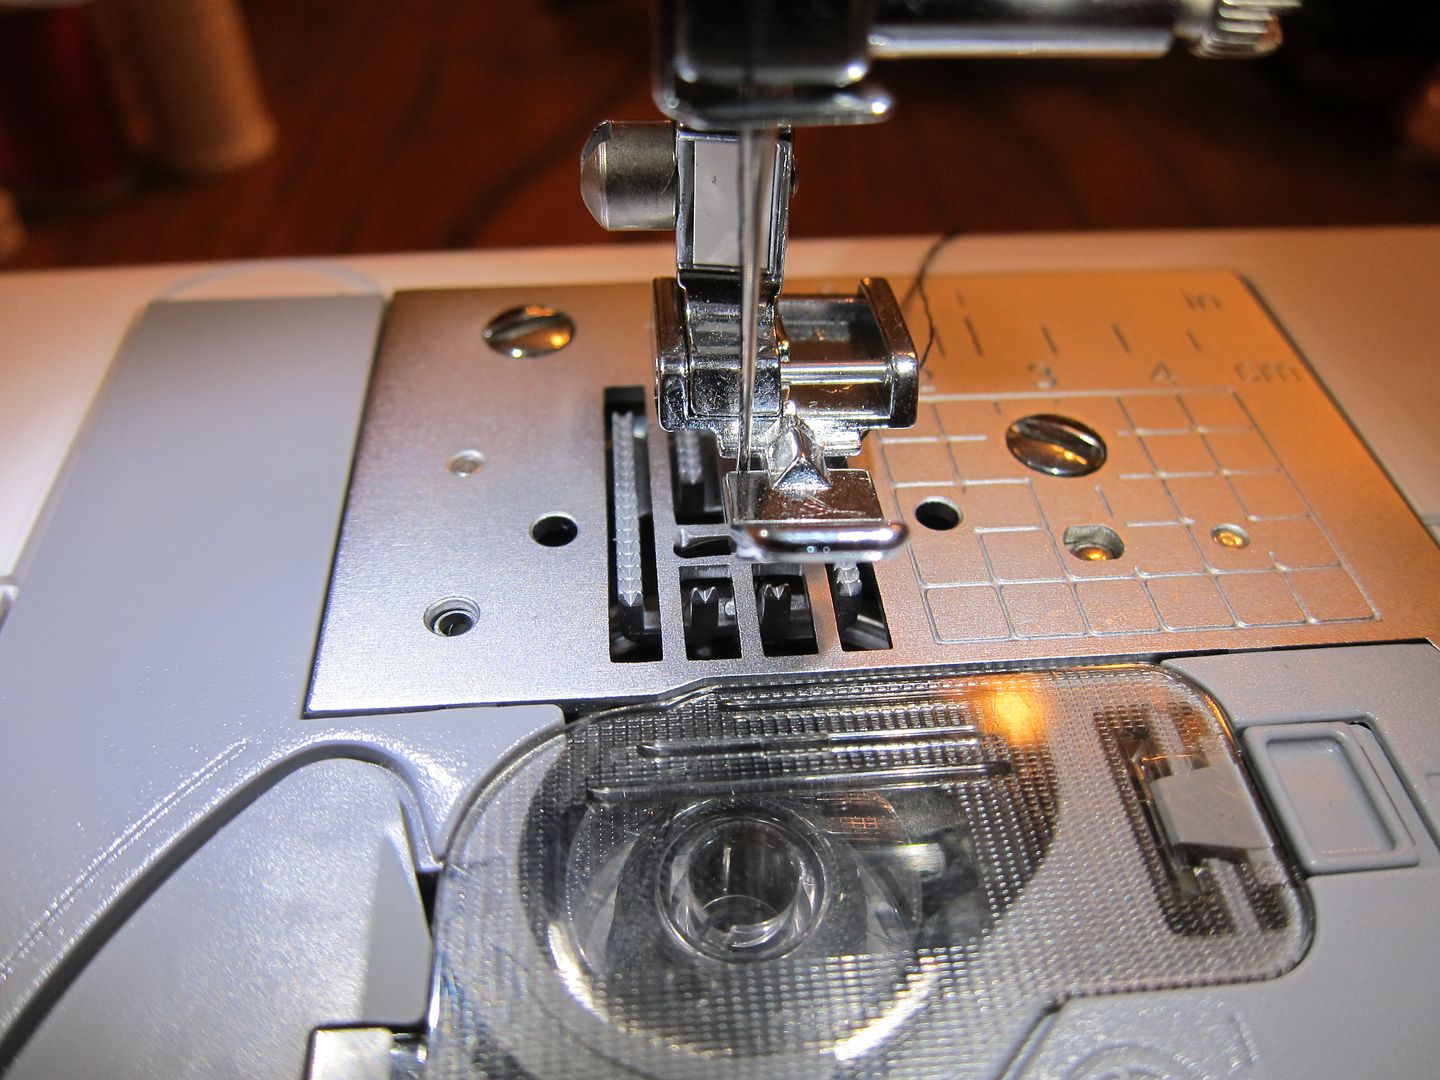
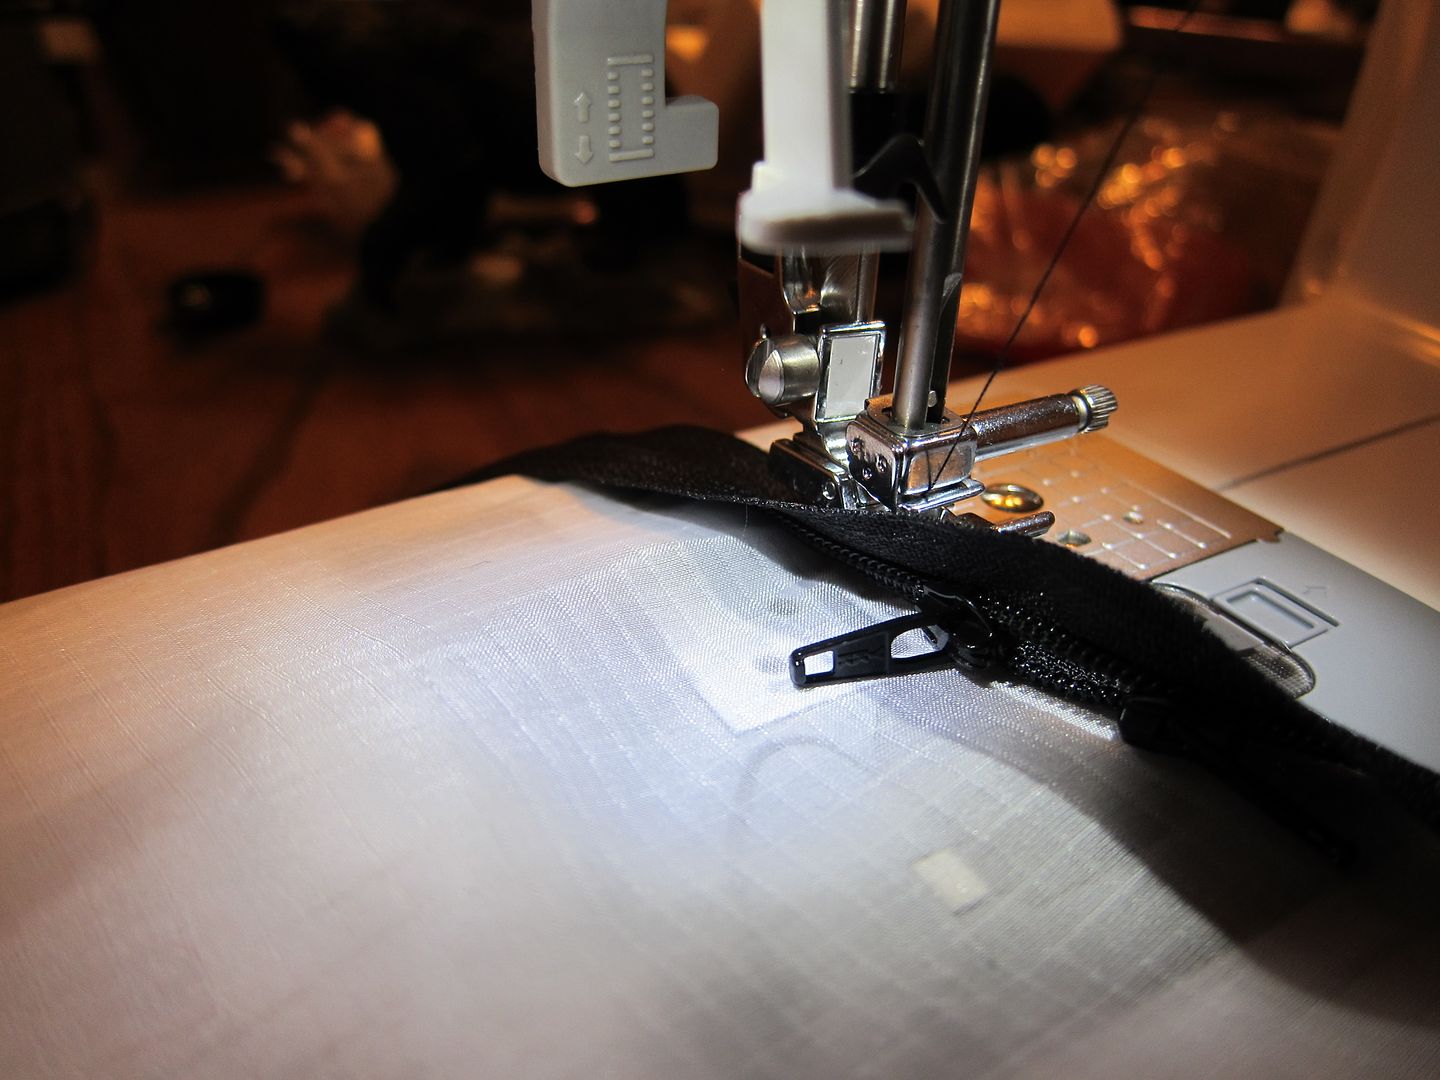
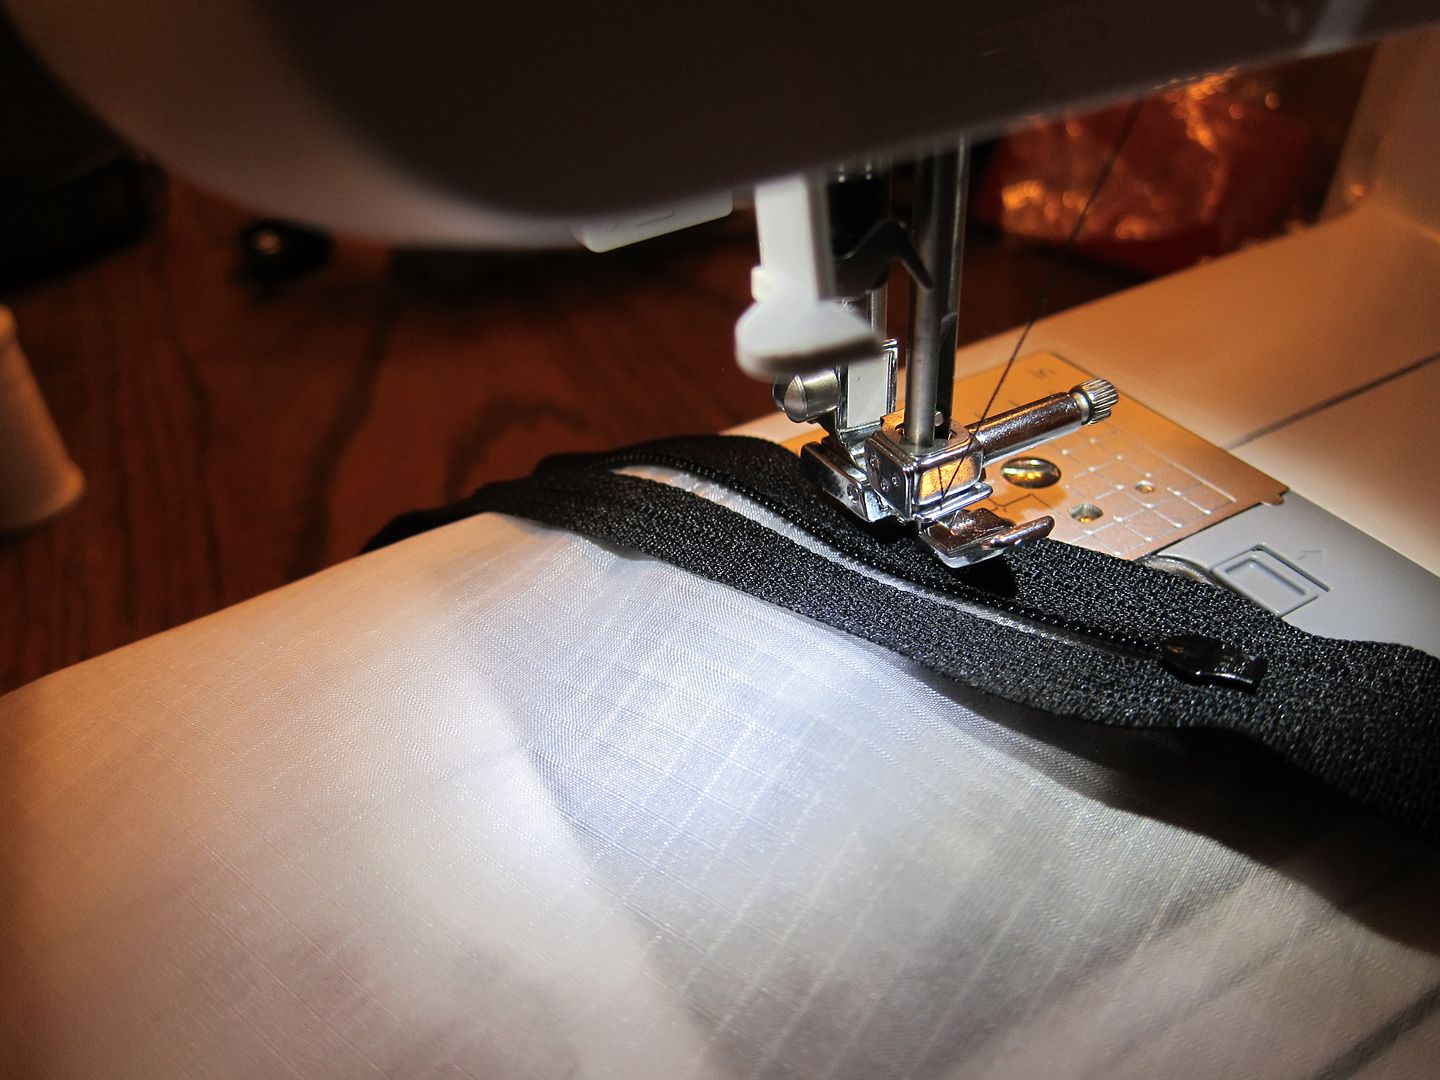
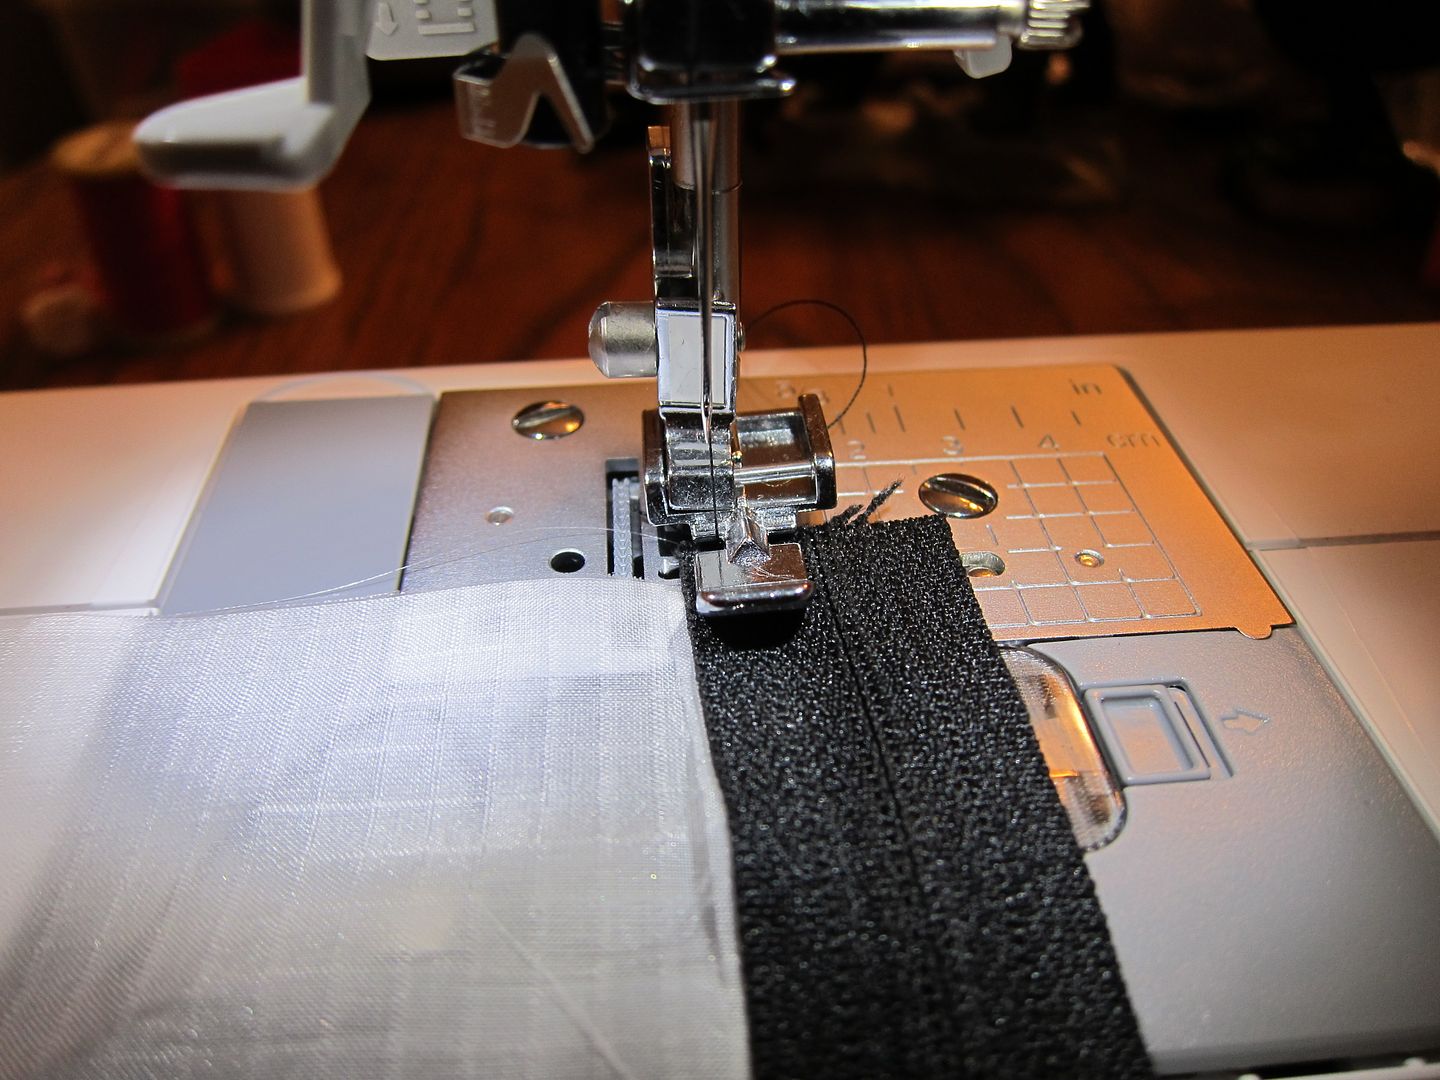
Now let's start at the beginning. I recently purchased a sewing machine for my girlfriend because she wanted to learn to sew. Guys, with the holidays coming up, this is a great tactic to not only knock out a nice gift but also gain a tool you can use as well :rolleyes: I got her the Brother 6000i off of Amazon for around $140. It has a lot of fancy stitches that we will probably never use but it does have a few nice features that will come in handy. First of all, it comes with a zipper foot (usually pretty standard I think) as well as a walking foot (good for working with slippery fabrics). It also has a buttonhole foot that can automatically do button holes which is handy for stuff sacks. By no means are these requirements but they do make things a little easier. I haven't sewn heavier materials so I cannot comment on how the machine will handle stuff like 1000d cordura. I plan to keep an eye out for an older, mechanical machine that may only do straight stitches but can chug through the heavier stuff should I ever really need to work with that type of material.

Basic materials

To start off my adventure I started by hitting up local Walmarts. Doing some reading at hammock forums and DIY sites, it appears that Walmart at times carries what some claim is silnylon for dirt cheap, like $1.50/yd. I was not lucky enough to find any silnylon but I did find some ripstop in white for $1.50/yd so I picked up 3 yards. I am kicking myself for not buying it all because I went back for more and it was gone. I have not been able to find anymore yet in my area. Below is a link where you can enter your zip code and you will get a list of stores that carry fabric. From what I have read and seen, it is almost always in the Clearance section and the bolts do not actually say what the material is and just list it as generic fabric. It also seems that very few of the employees know what it is so calling around is usually pointless.

http://instoresnow.walmart.com/Event-Detail.aspx?txtEventId=1472

If you cannot find any at your walmarts then I would suggest at least trying to find a similar material that is cheap to practice with. If you want to actually work with silnylon or regular ripstop then I will update this thread with some fabric sources. Hopefully others can chime in as well with some of their sources so we can compile a solid list for people to use.

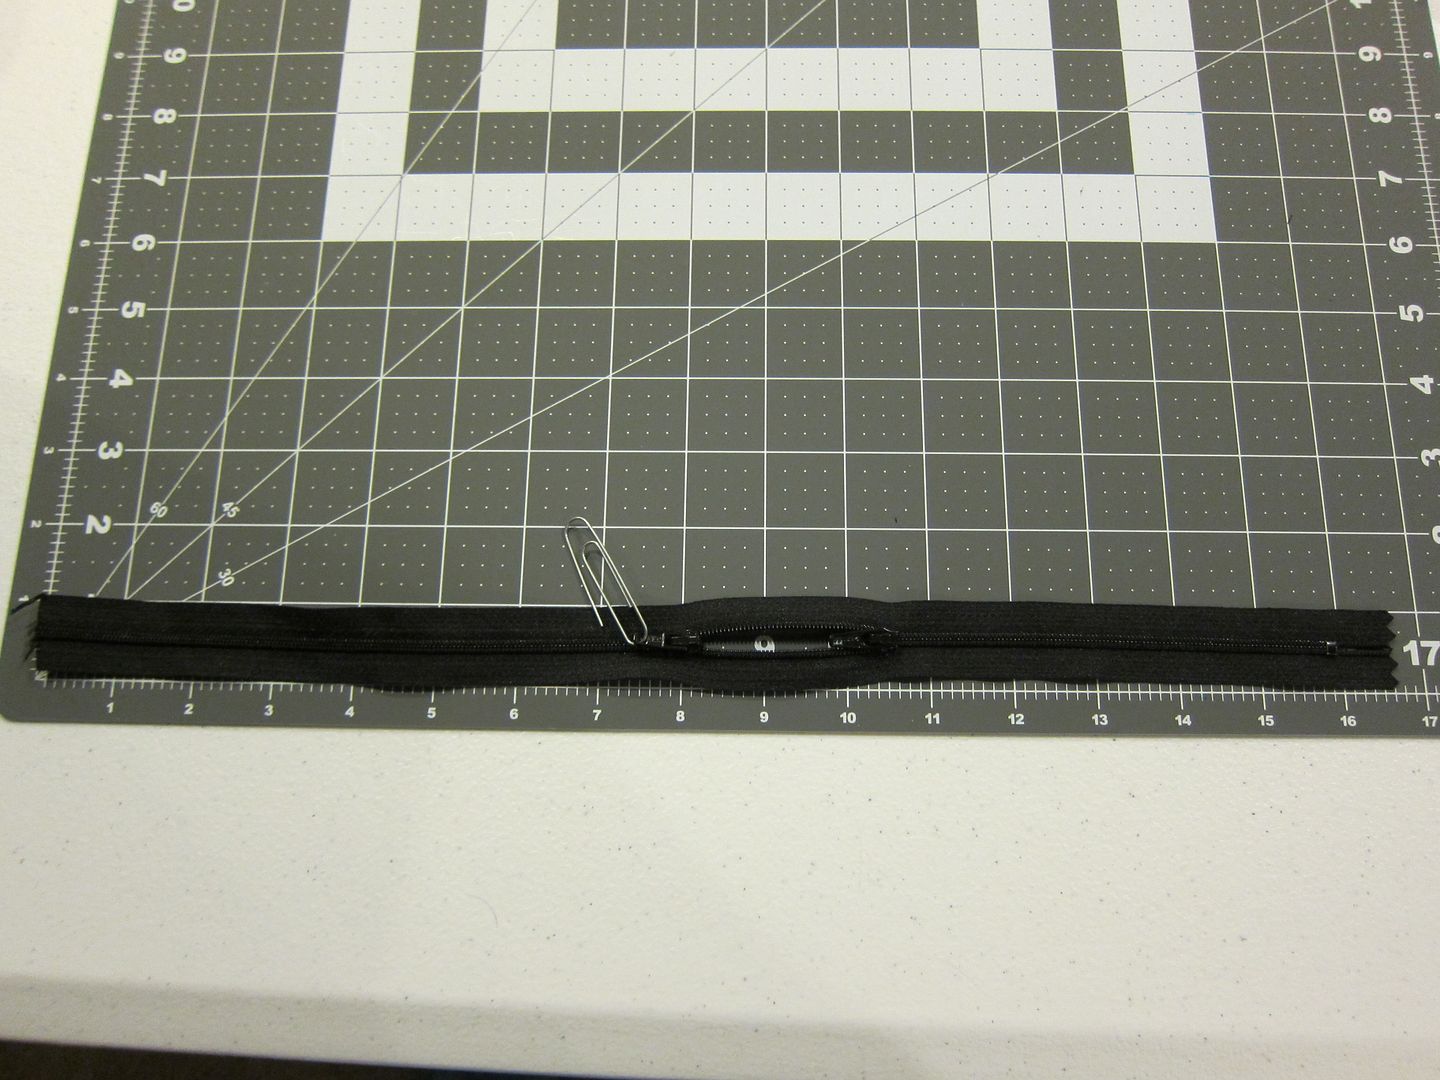
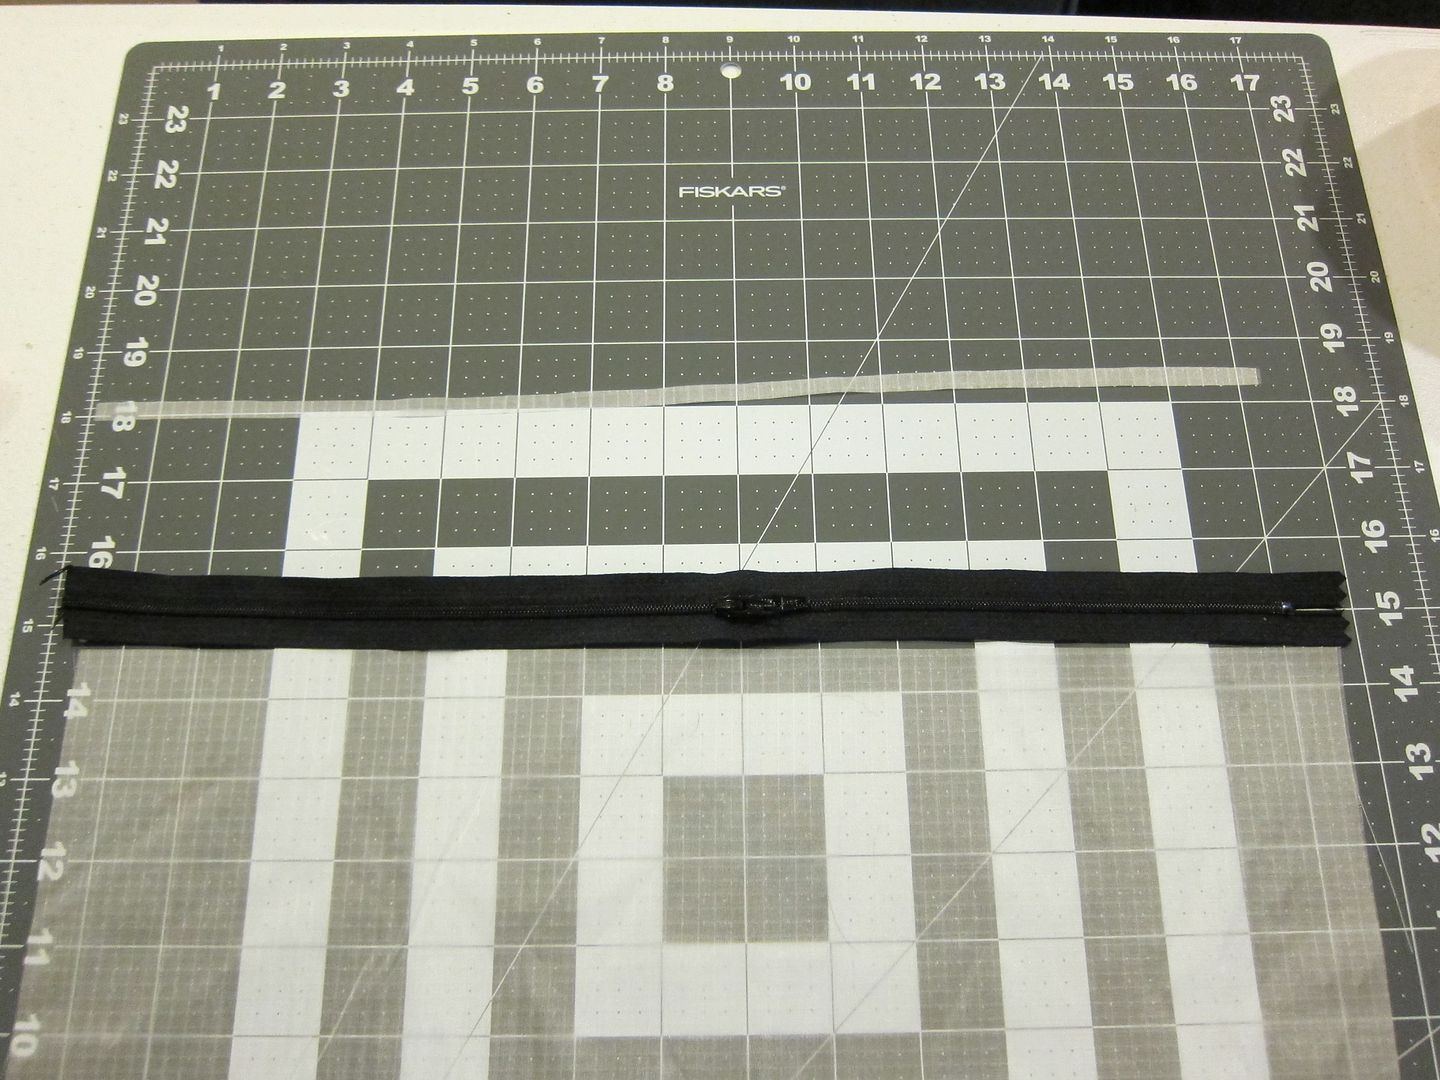
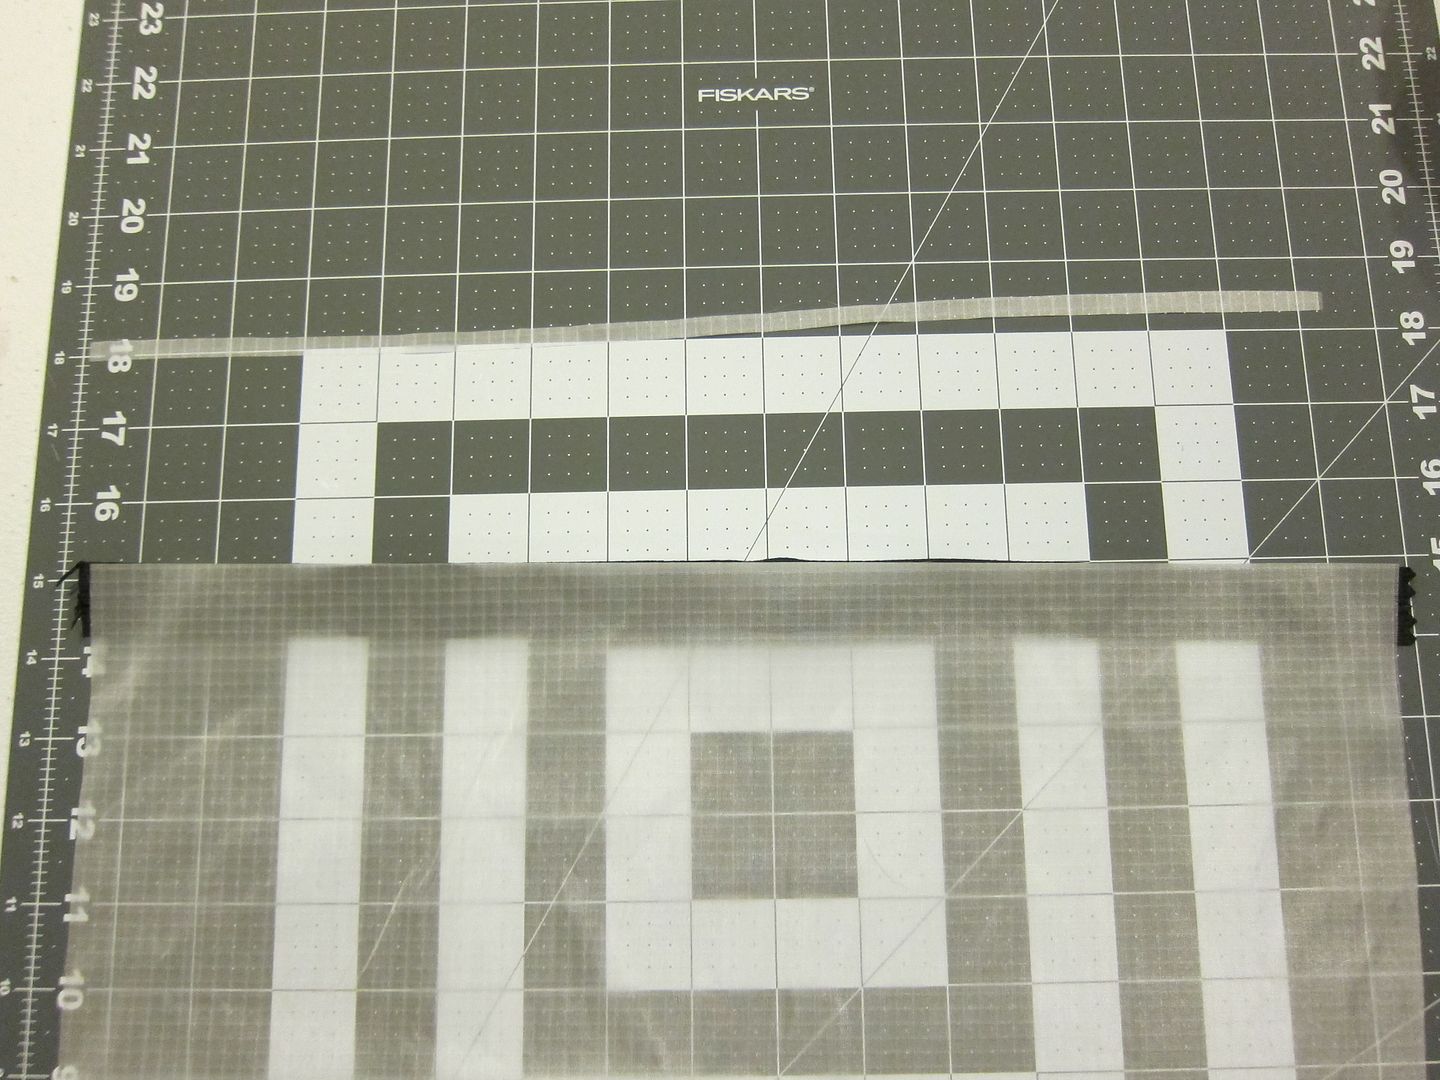
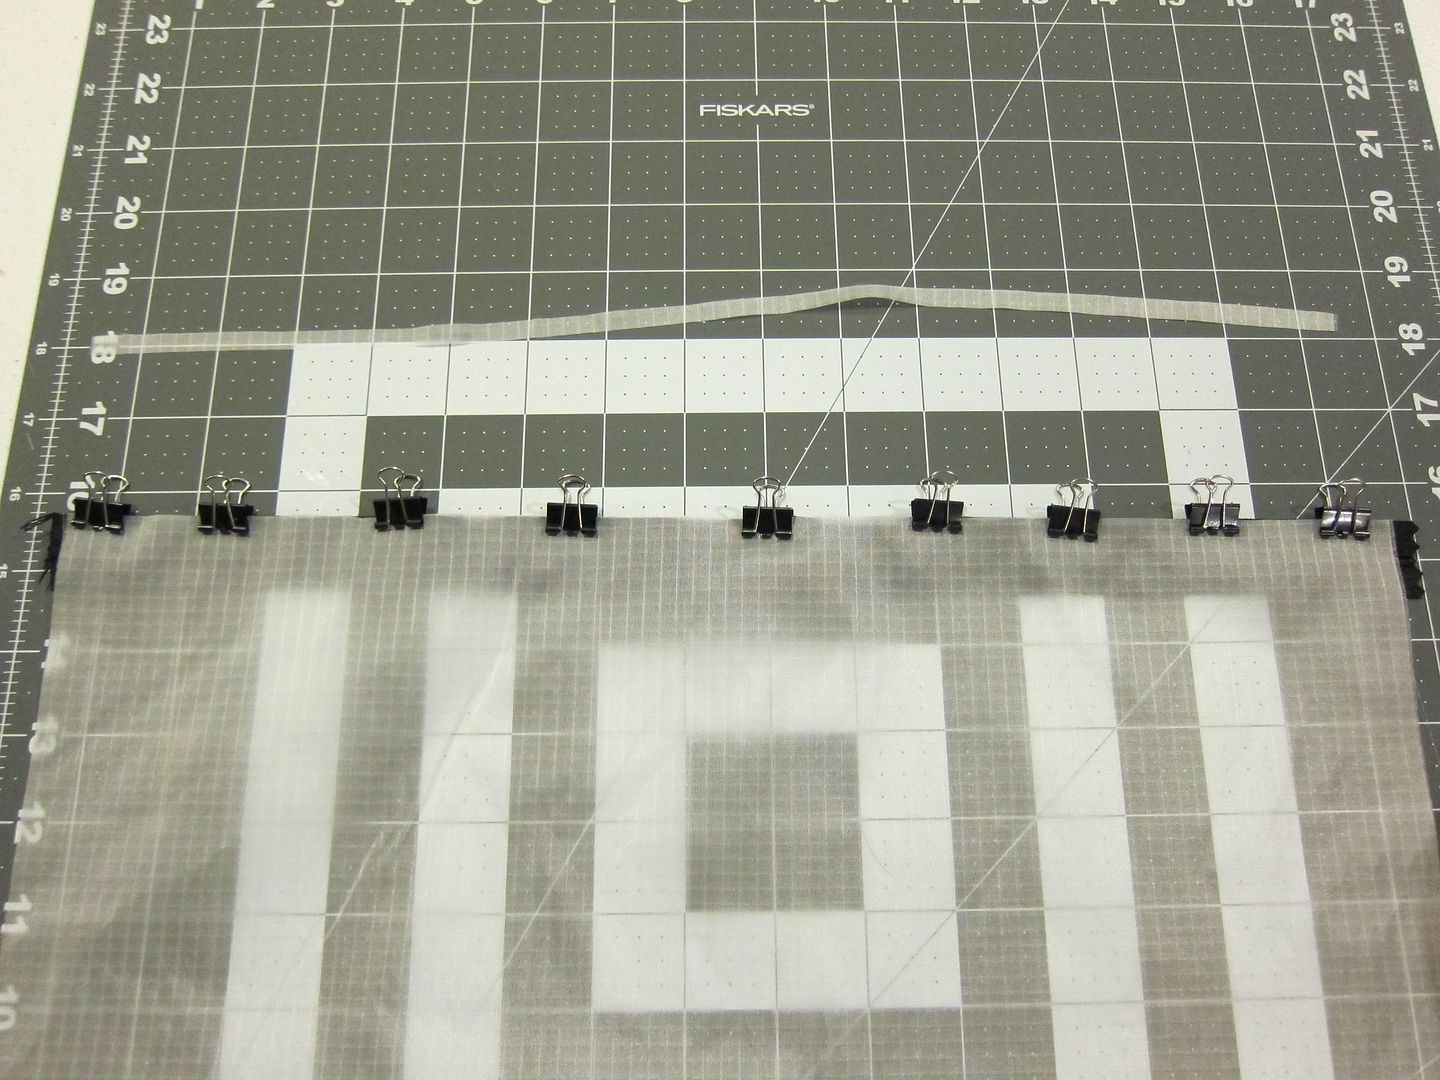
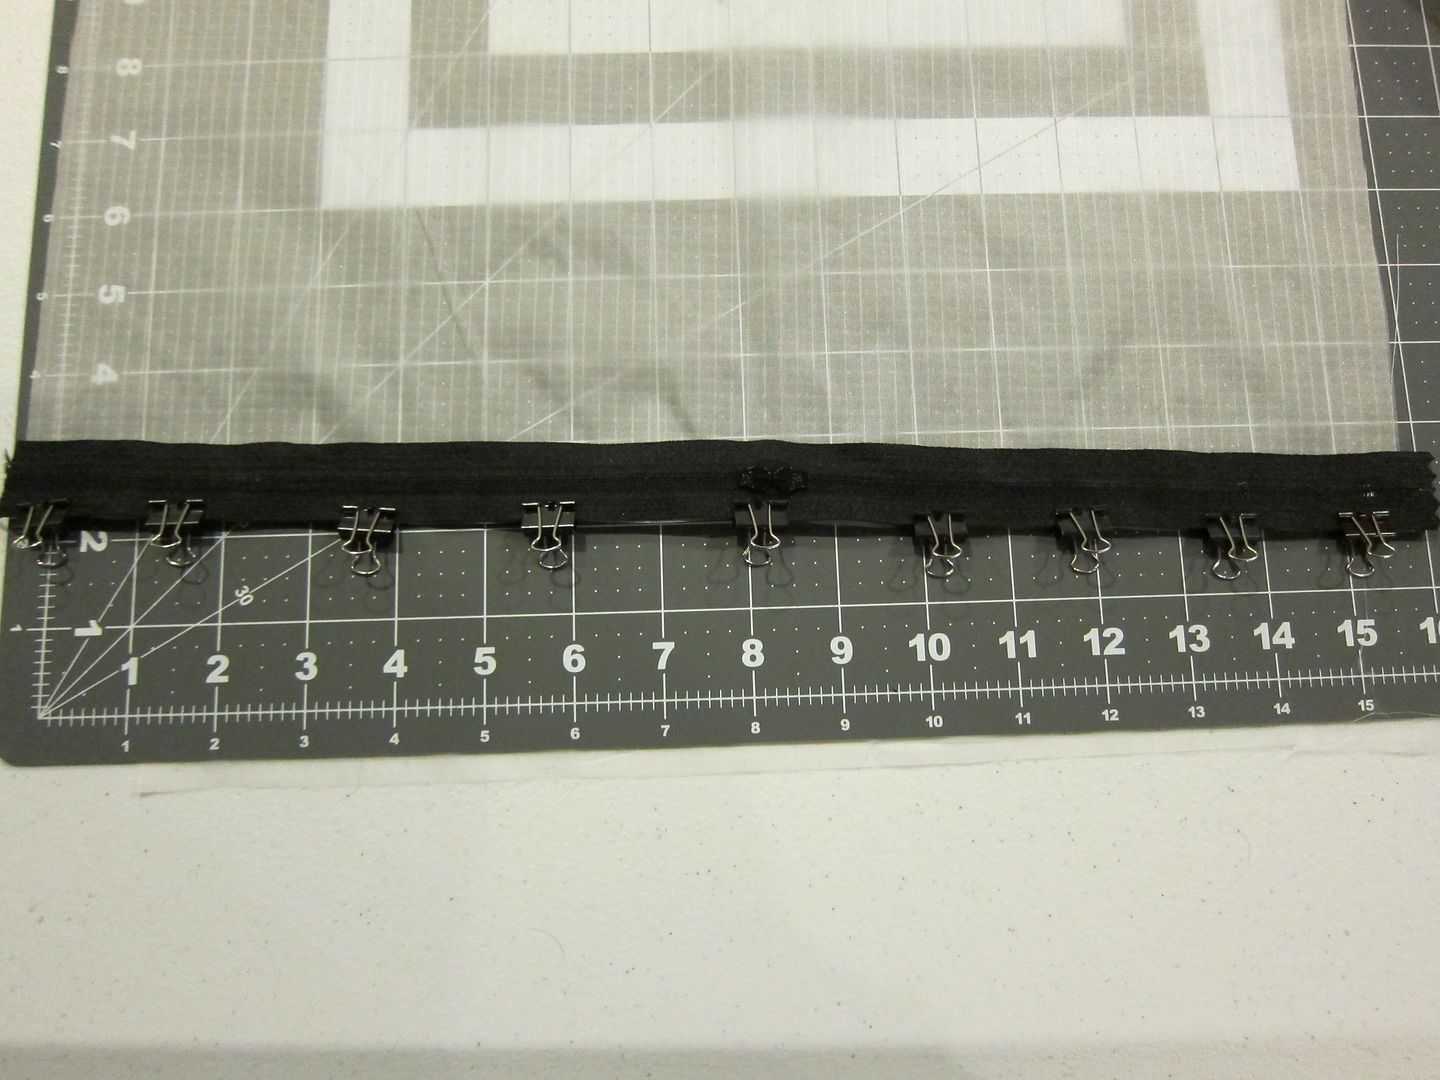
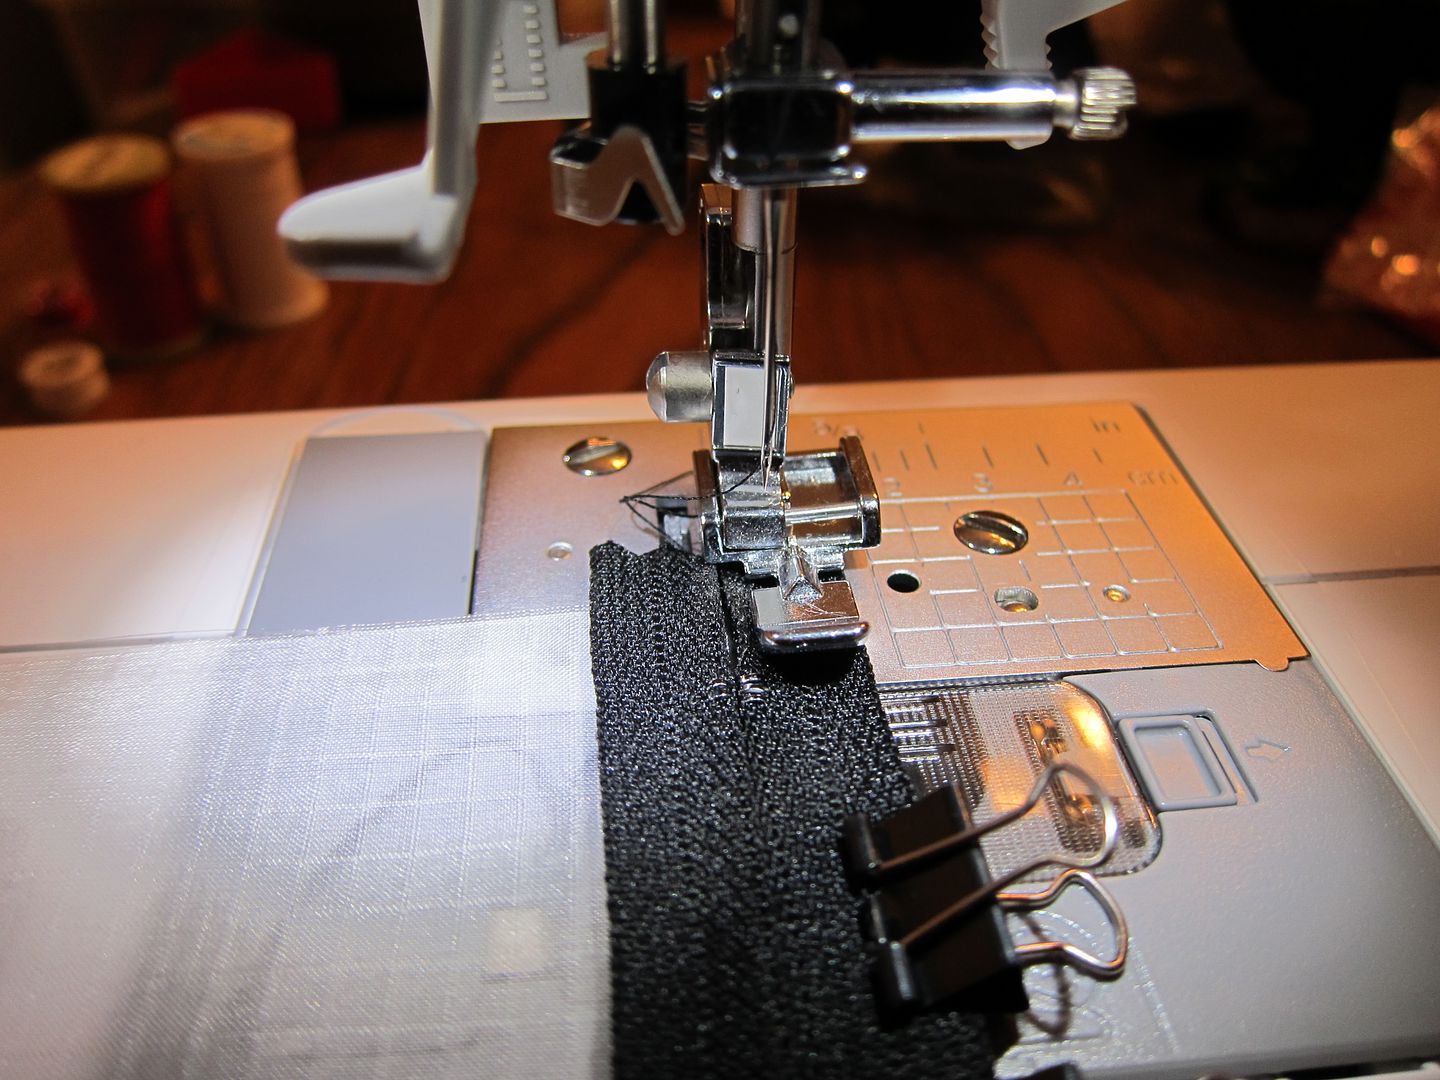
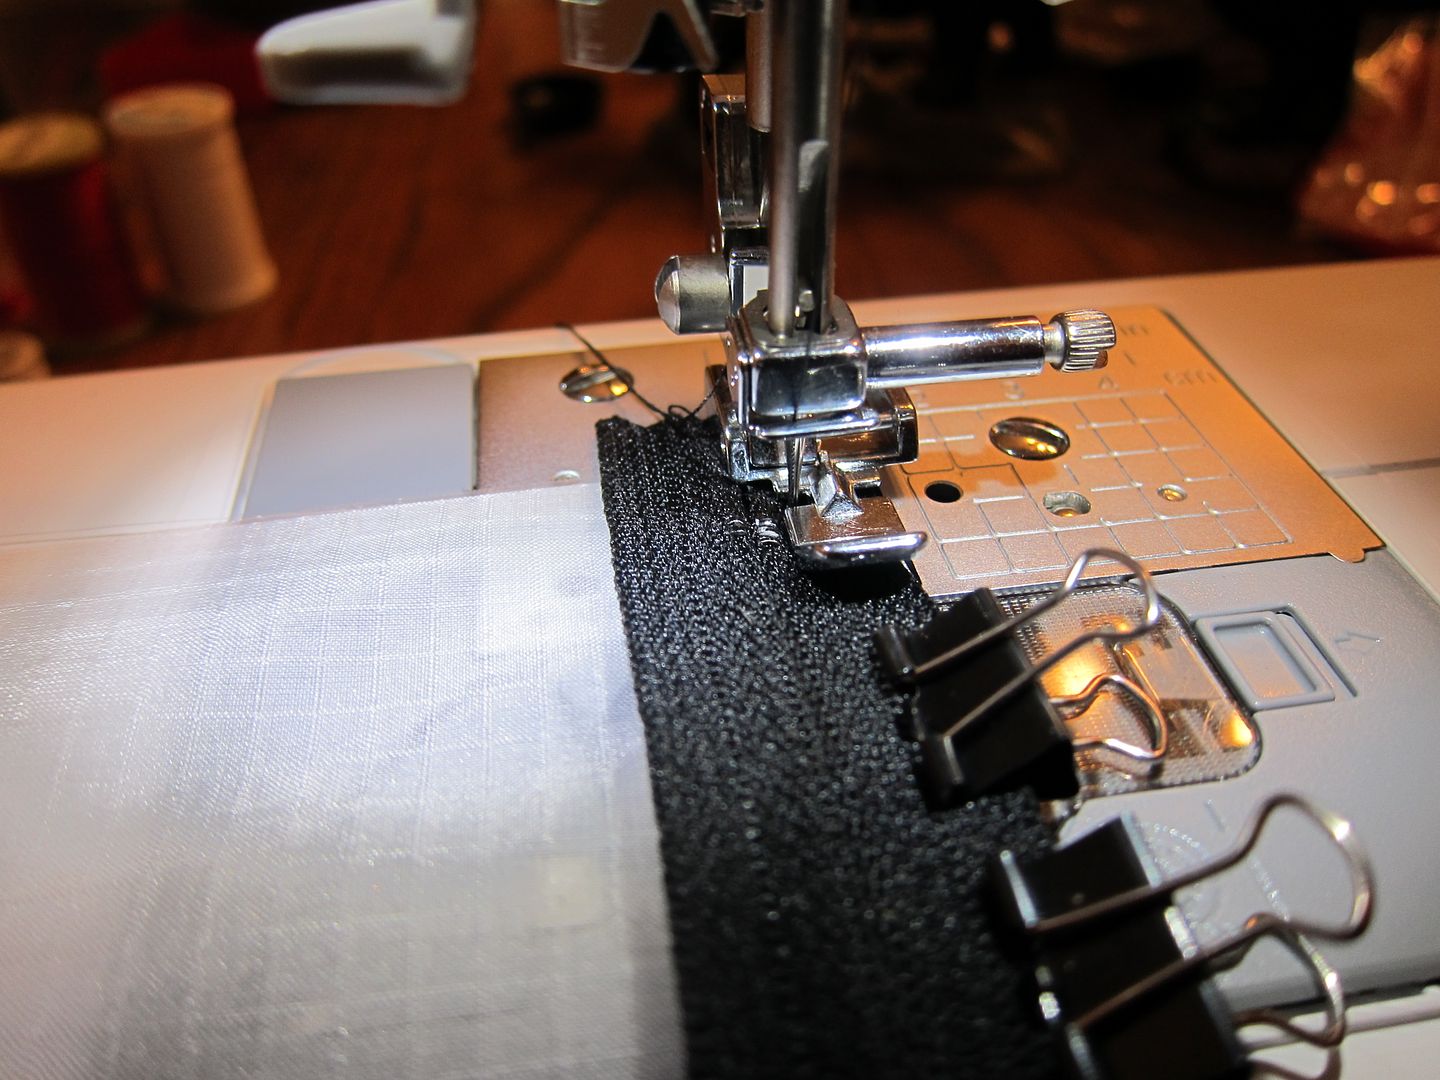
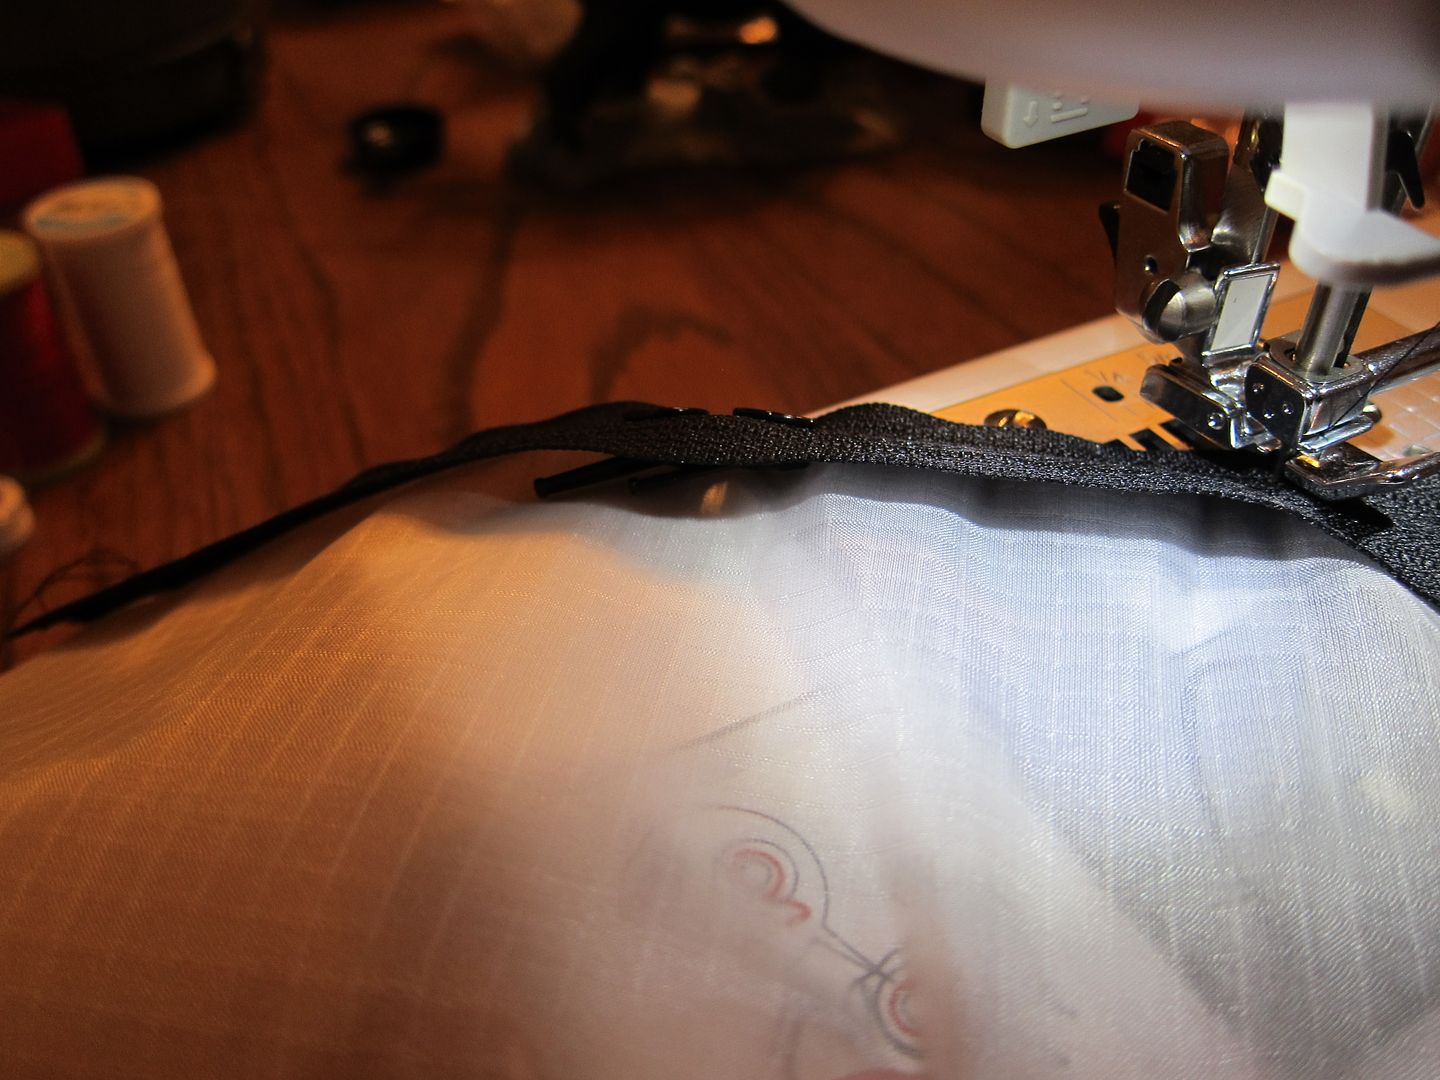
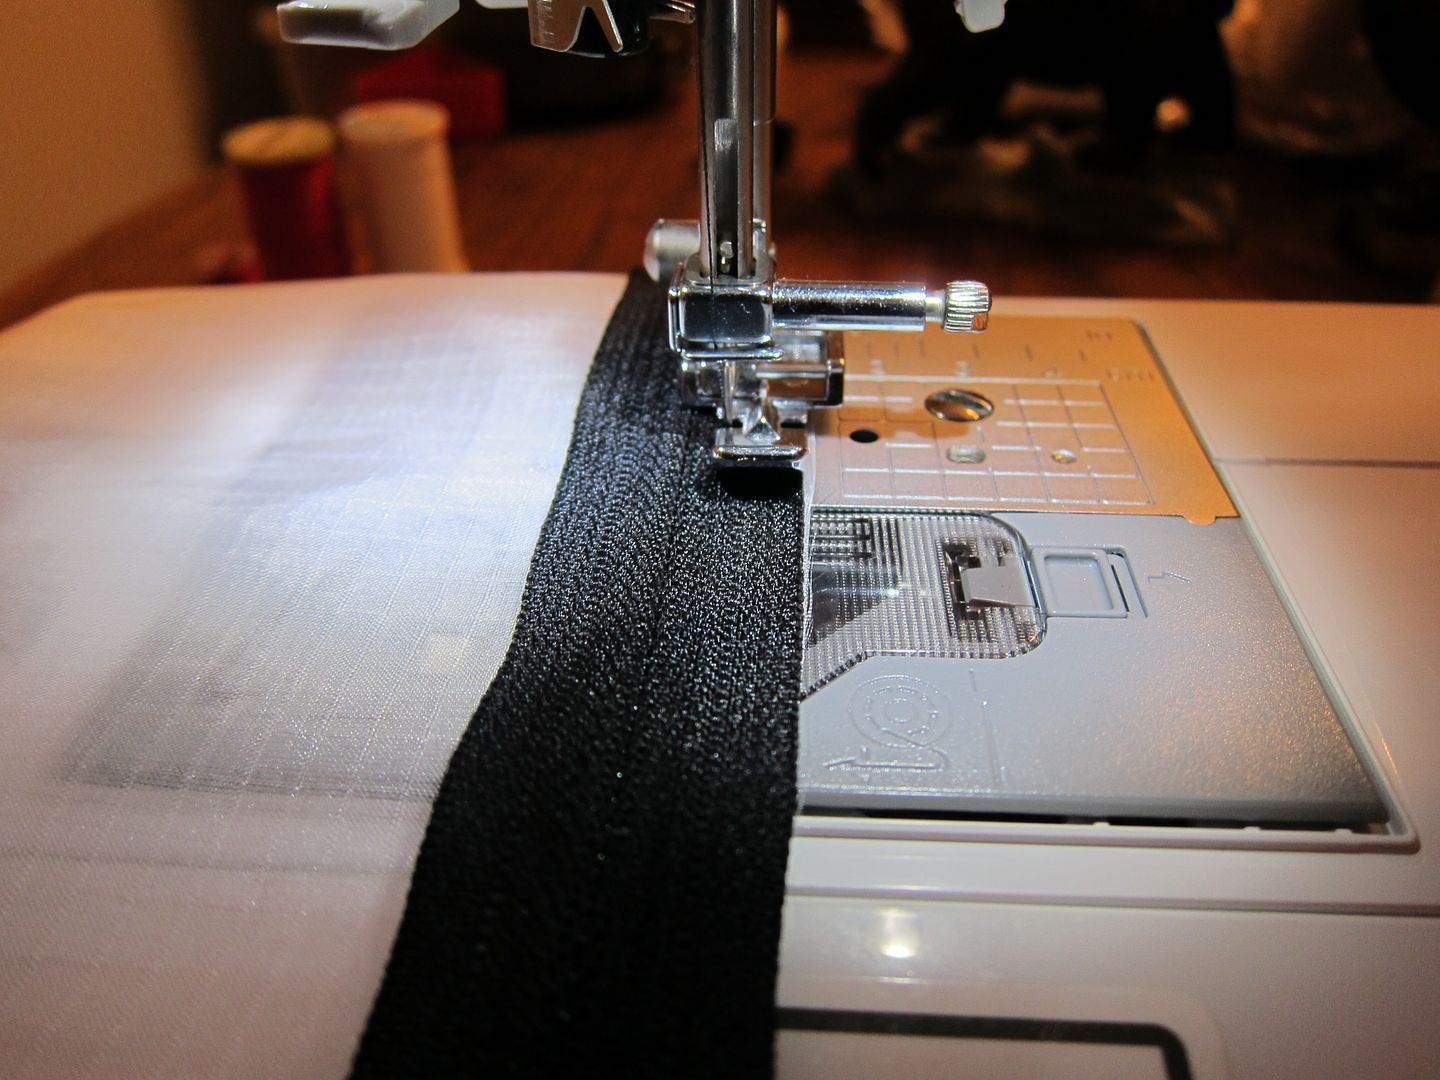
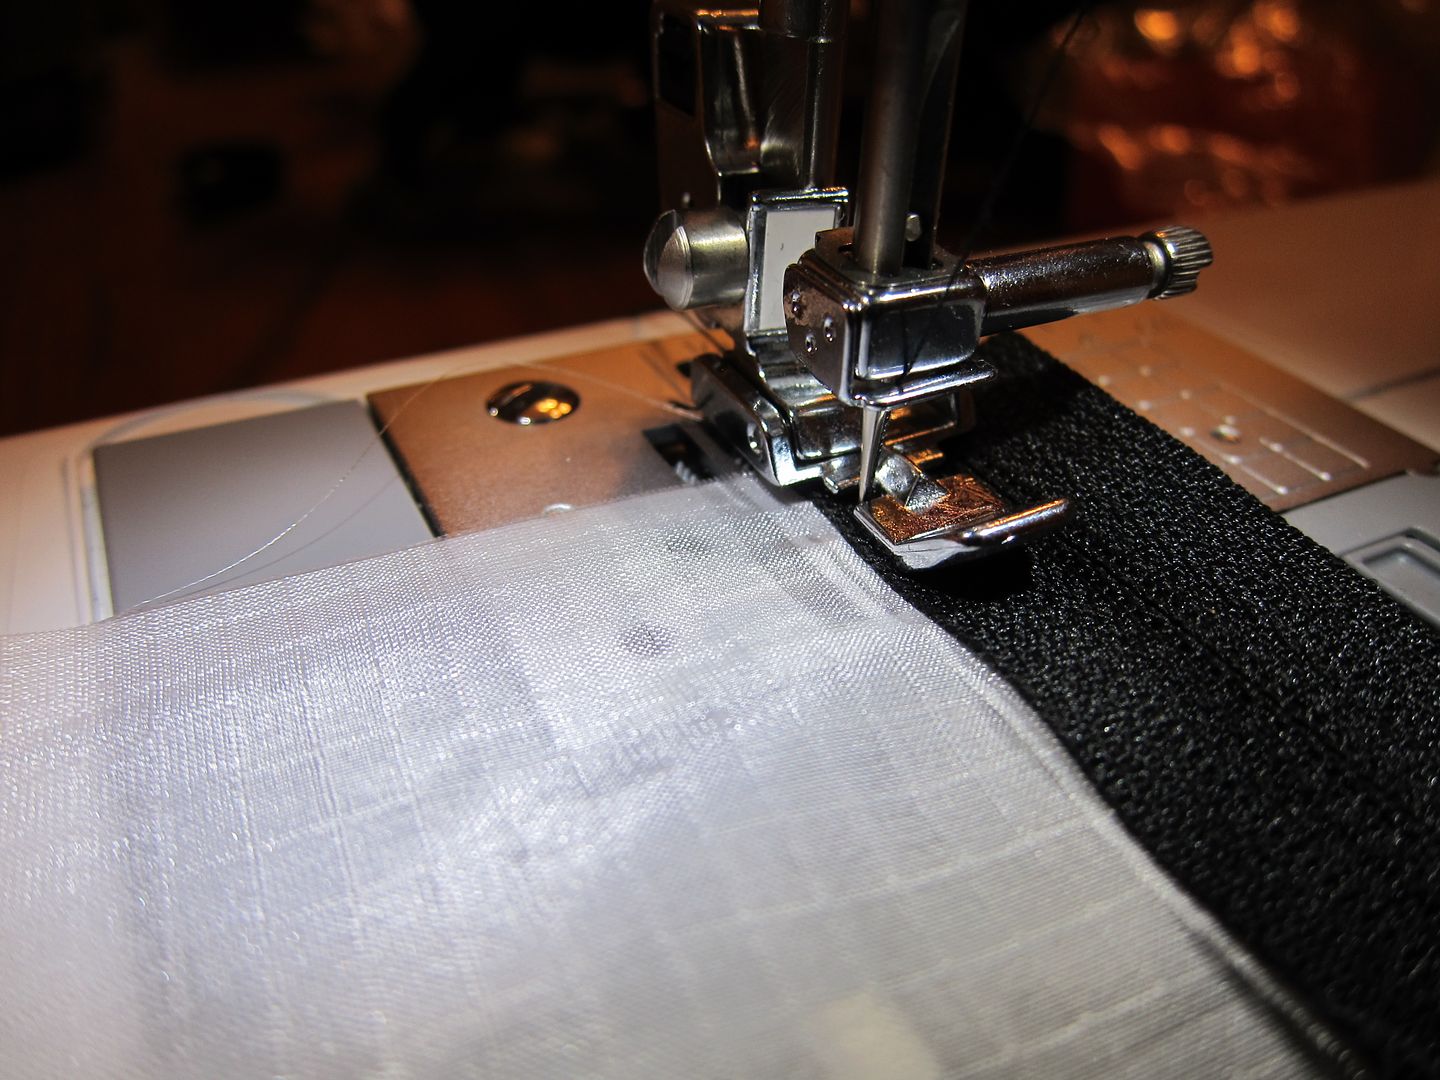
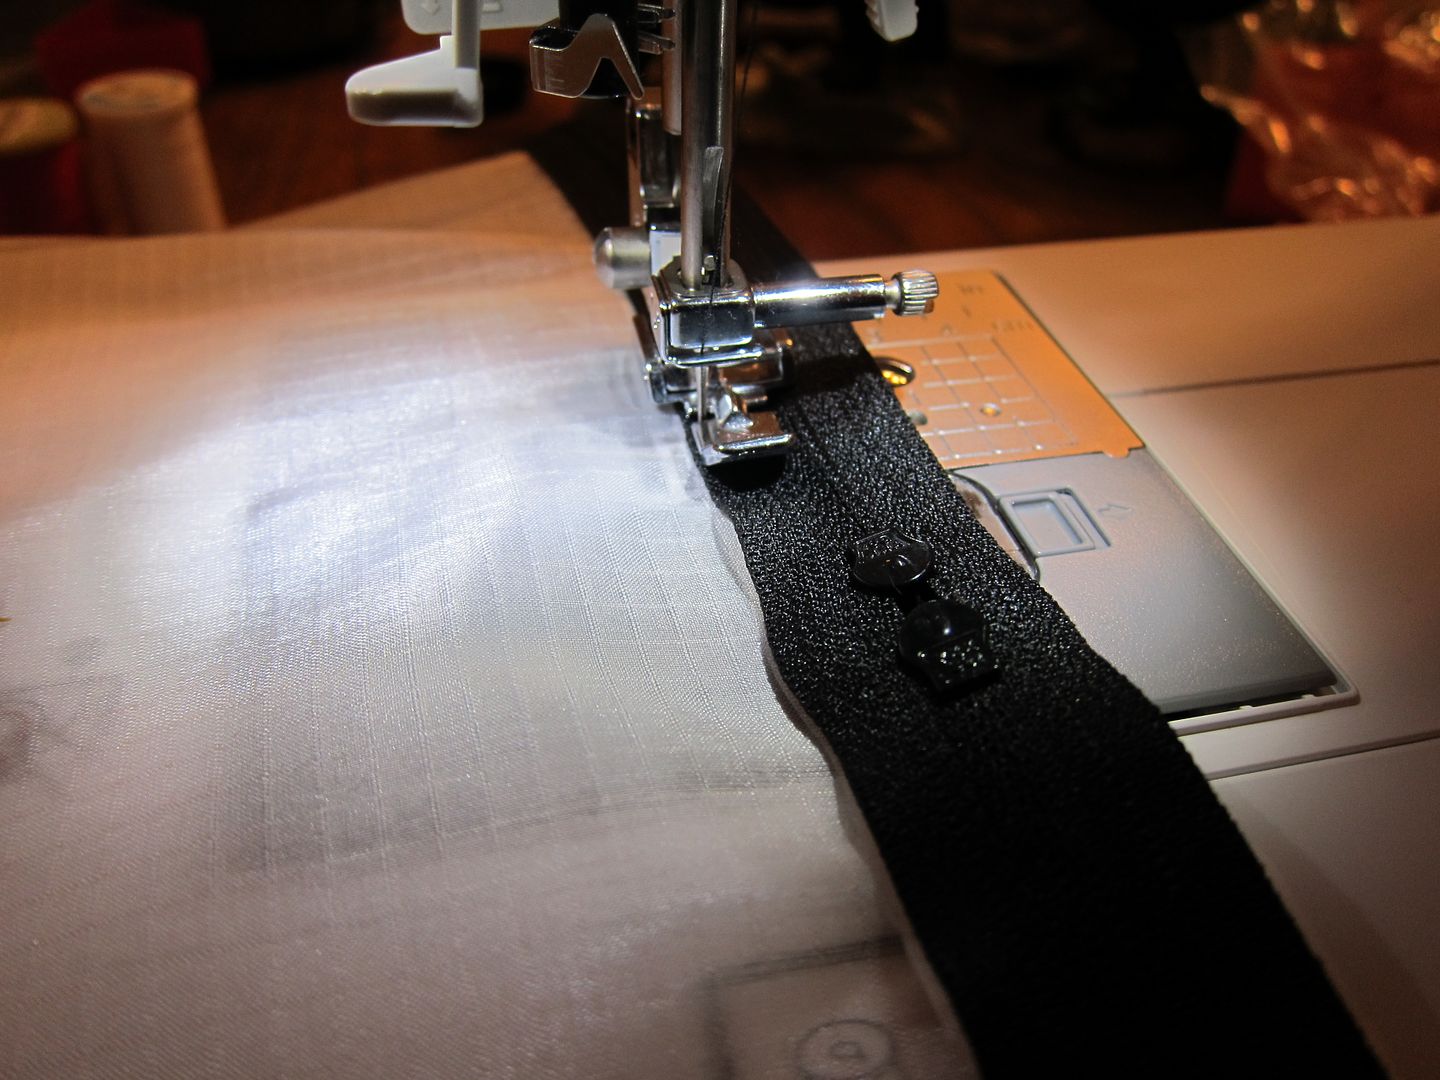
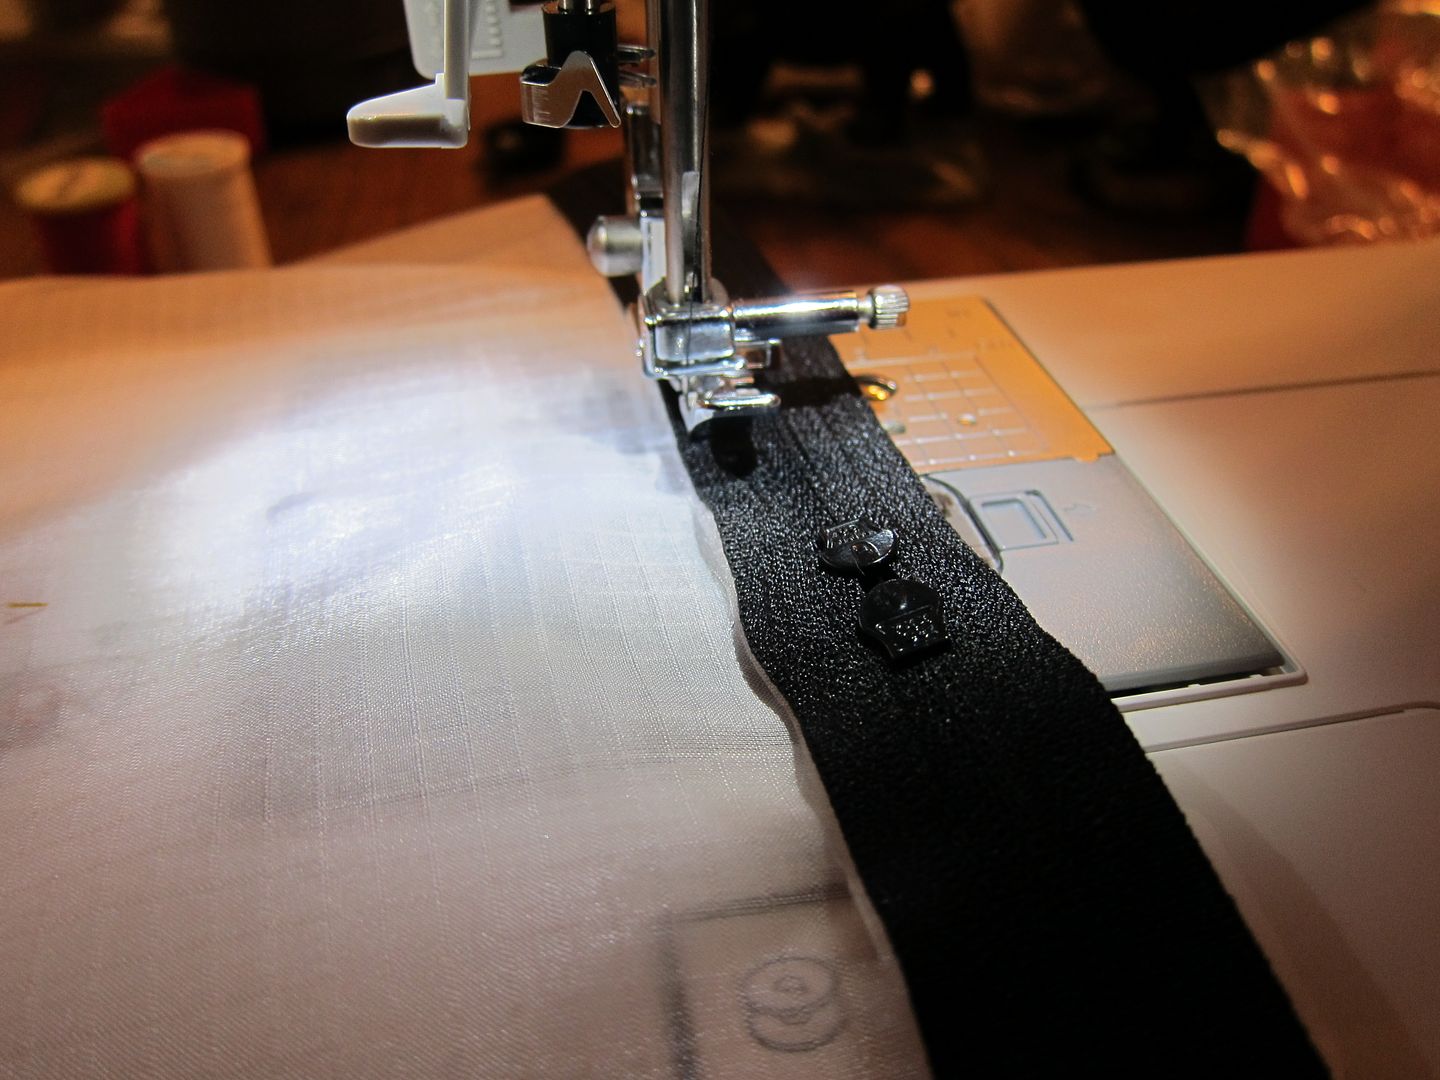
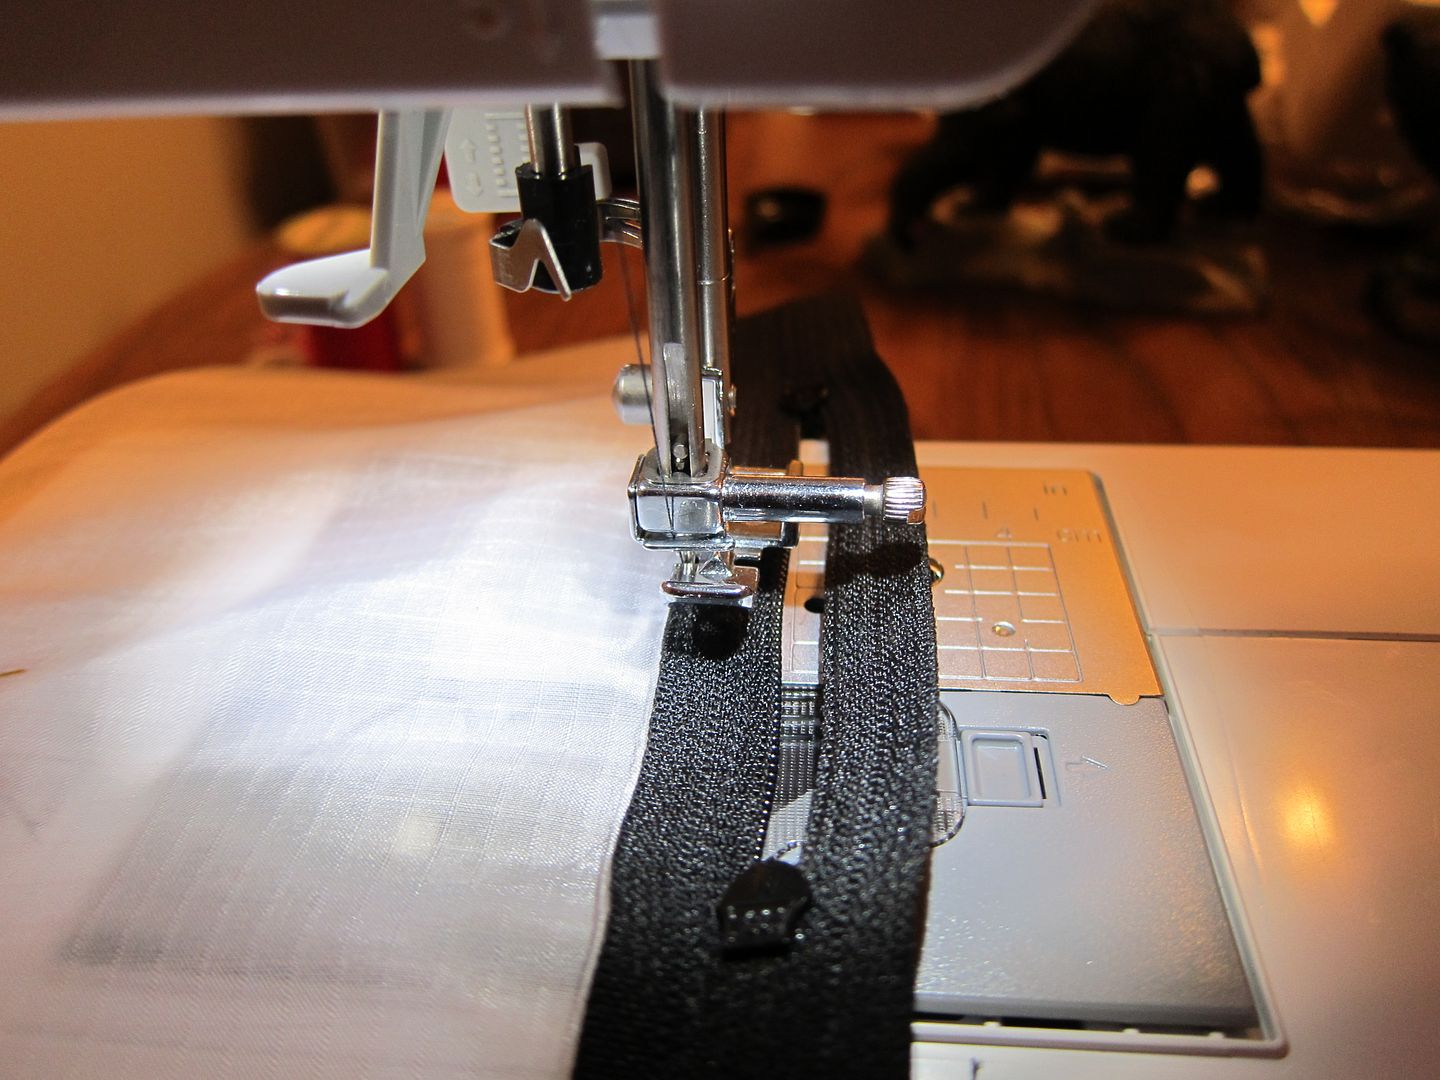
Next up would be some zippers. I purchased some via Amazon that came from ZipperStop. The bundle deal through Amazon was very cheap and they combined shipping so I ended up with 22 zippers (8" & 14" lengths) for like $10 shipped. The 14" is what I use the most for what I have done so far. You can always cut them down so I would suggest getting plenty of length. So far, everything I have done uses #3 YKK single-pull zippers which work fine. Below is a link to the 14" zippers I got. I would suggest buying quite a few as you will probably go through them quickly.

http://www.amazon.com/gp/product/B005MDYAQK/ref=oh_details_o02_s00_i00?ie=UTF8&psc=1

Once you have a sewing machine, fabric, zippers and thread, you are ready to go. For thread, I just picked up some 100% polyester thread from JoAnn Fabrics. It seems to work well and that is what was recommended on the DIY and hammock sites.

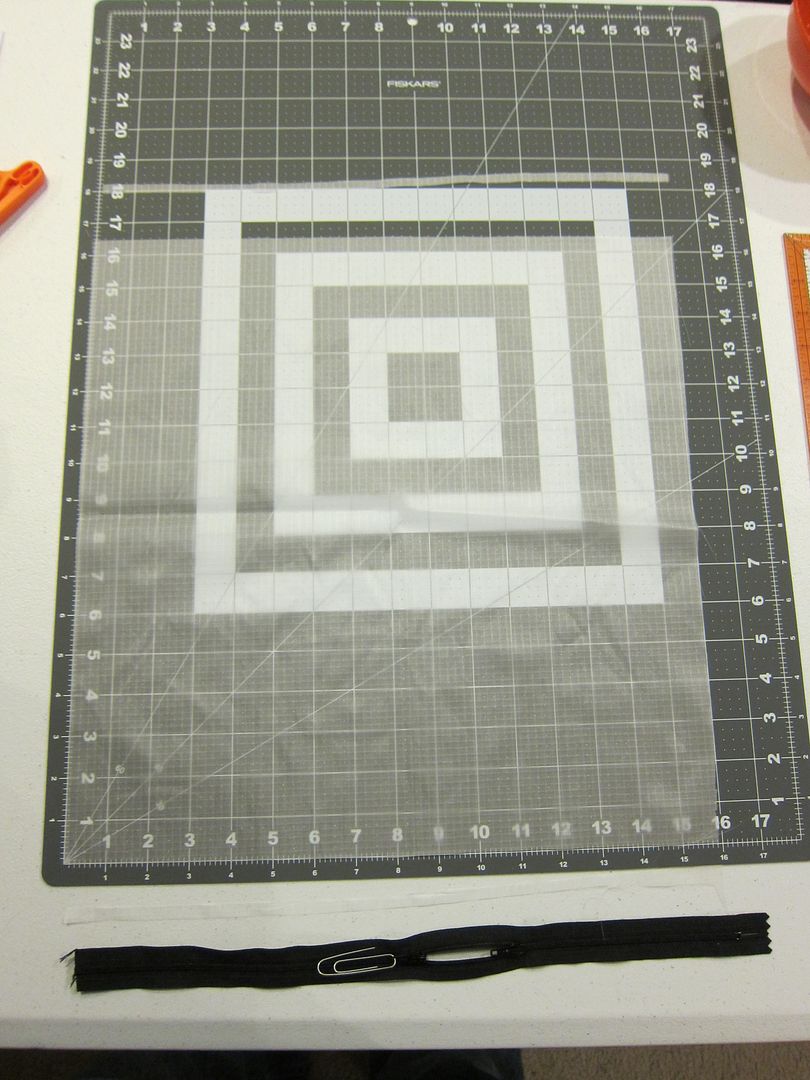
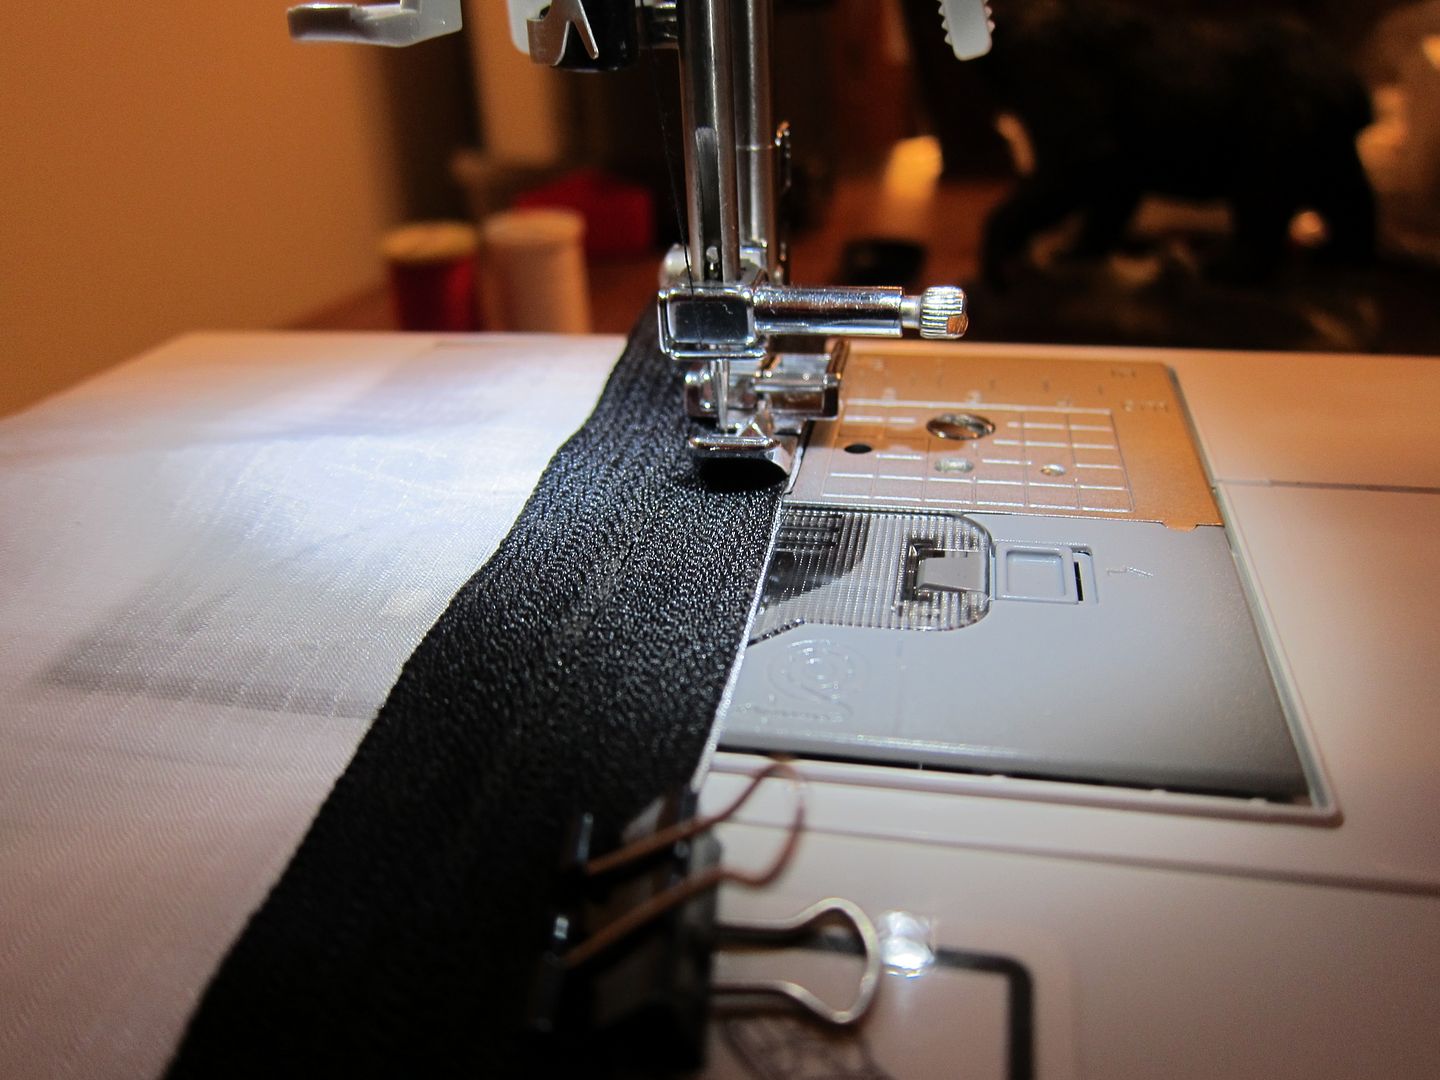
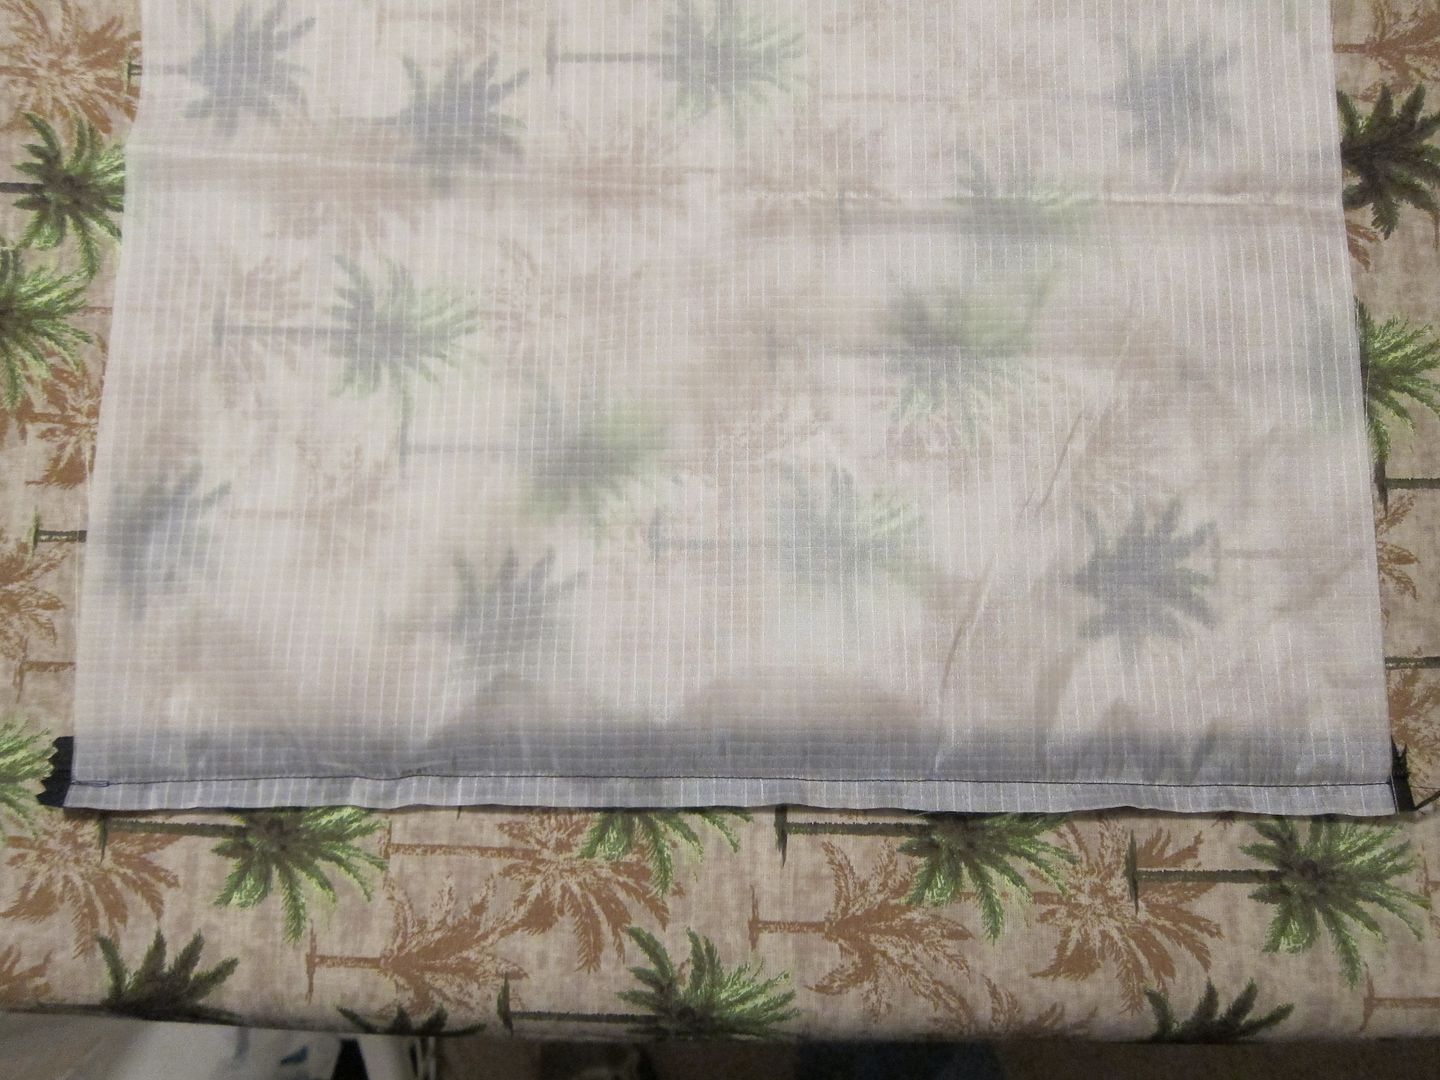
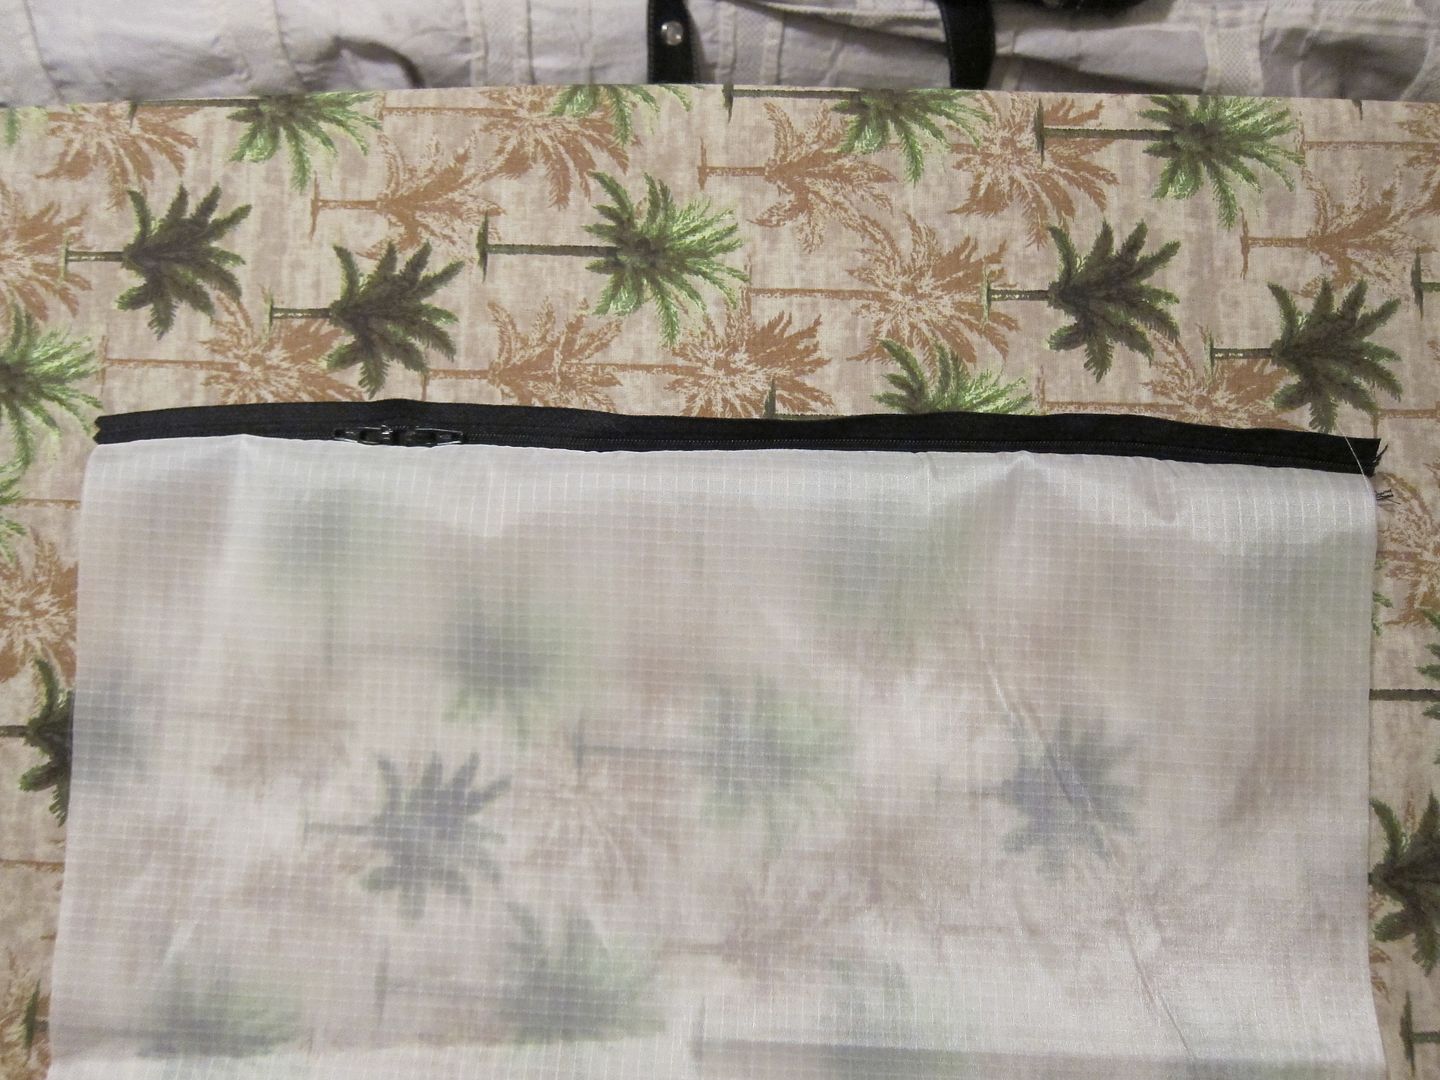
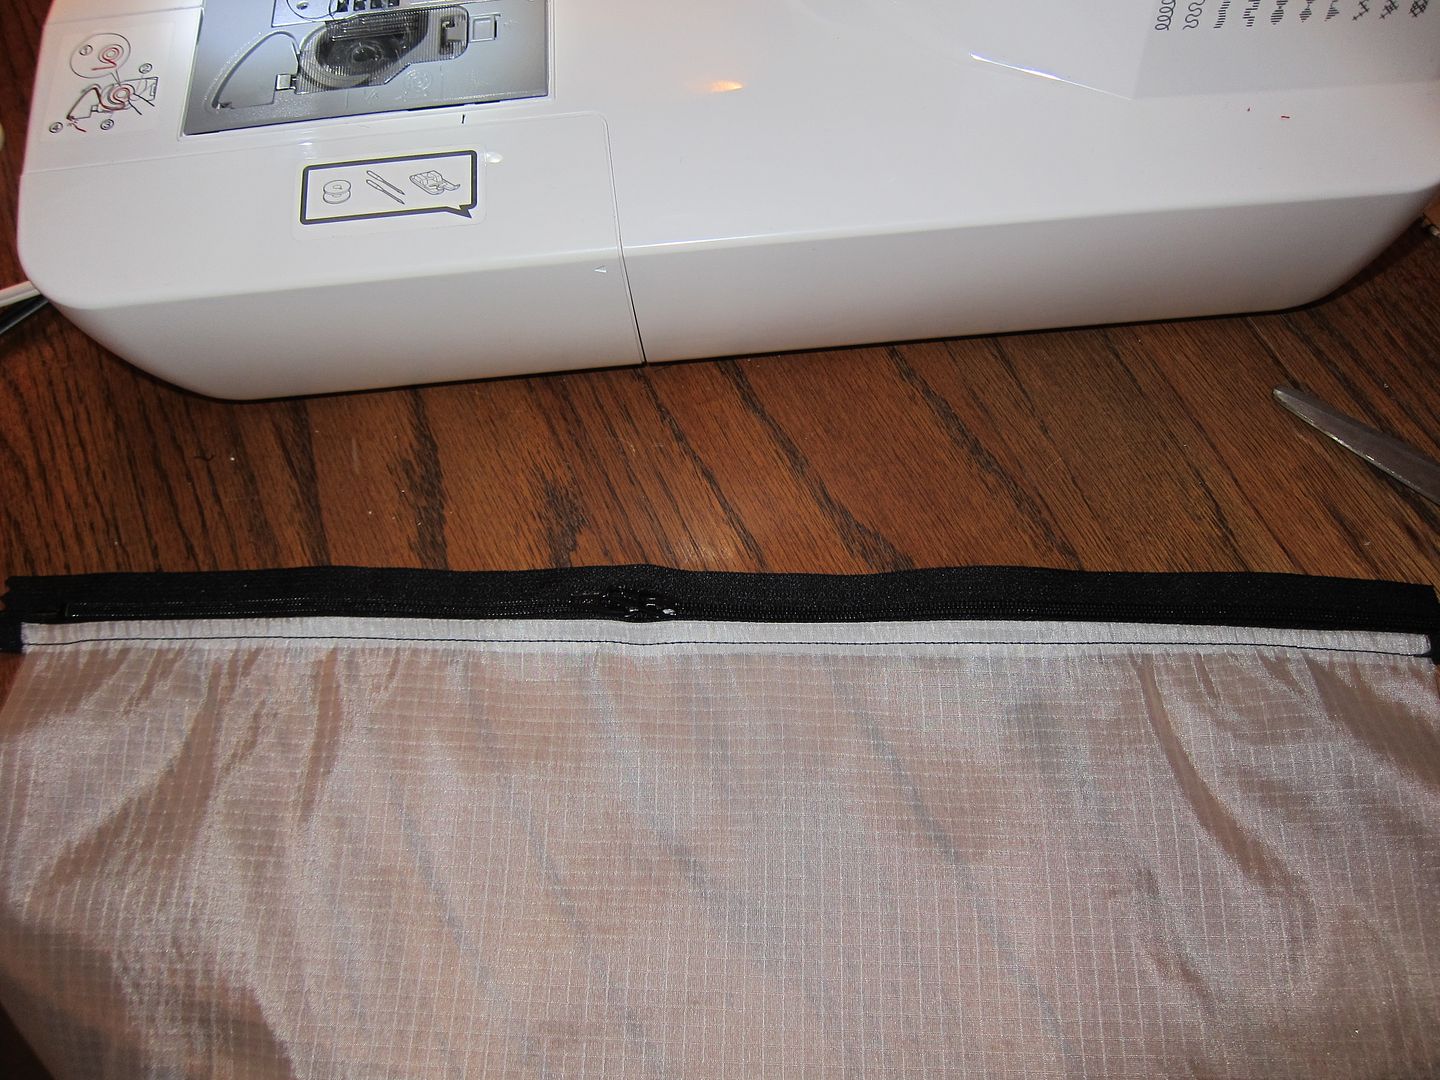
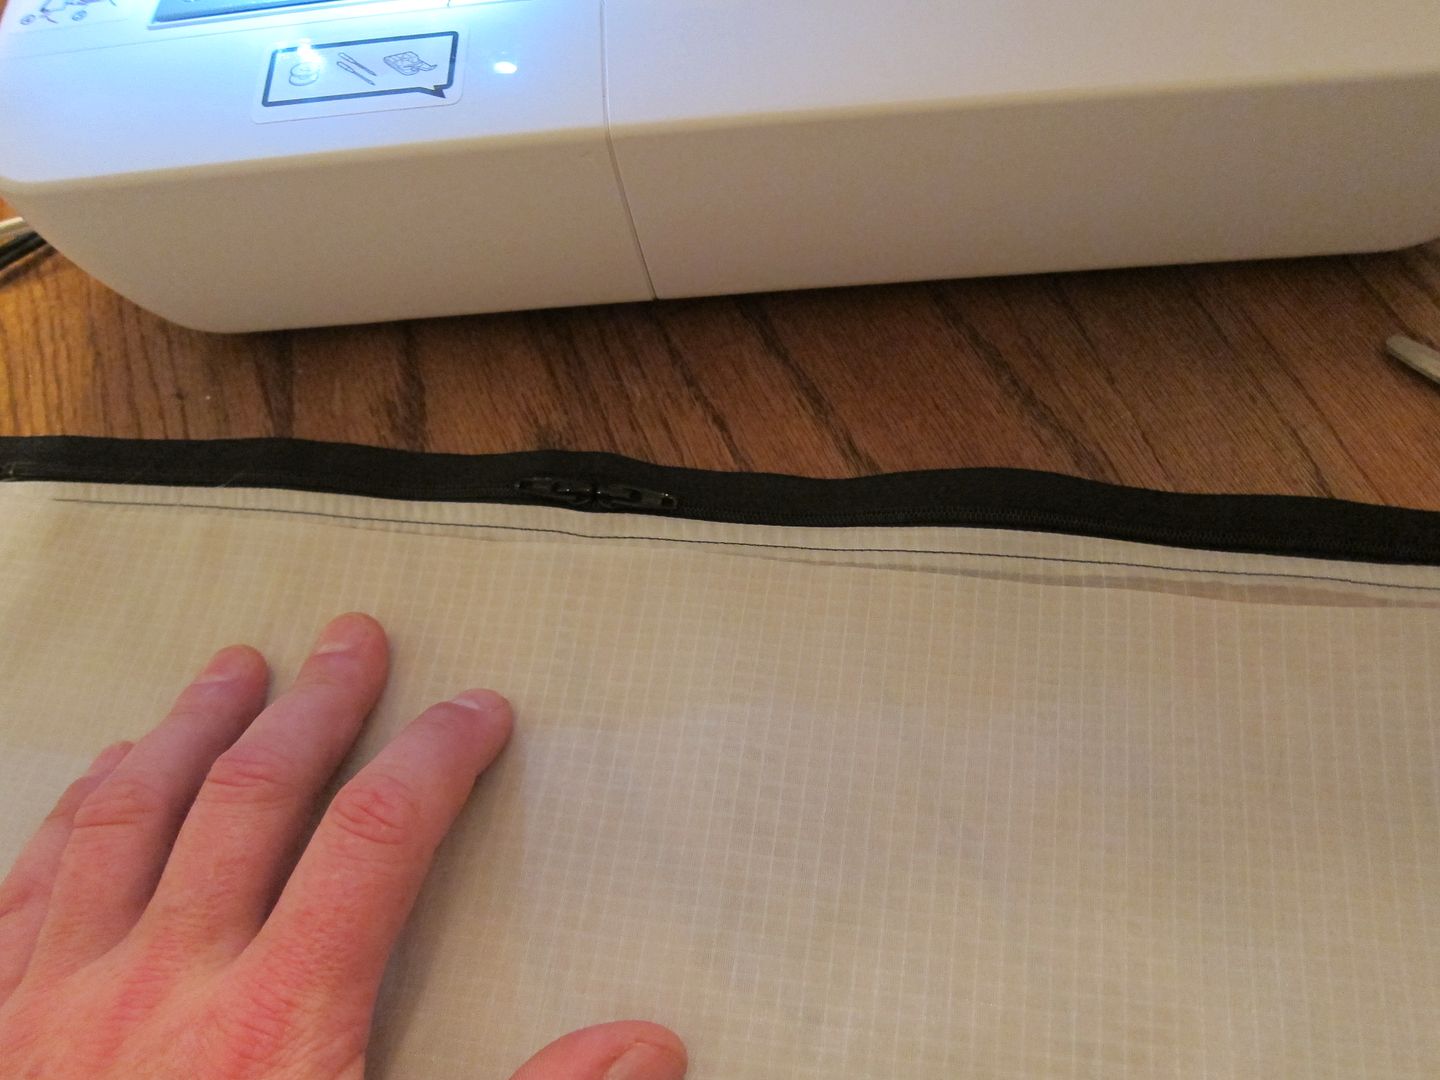
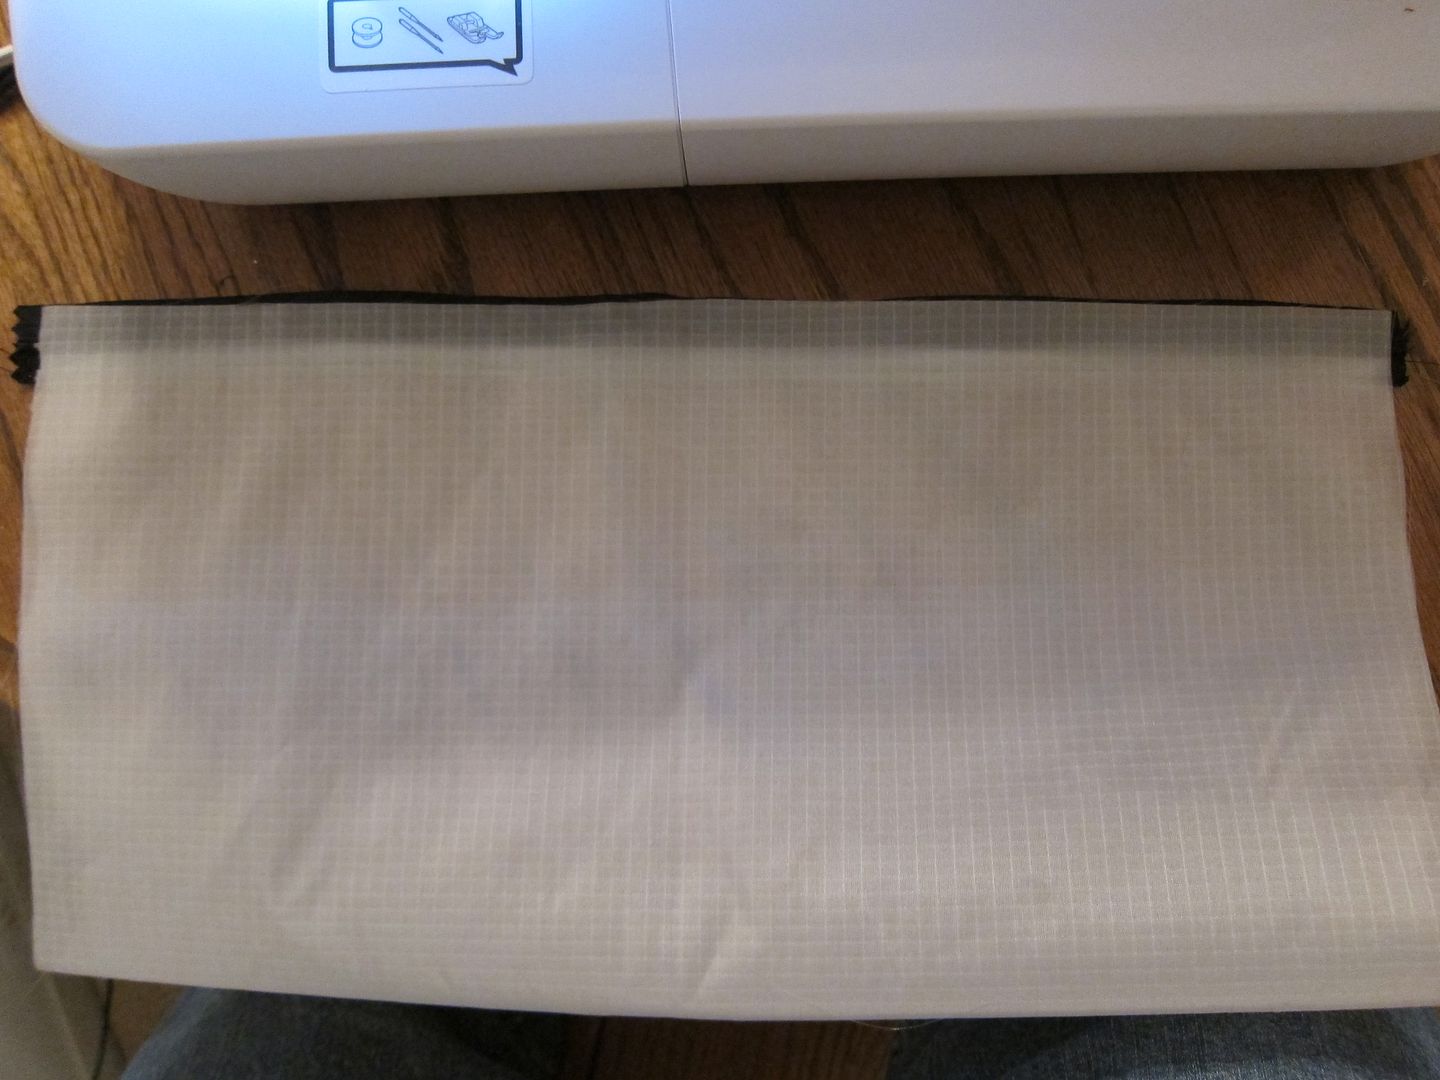
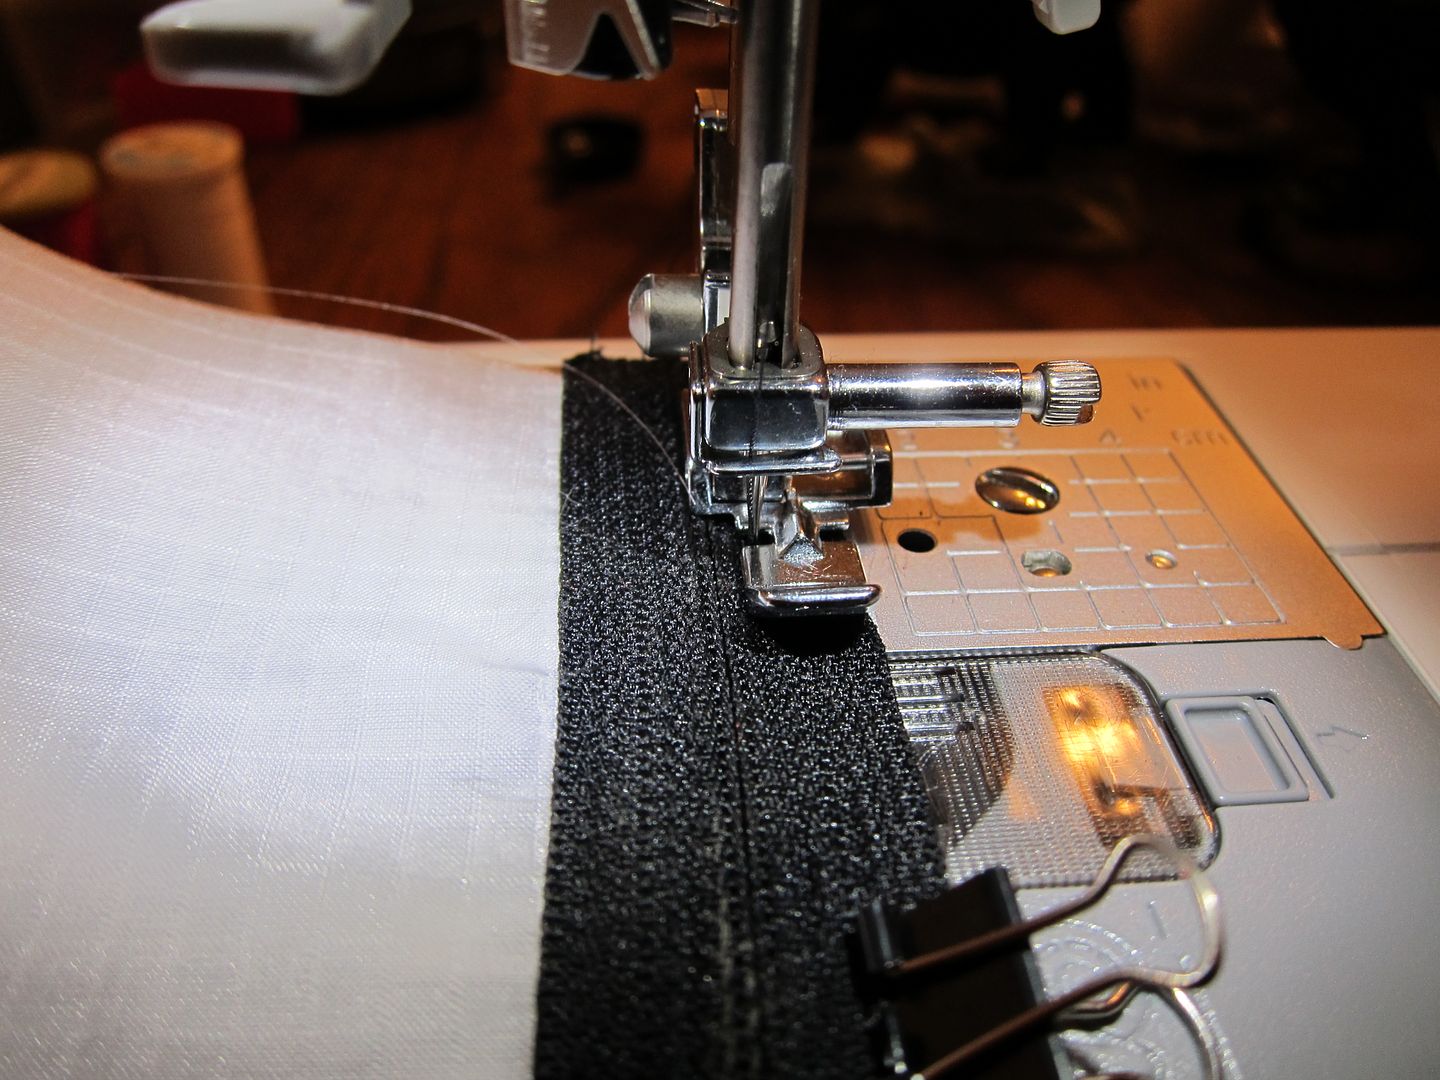
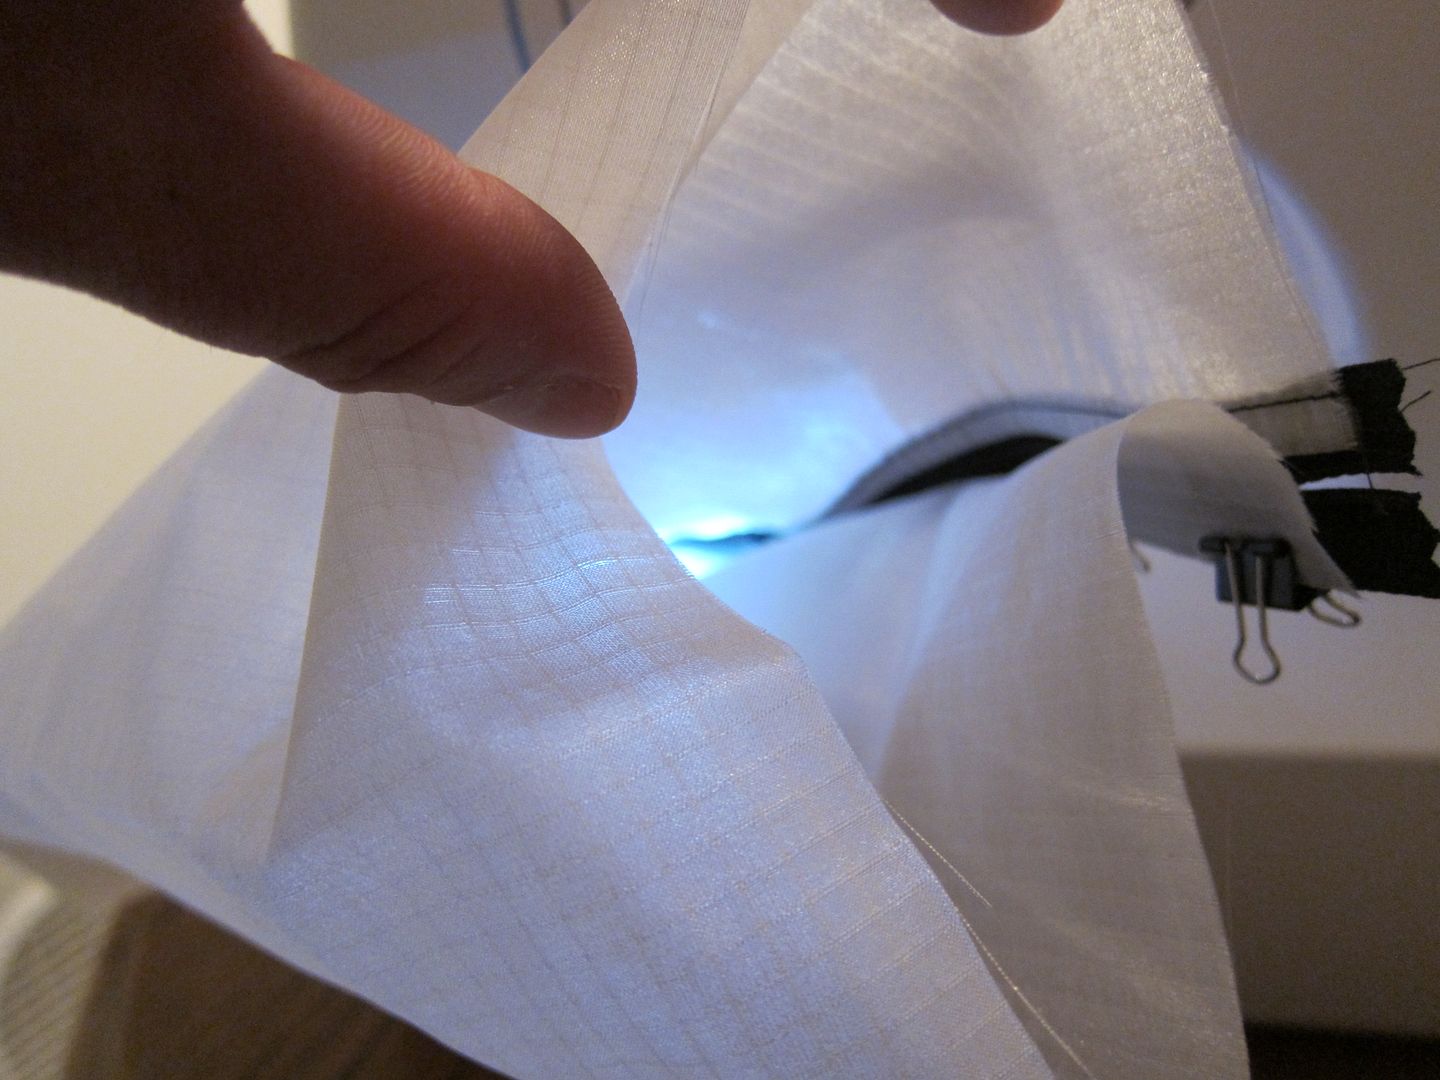
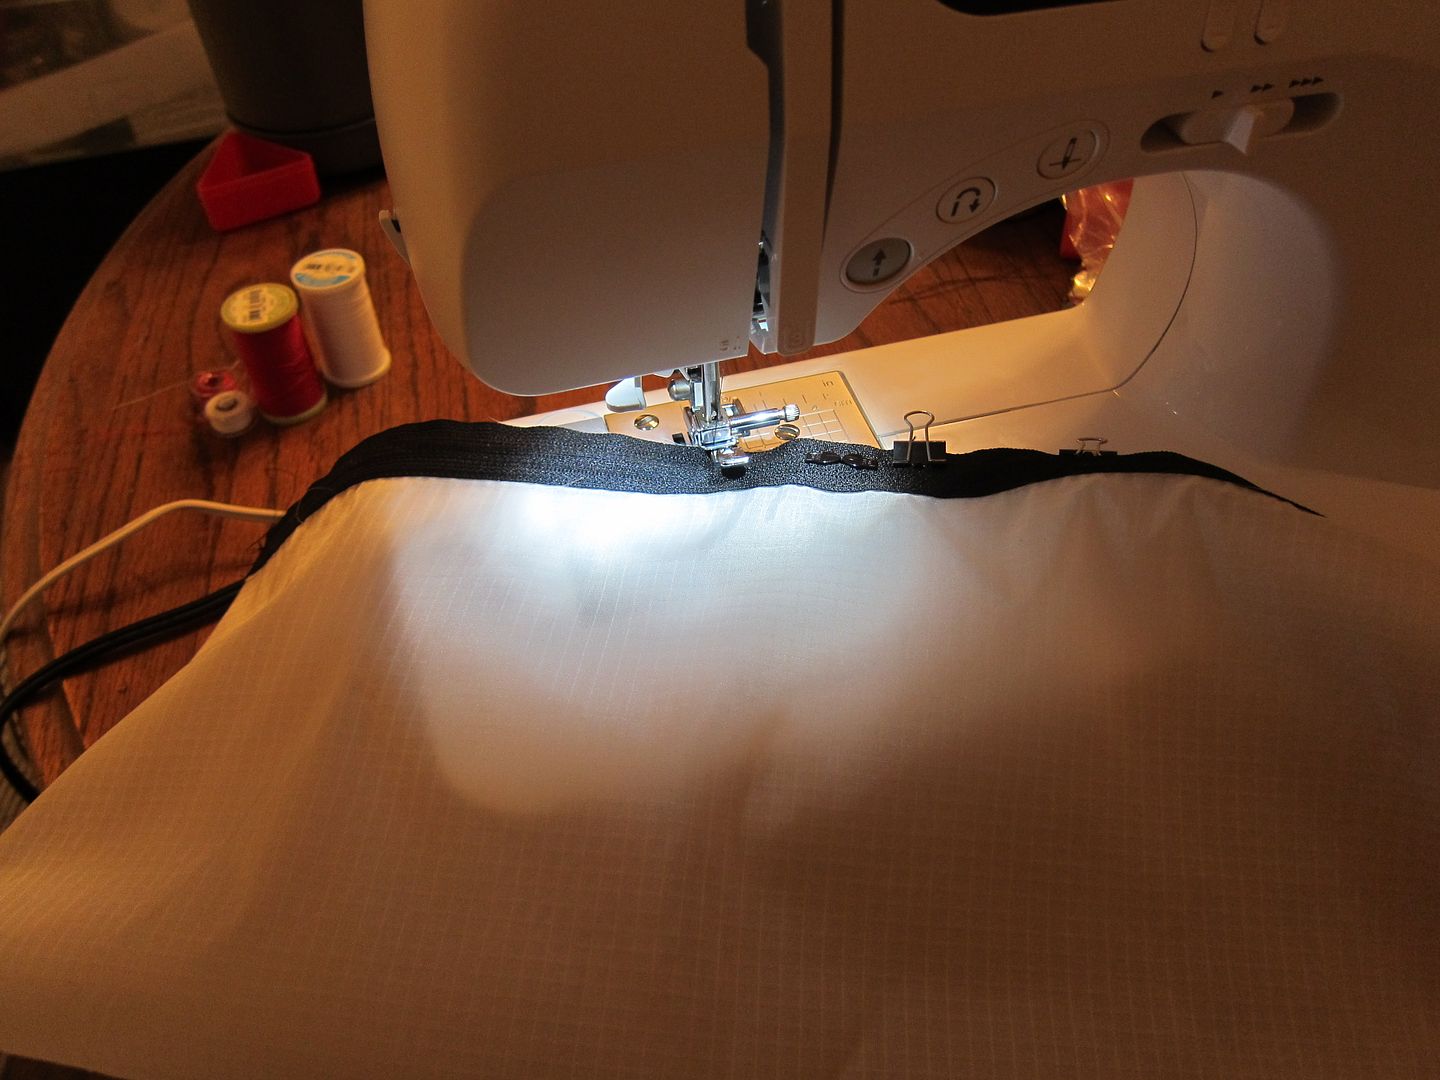
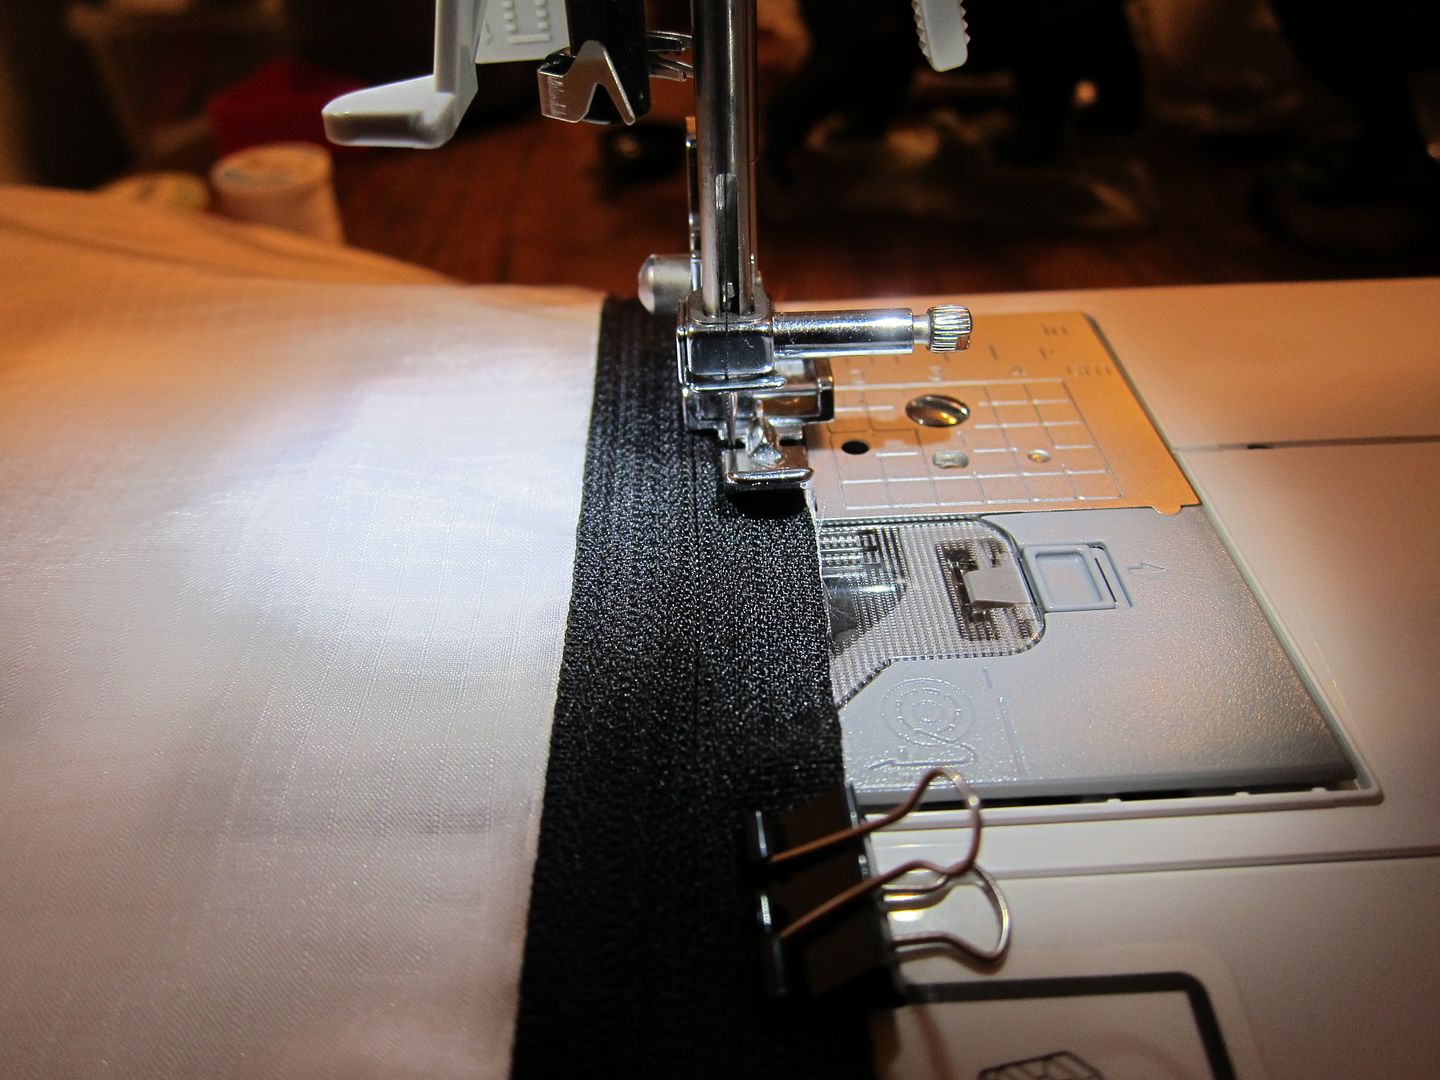
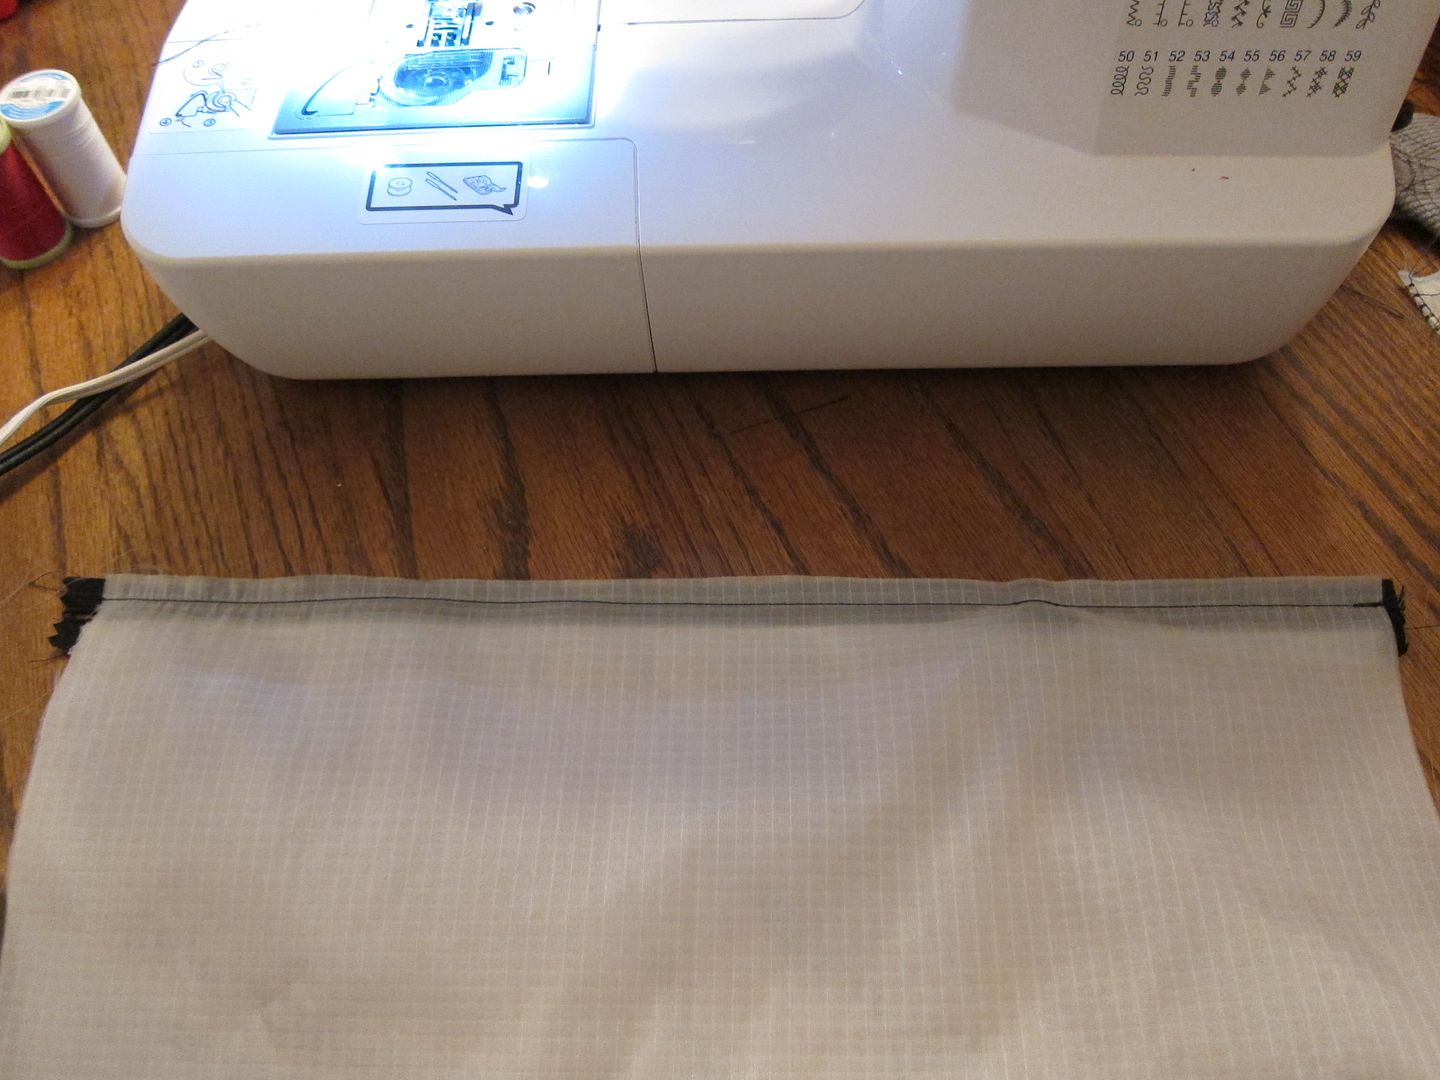
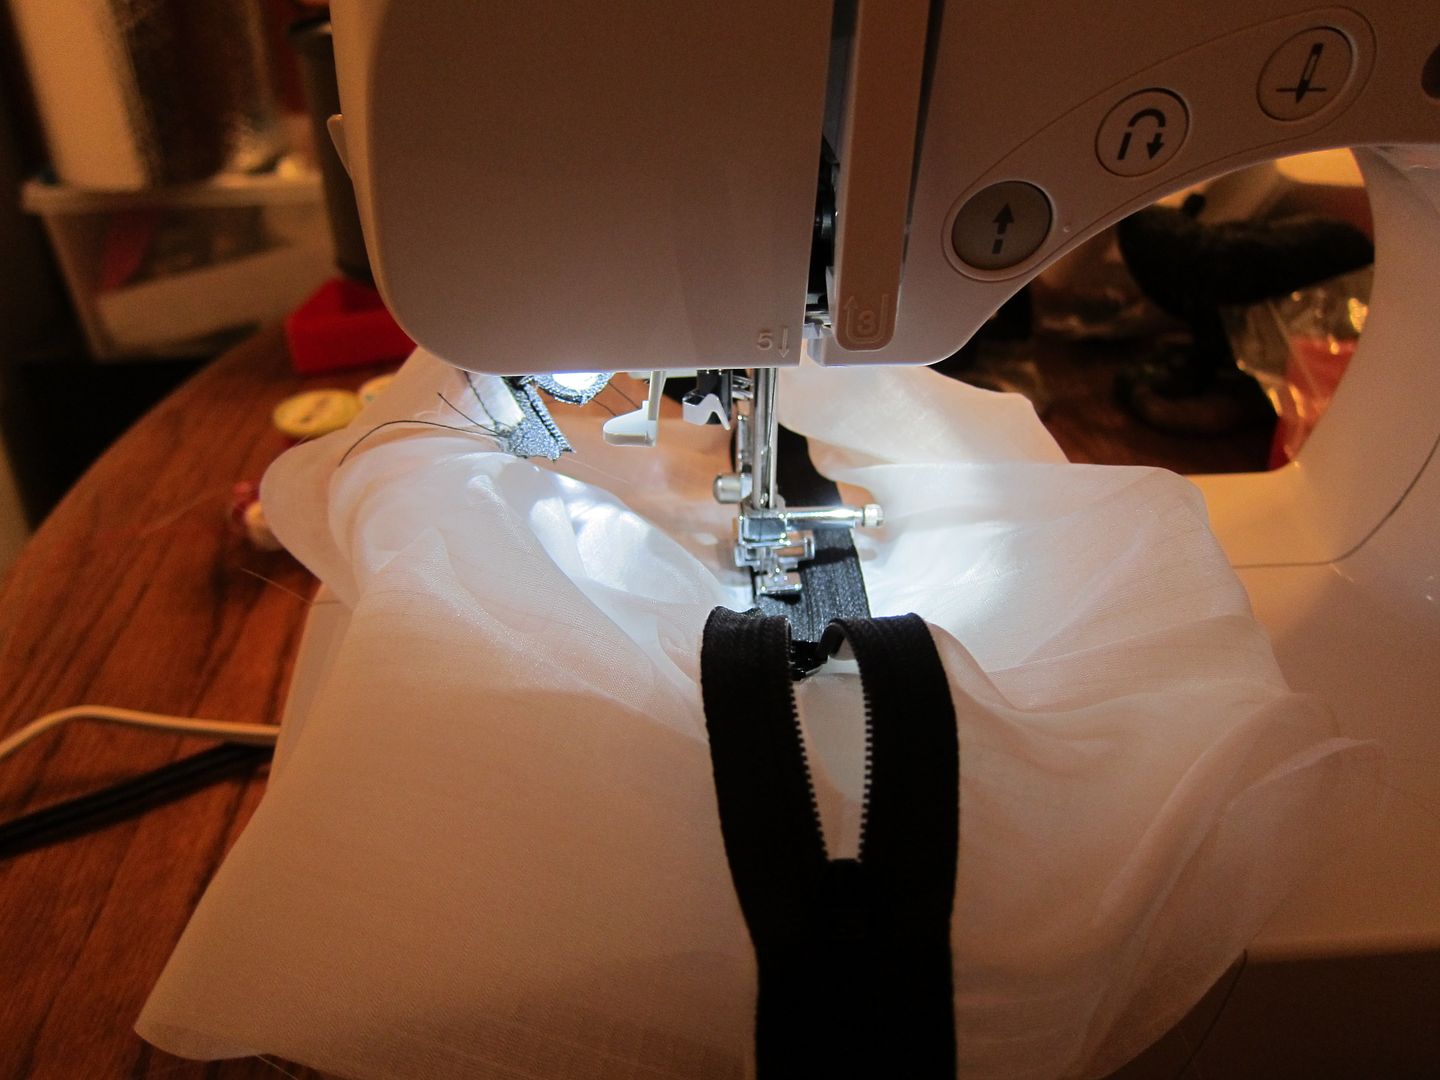
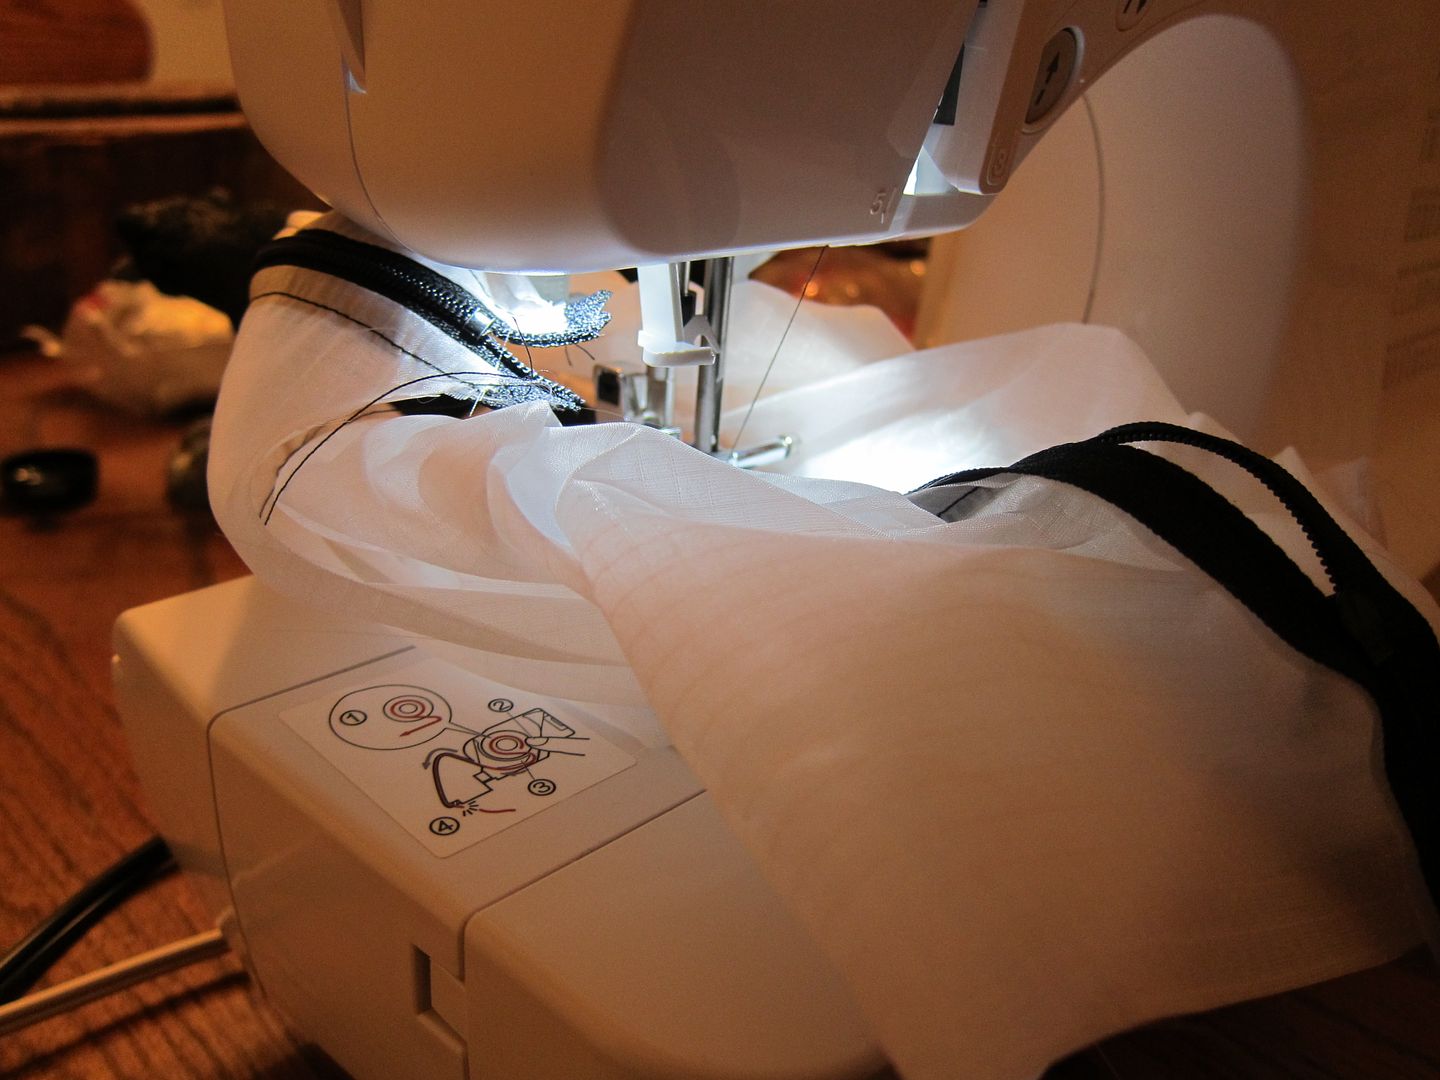
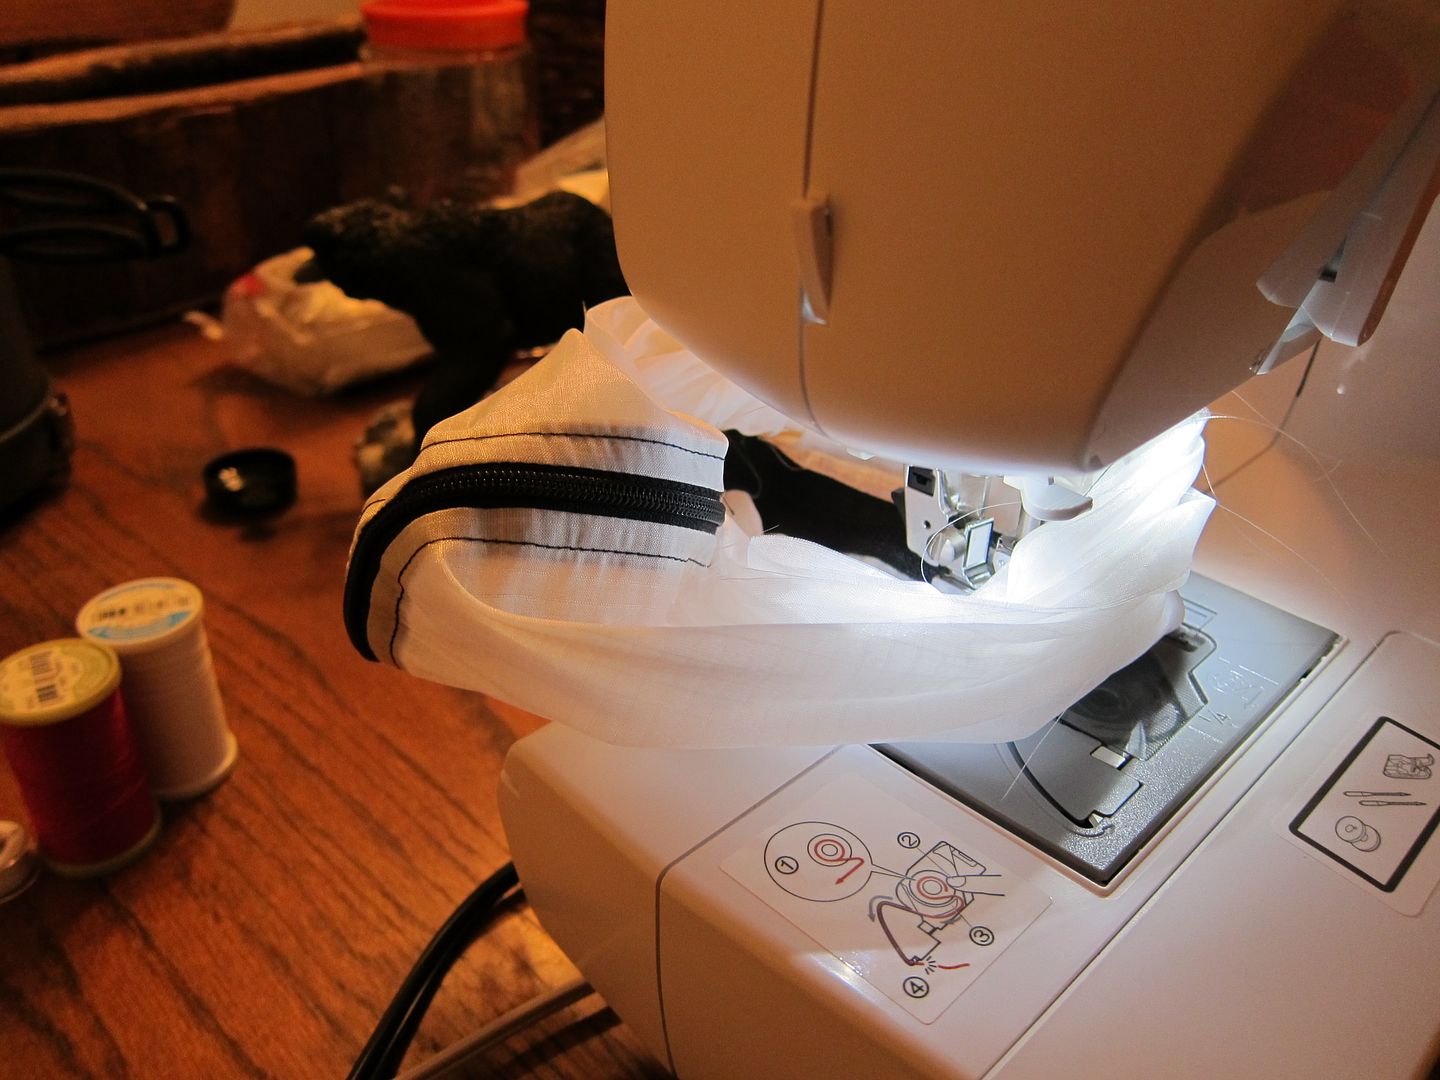
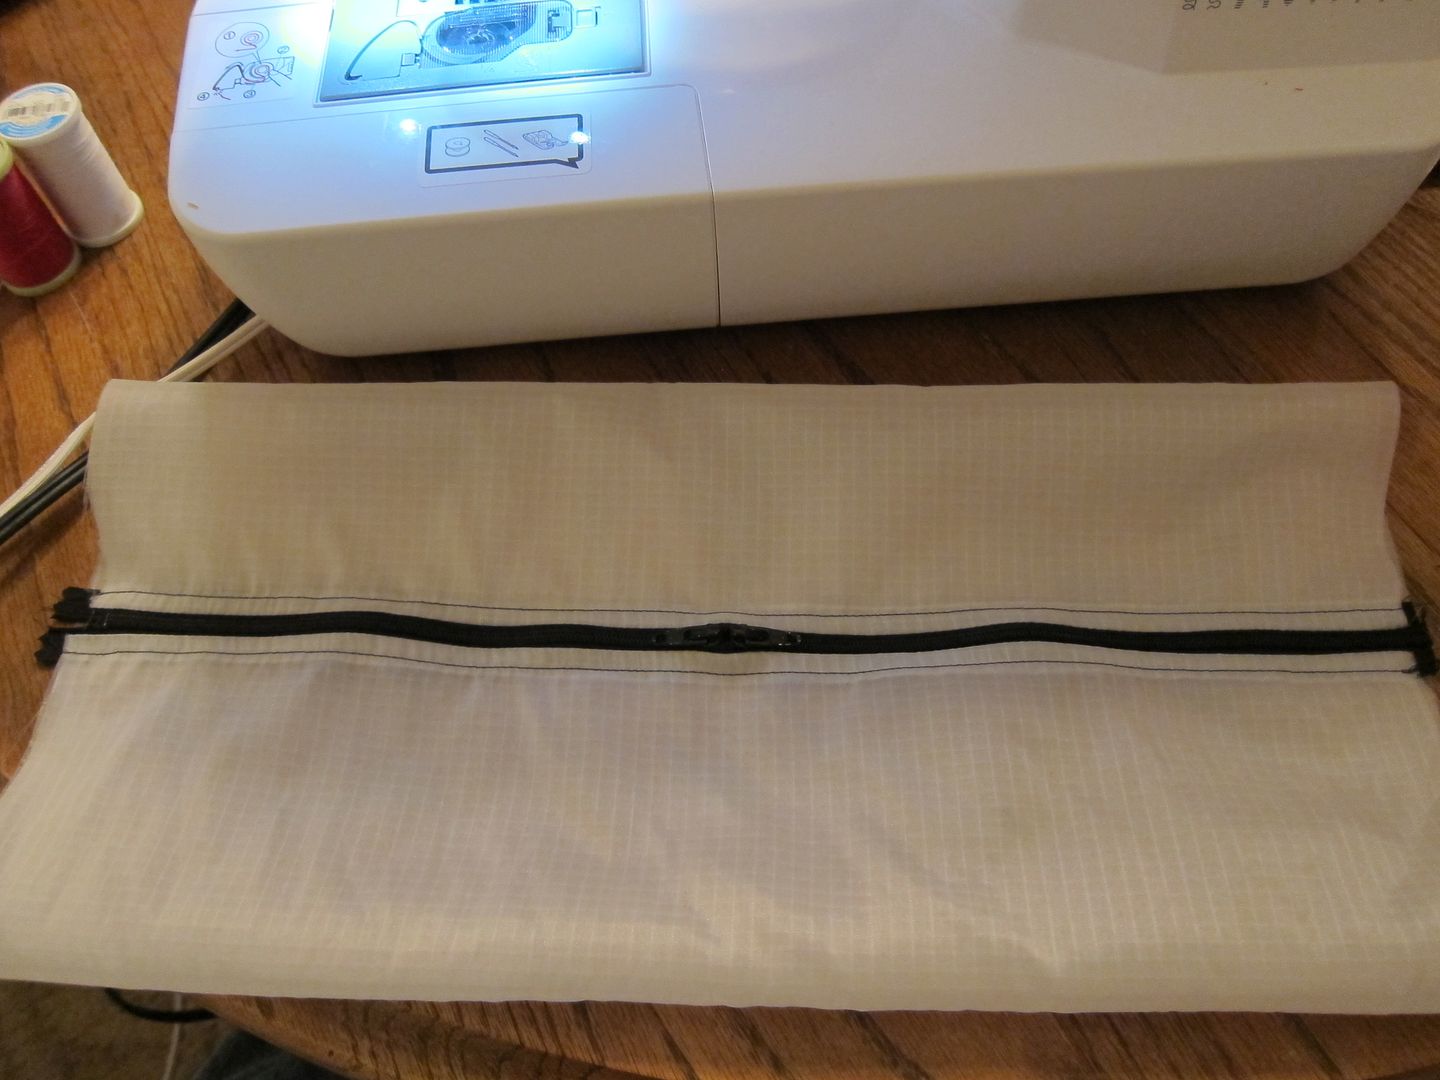
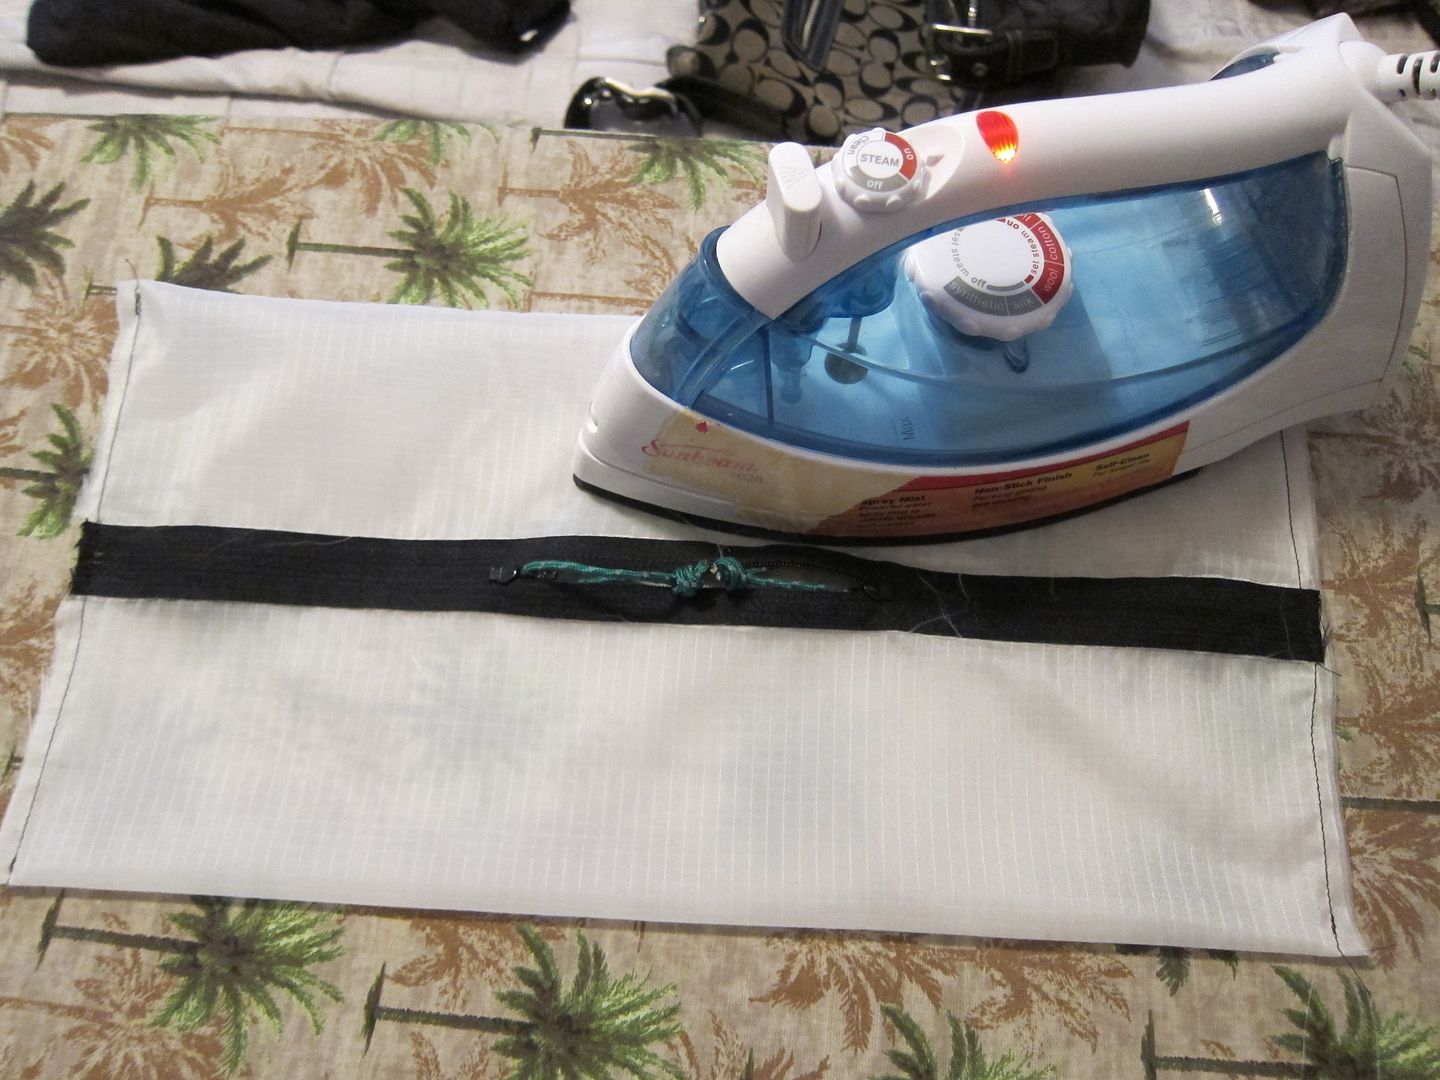
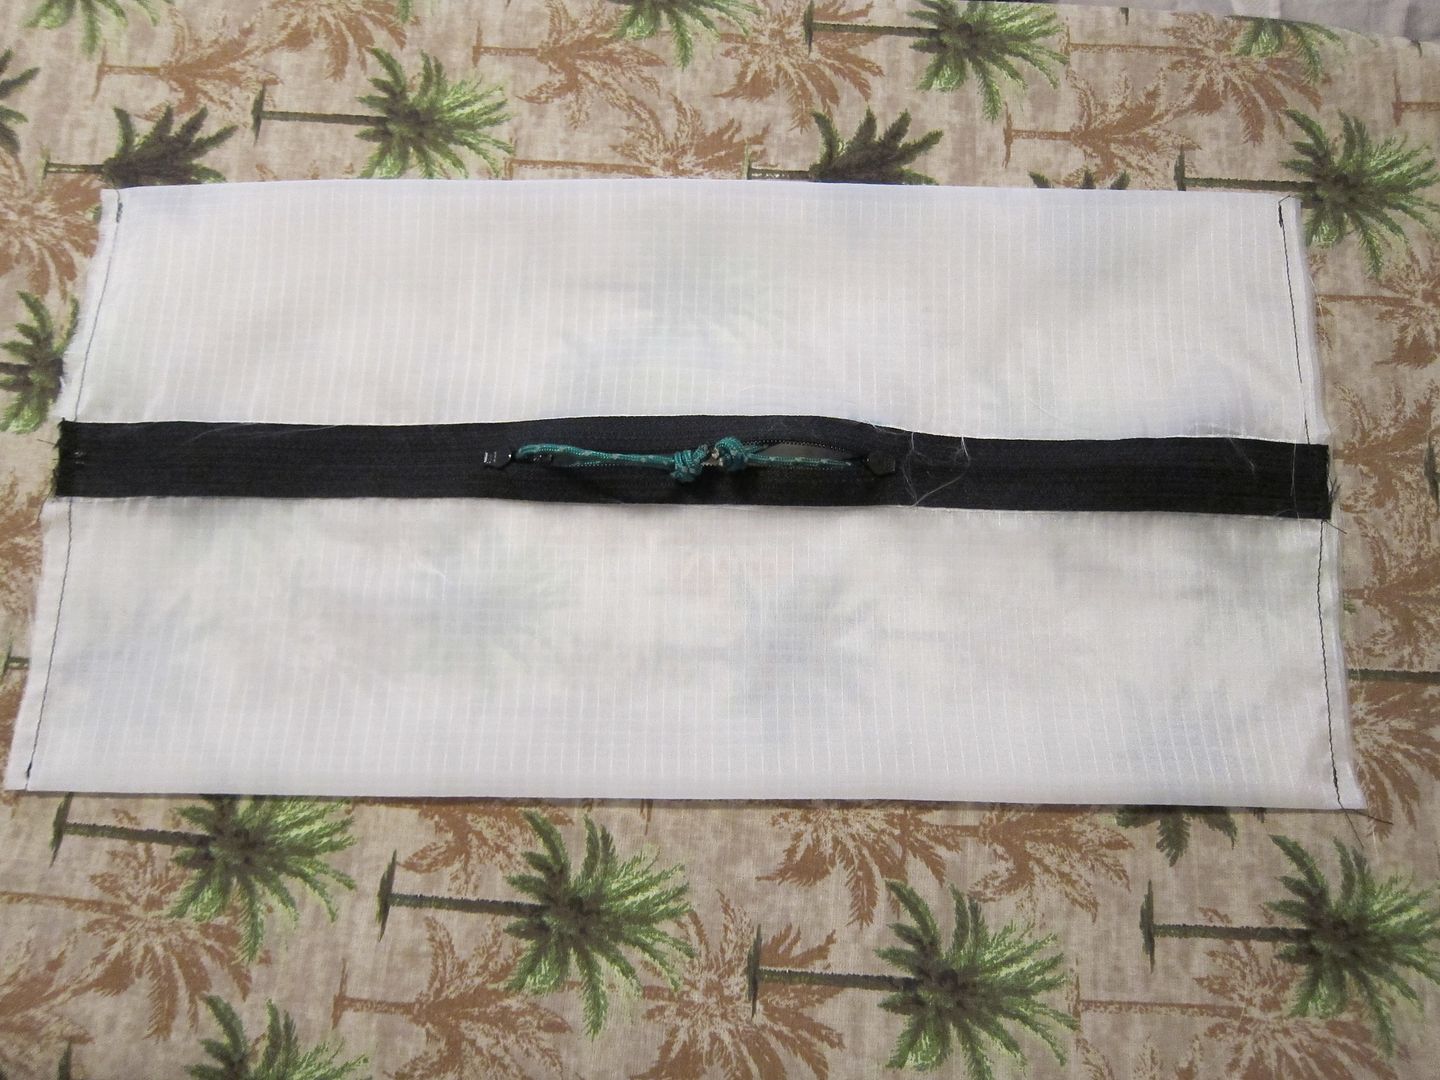
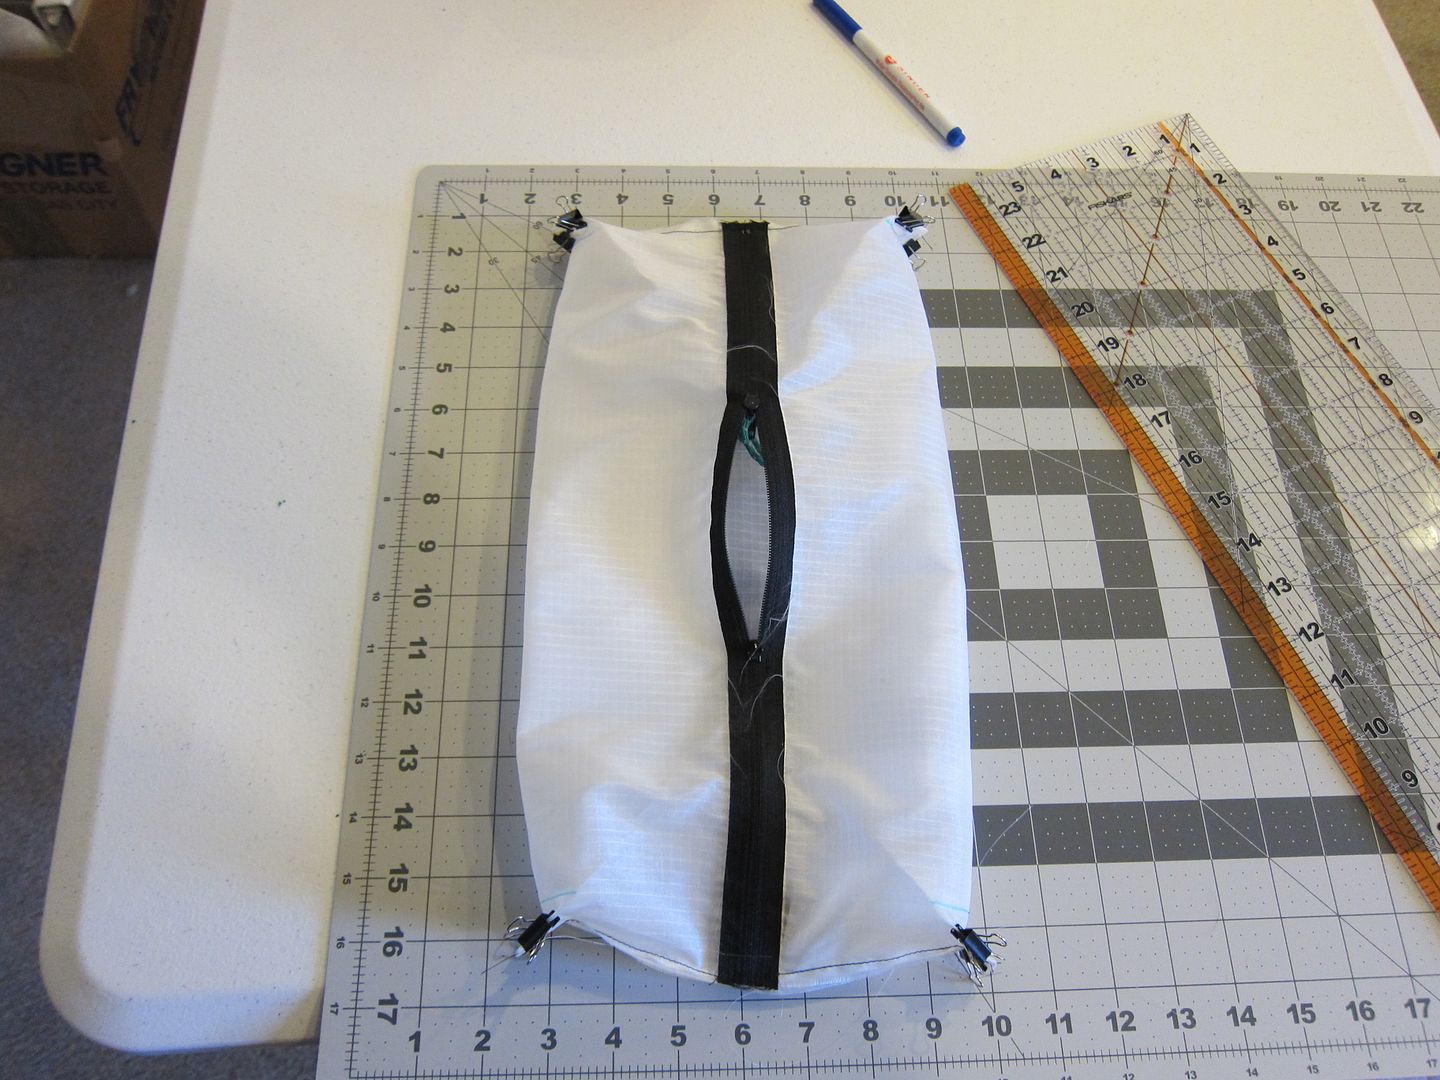
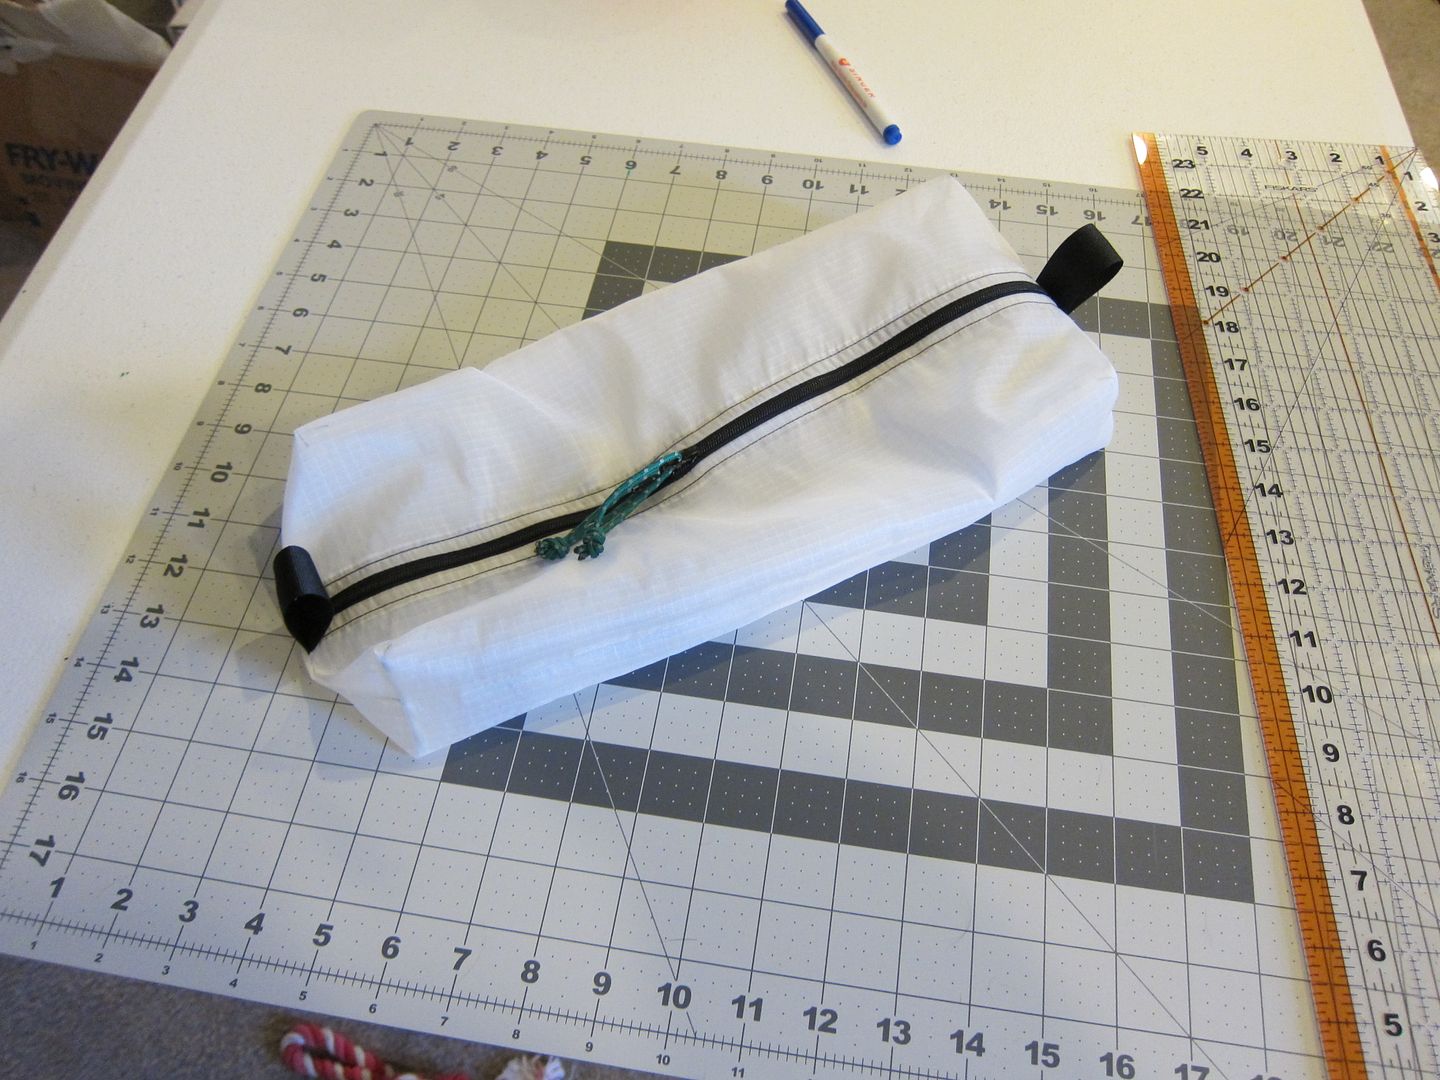
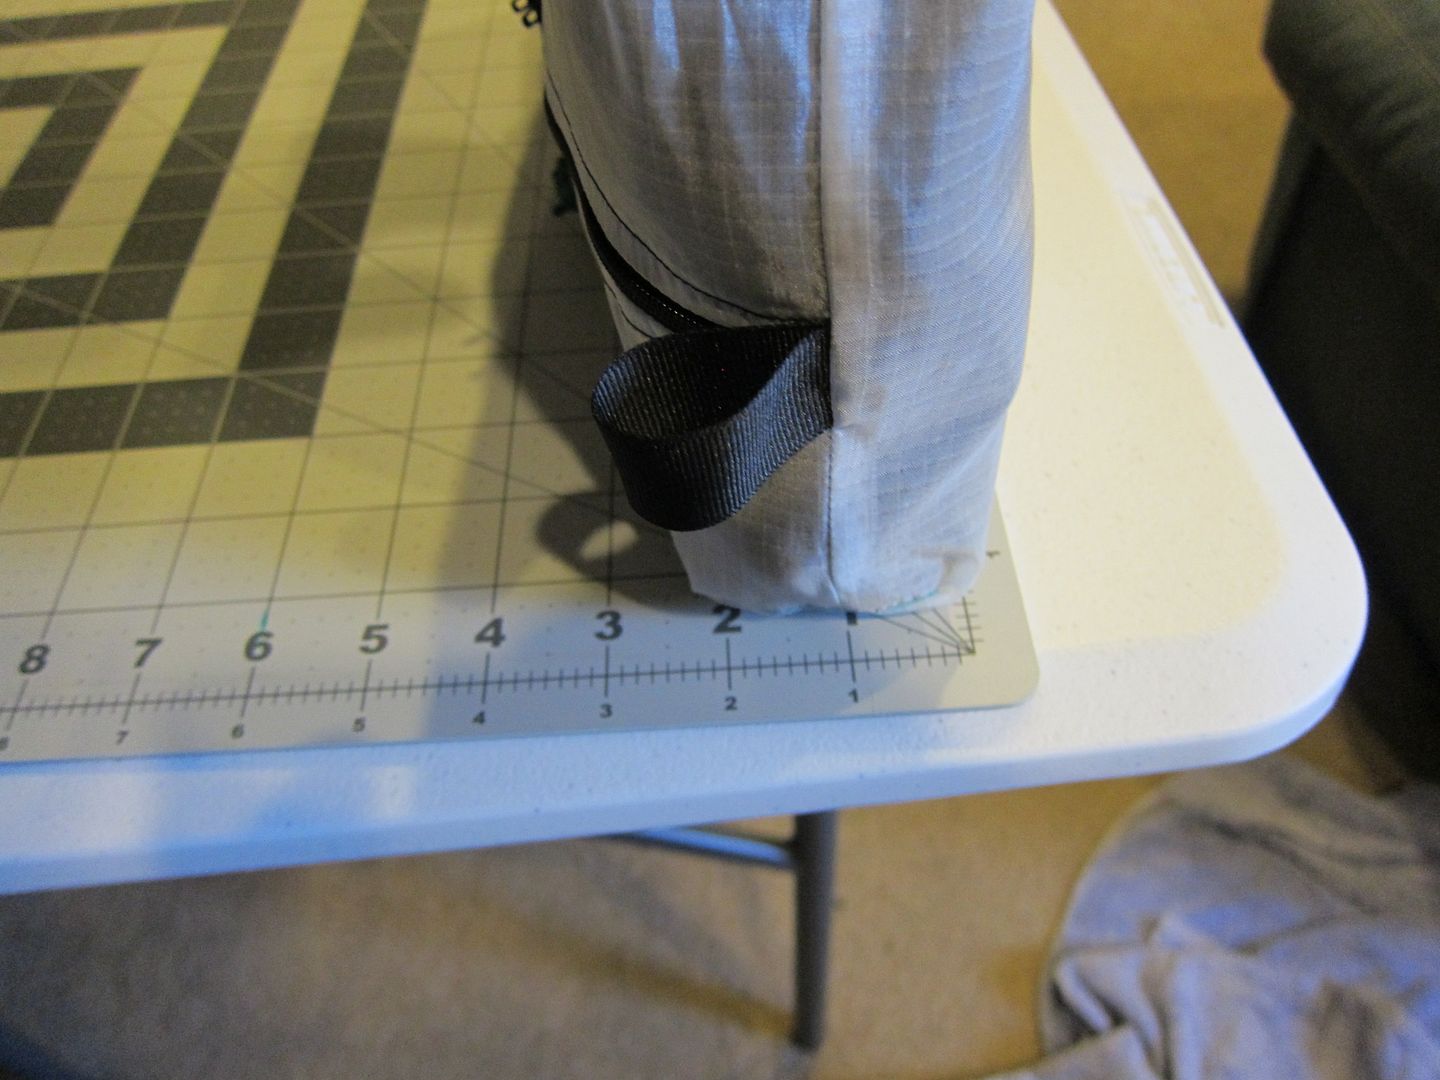
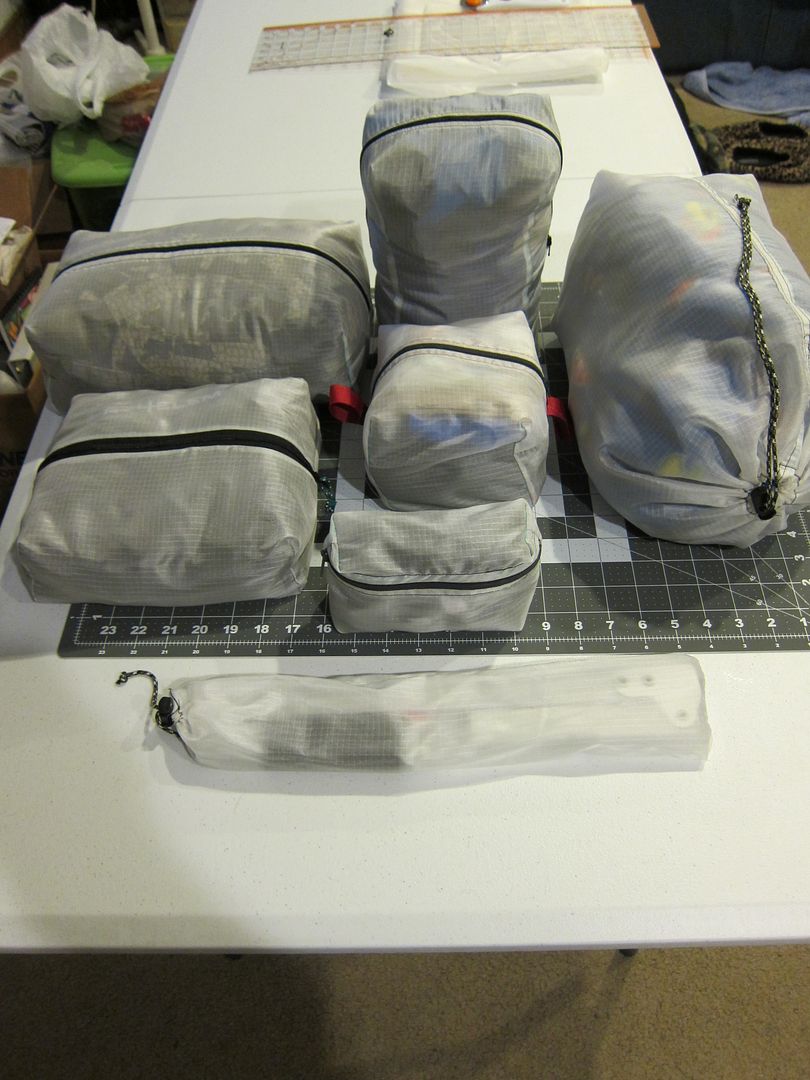
With that, here are some of that I have done so far. I have sewn everything with black thread even though the ripstop is white. Obviously you would want to match the thread to the fabric but I kind of like how it looks and it allows me to see my mistakes and learn from them. At the bottom is a little stuff pouch I made for my Sawvivor.

IMG_2208_zpsbd670f39.jpg


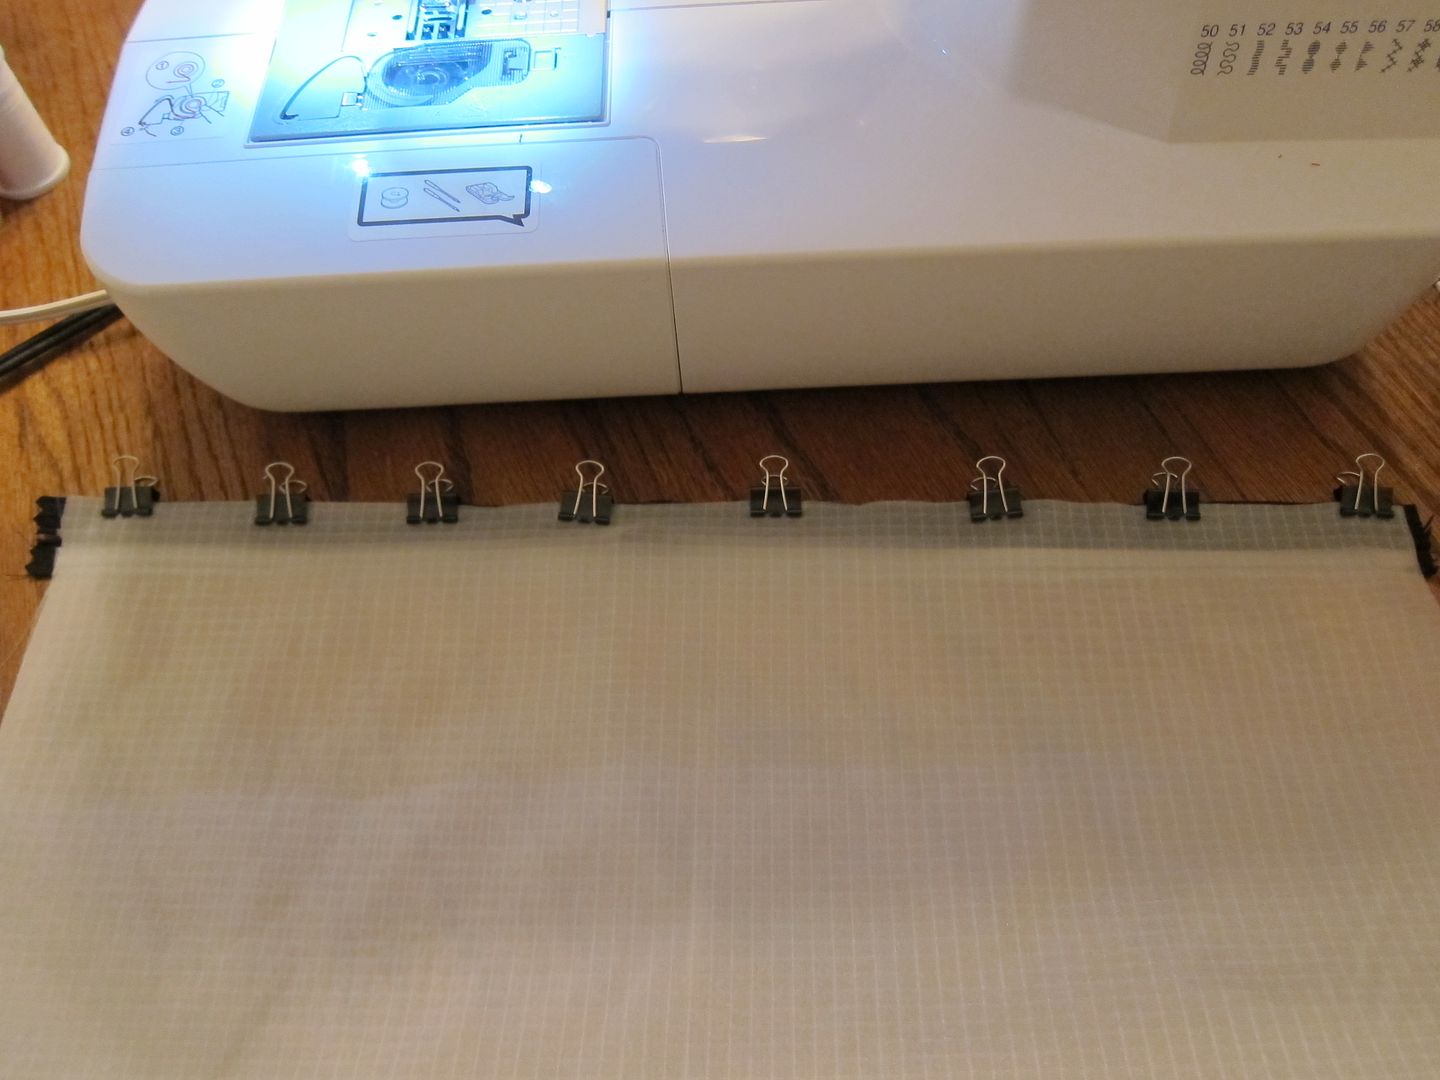
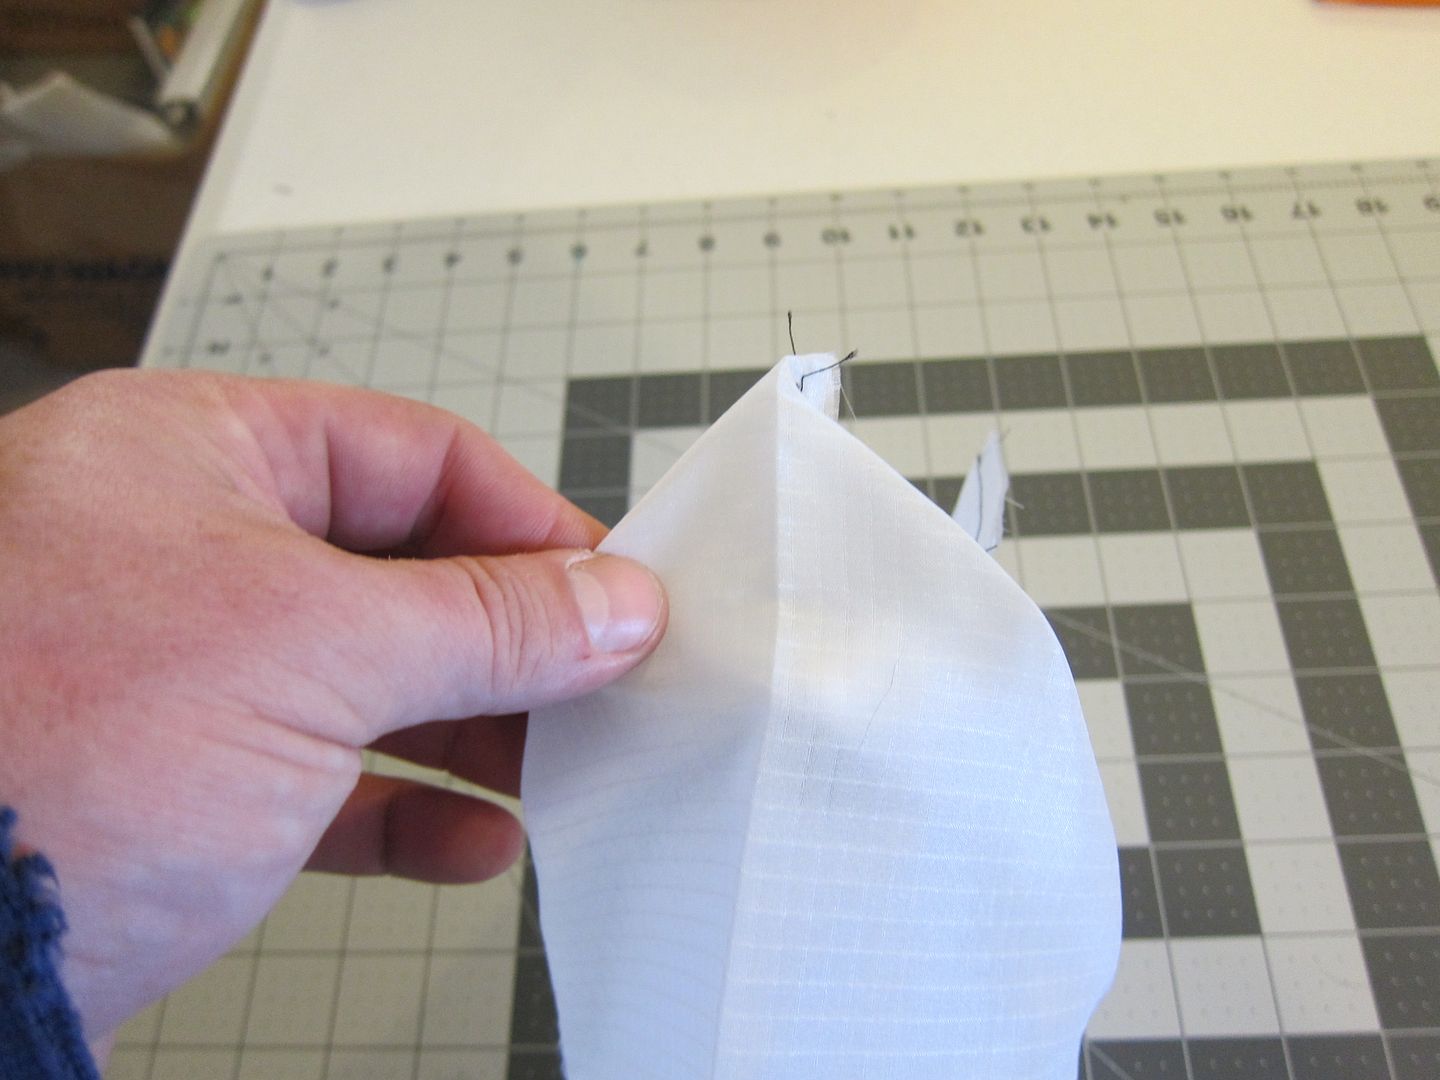
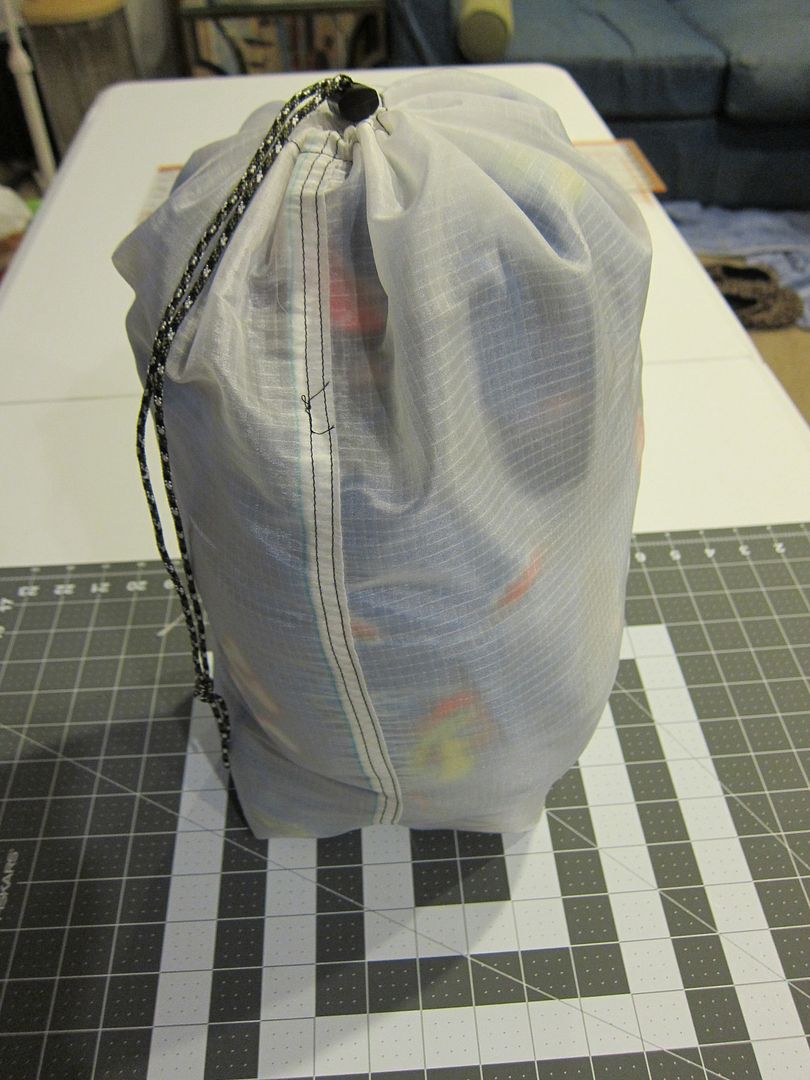
Here is the large stuff sack. You can see a little oops in the seam where I forgot to check the bobbin and ran out of thread. Stuff sacks like this are a great way to learn to do a flat felled seam which you might want to use if you wanted to make your own tarp where you need to join two large pieces of fabric. We will get to that later.

IMG_2209_zps88f472dd.jpg


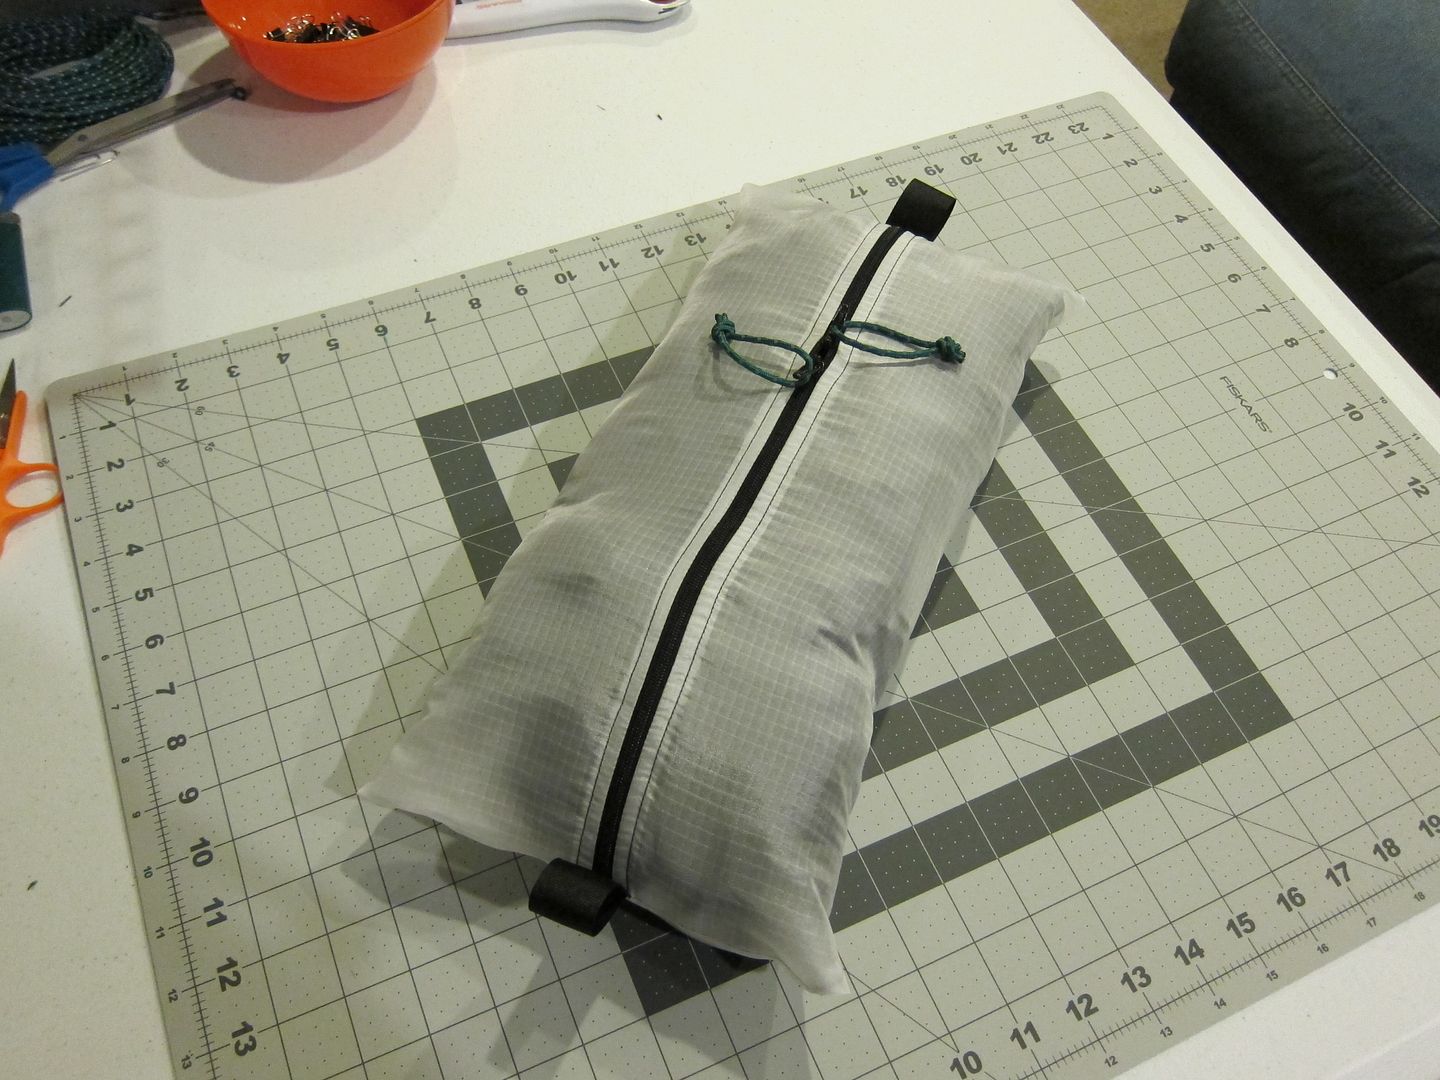
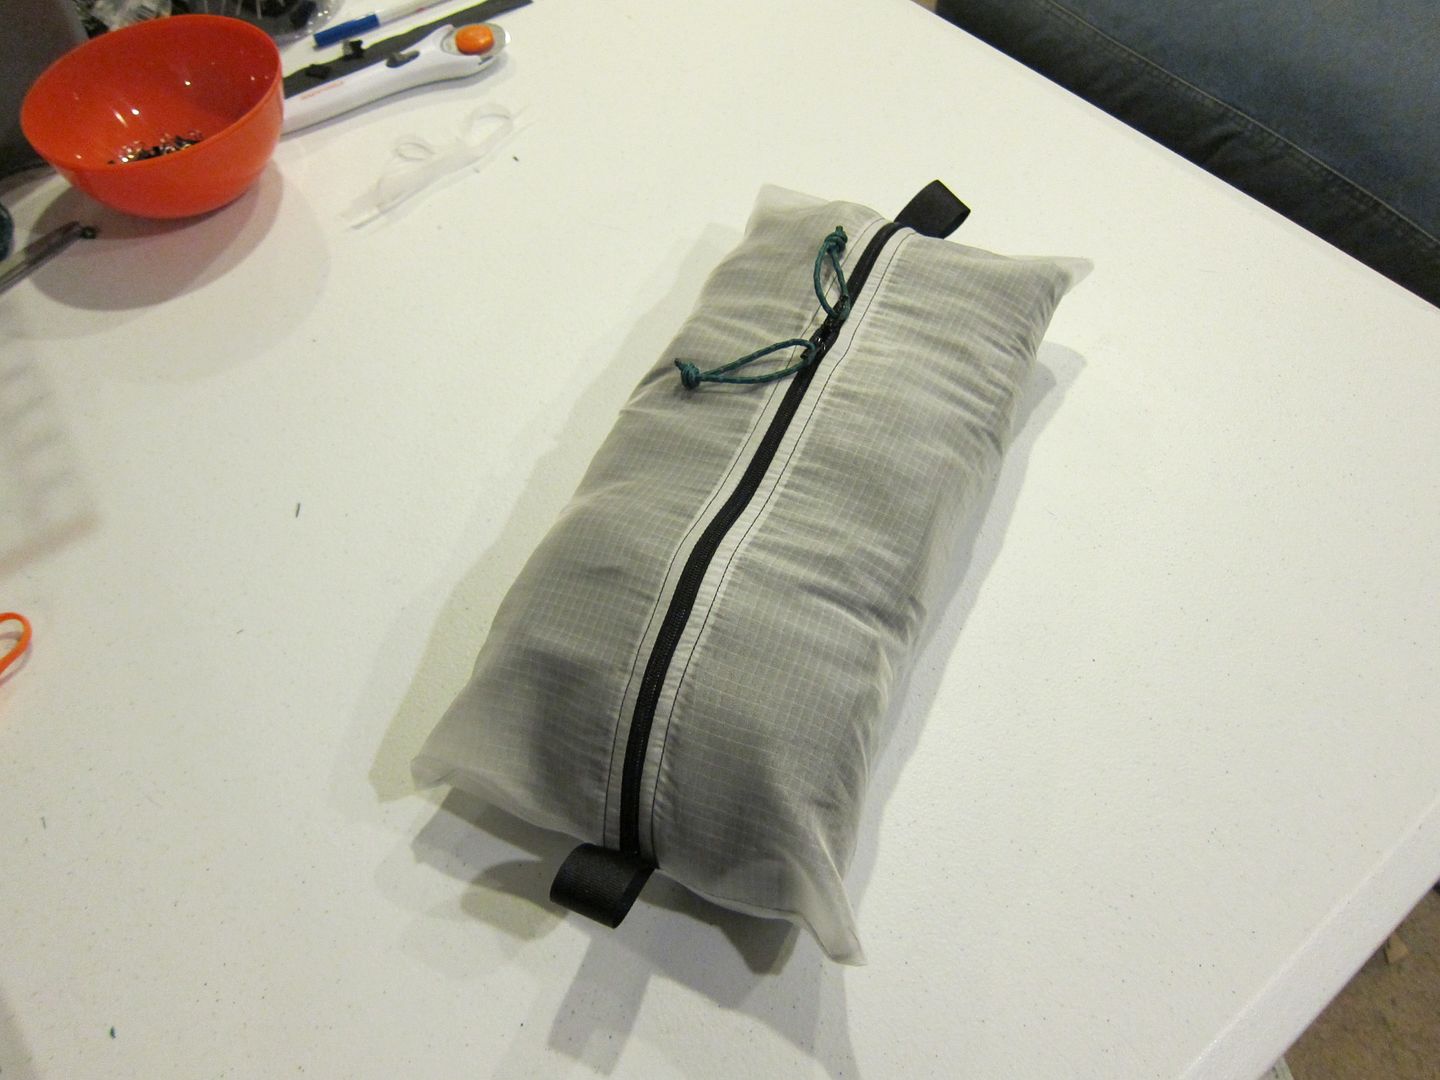
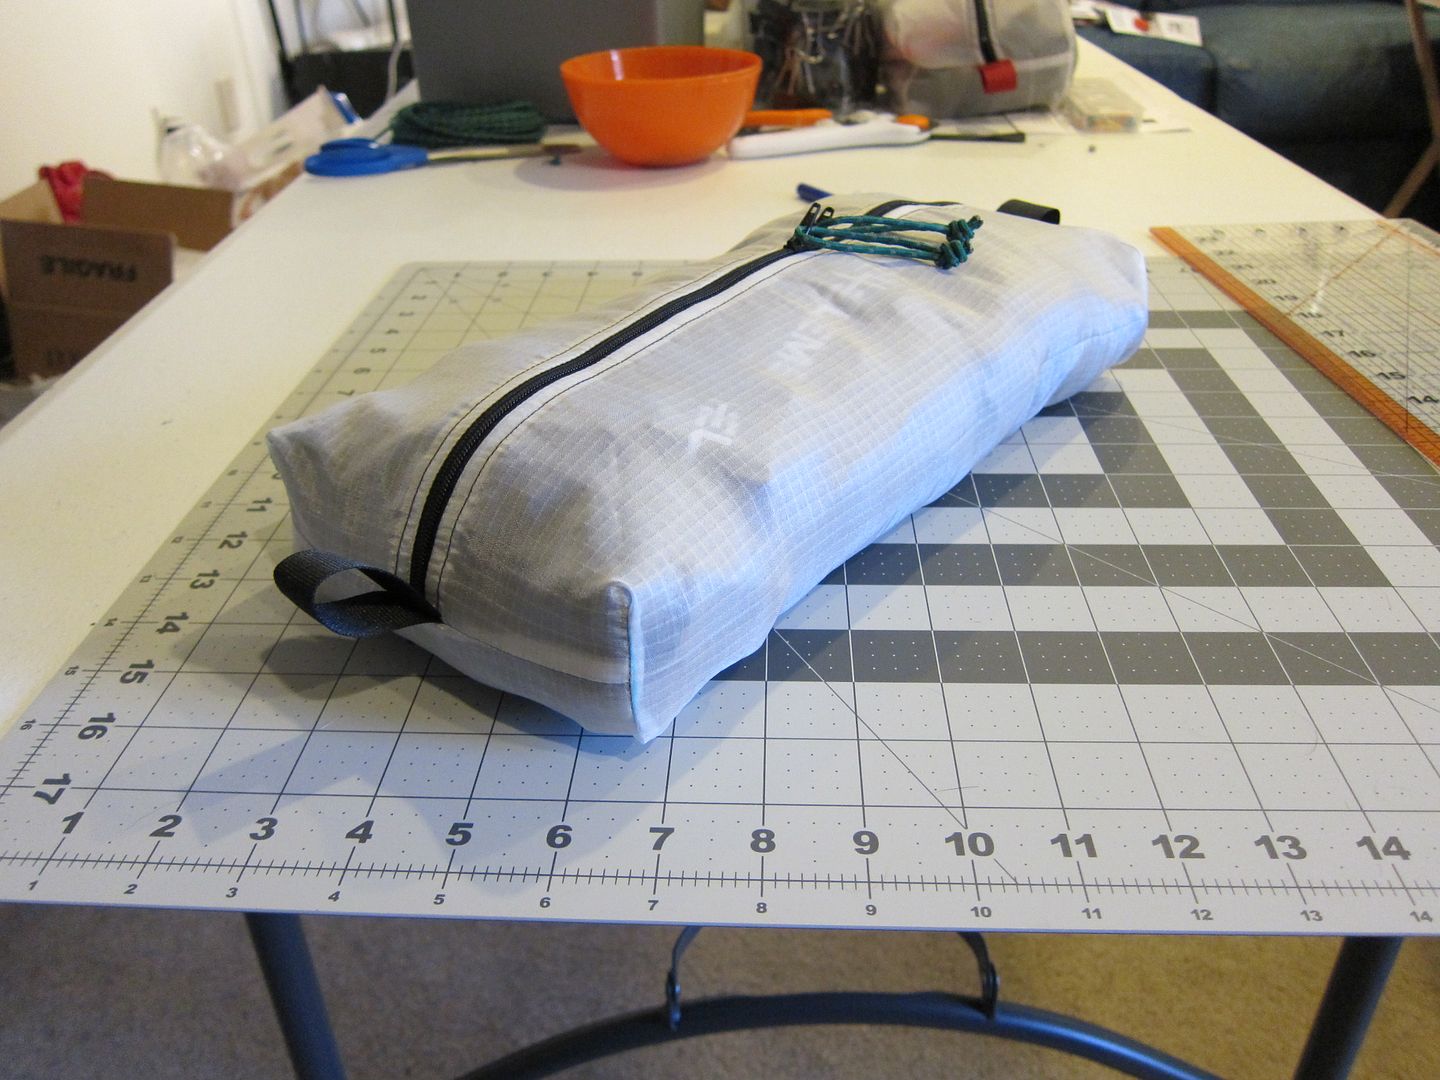
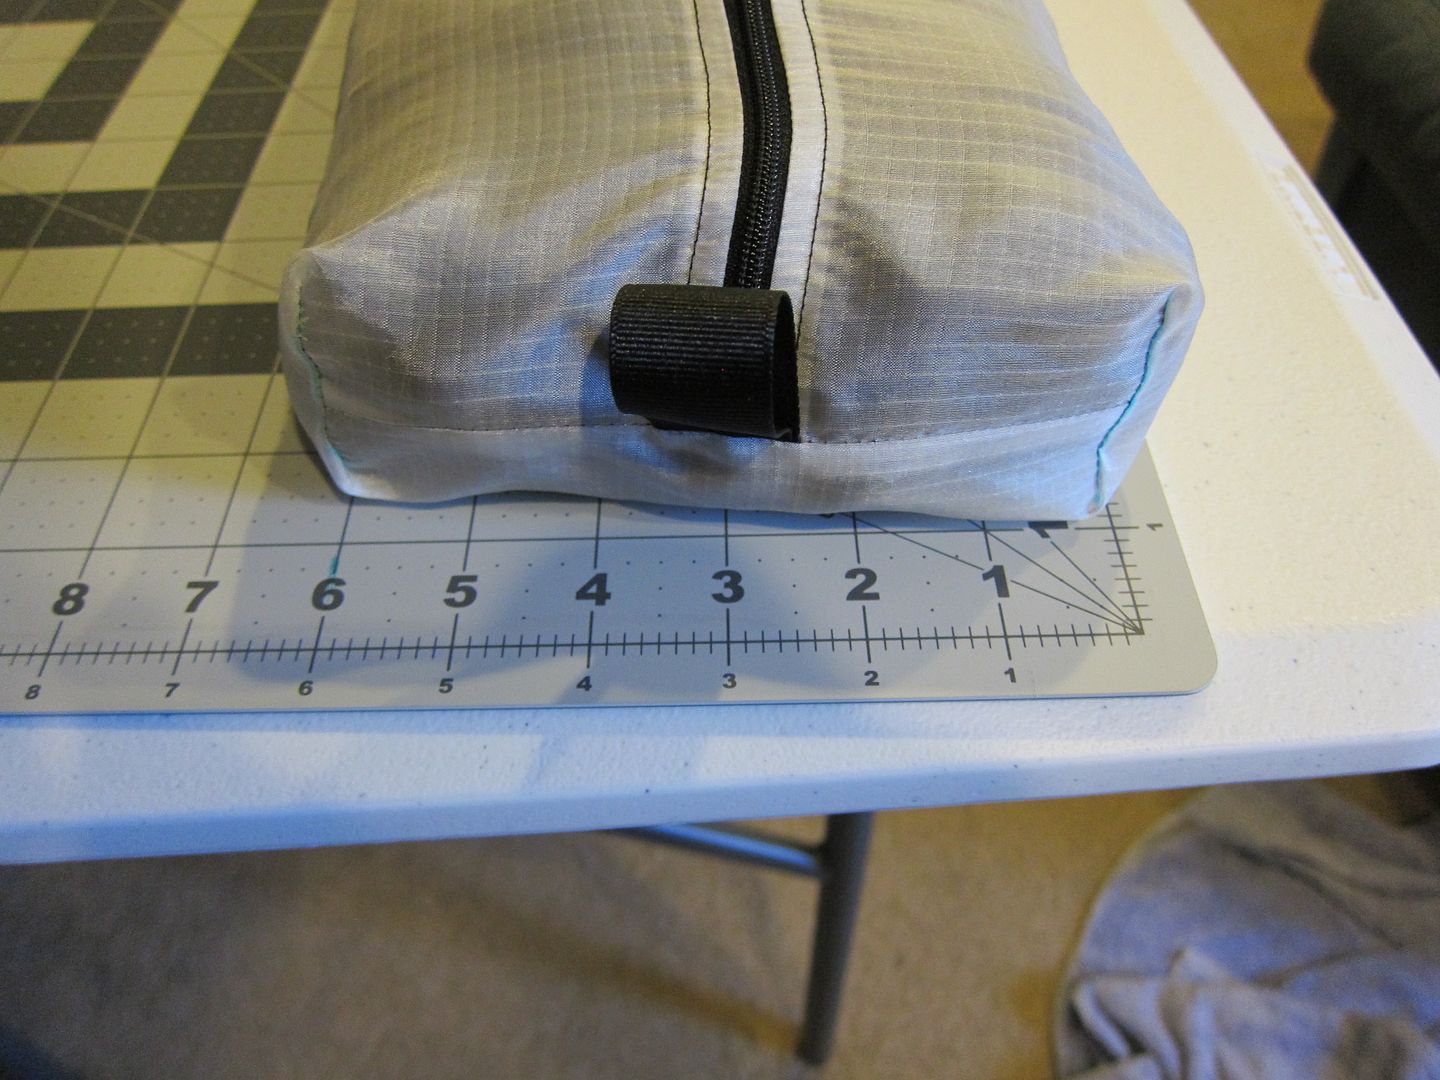
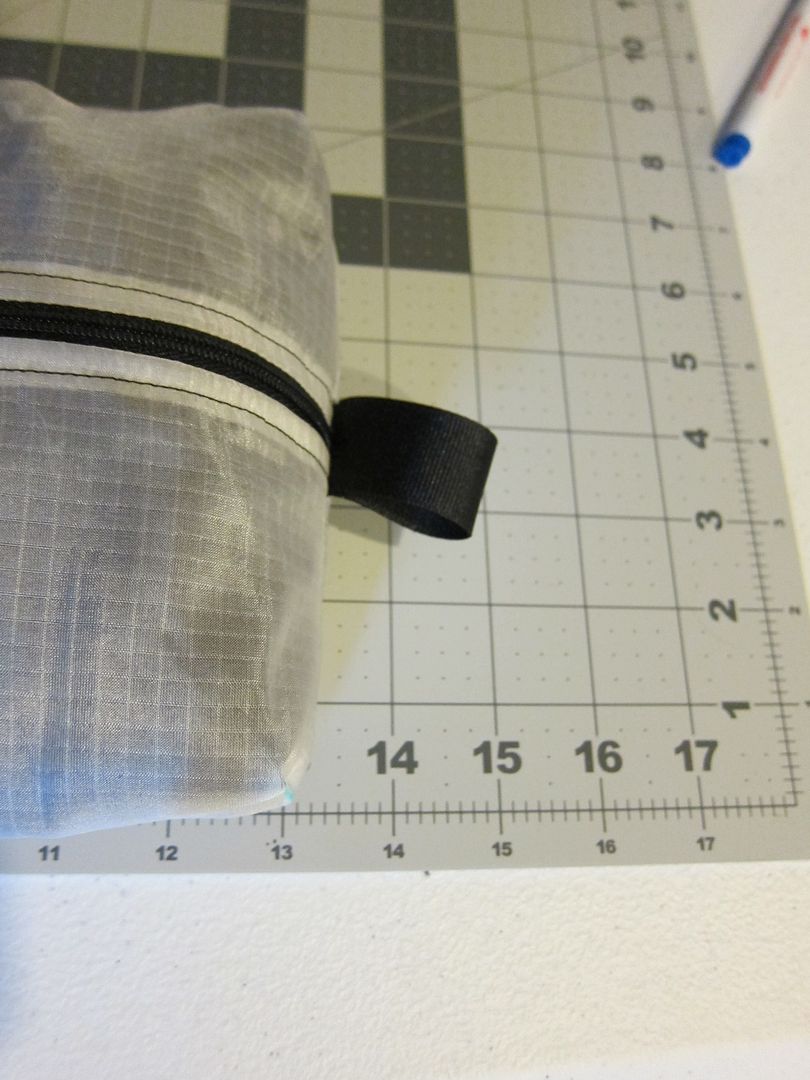
I made these today. The smaller one on the right could function similarly to a belt pouch I guess if you went further and added attachment points. The larger one is similar to a long pocket and could be cinched in or attached in a similar fashion if you chose.

IMG_2210_zps9cce4d80.jpg


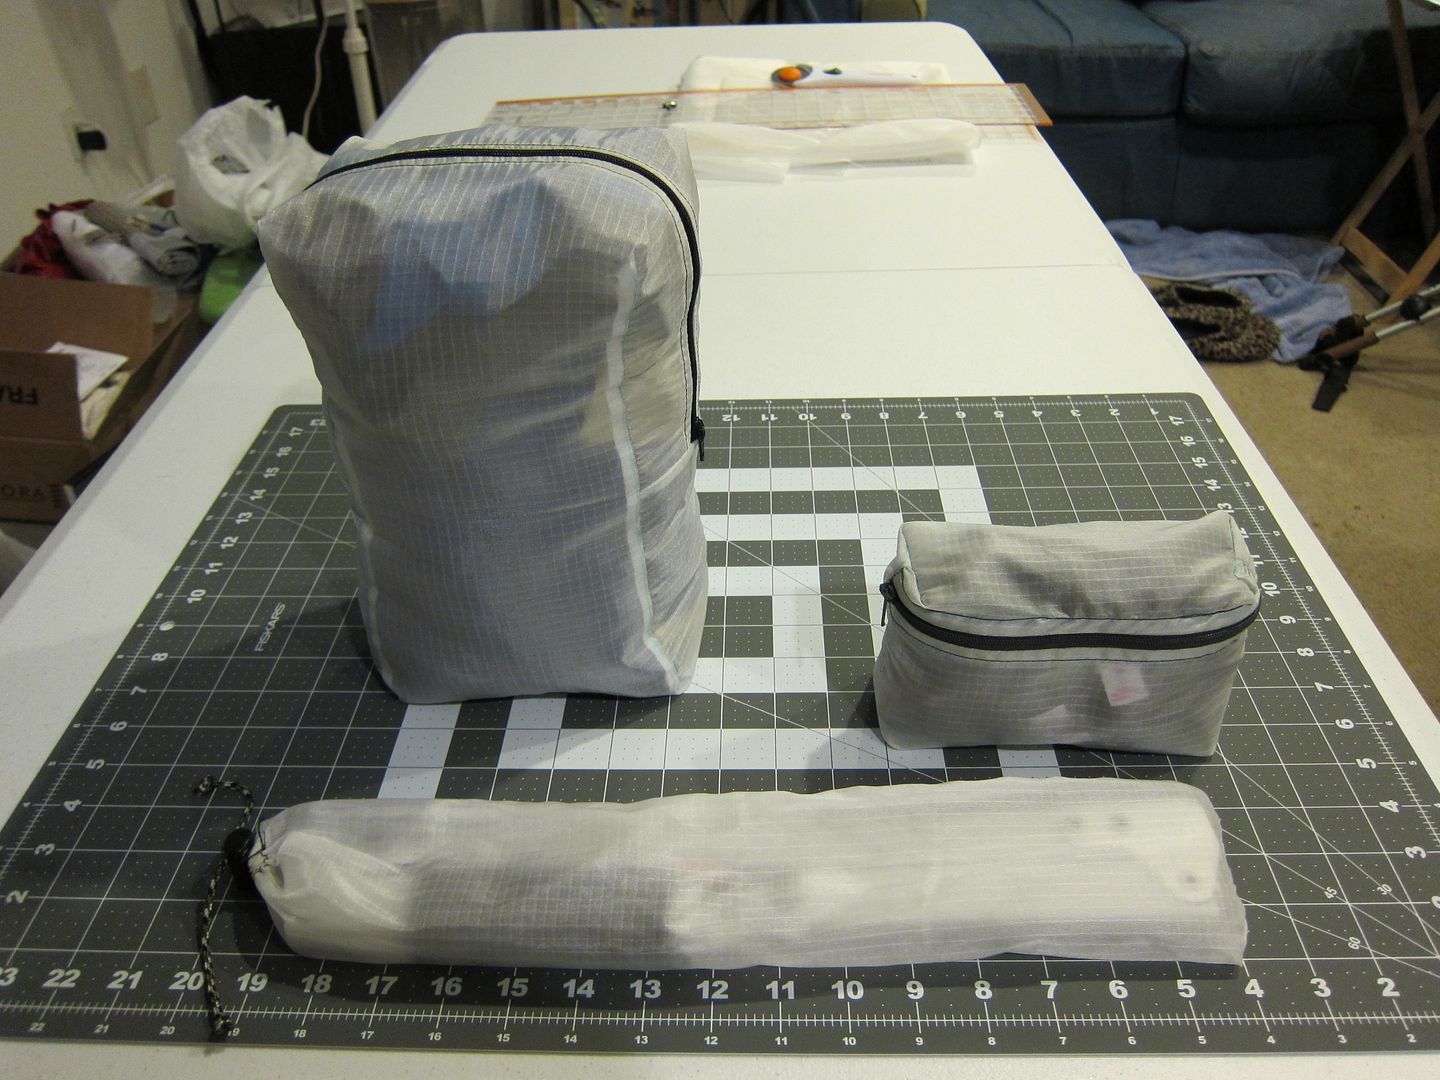
Here are two pullouts I have played with. The one on the right contains some C4E merino items including boxers, pants and at least one top. The bigger one on the left contains a SuperDown hooded jacket and some other clothes.

IMG_2211_zpsdf848a6a.jpg


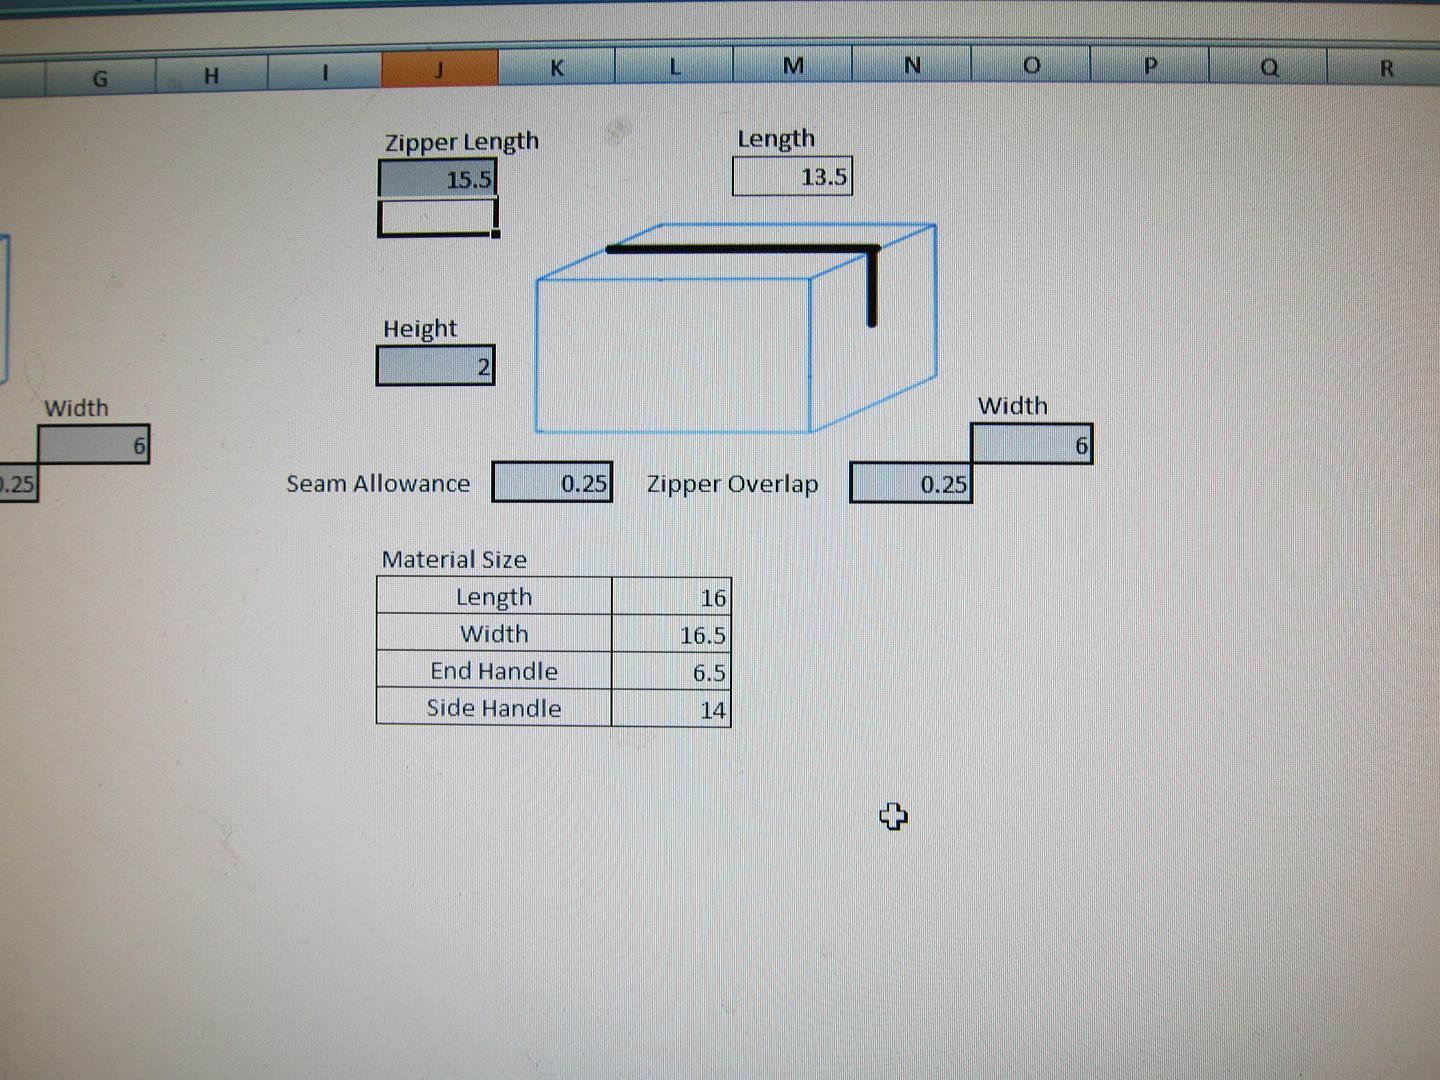
I have also made up a quick spreadsheet that will allow you to calculate sizes and material needs. The second one is handy if you are bound by the length of the zippers you have on hand. Just change the values in the gray boxes and it should provide the necessary info that you need. I will continue to update this with other items such as stuff sacks and whatever projects come up.

https://docs.google.com/spreadsheet/ccc?key=0AoZiodp_WekOdDNBYUh2SzhwNWtaa0xFTEQ1NGZkckE&usp=sharing

So there, it is started. My plan is to make some more items with the white ripstop and I will start documenting from the most simple pouch to the more complex "boxes". I have some silnylon 2nds on order so we will progress into the silnylon once there are a few lessons up with the ripstop which is easier to see. Trust me though, anyone out there can do this if you want.

So, bring on the comments and requests and I will do my best to get this moving in a timely fashion.


UPDATES

Below are links to posts in this thread with some updates that may be helpful.

http://www.rokslide.com/forums/show...es-and-pockets&p=235648&viewfull=1#post235648
 
Last edited:

SHTF

WKR
Classified Approved
Joined
Feb 4, 2013
Messages
5,095
Location
Colorado
Brad,

Fantastic work bro. These are Legit. You should start doing more and try and find the Glider Material. There is a reason Kifaru uses that stuff. Its strong. These came out fantastic. So how long would you say it takes you to make one? Below are some links to some hardware companies Ive found that you could get your hardware from.

Fabric and harware
http://www.owfinc.com/fabrics.html

http://www.countrybrookdesign.com

http://www.rockywoods.com

https://www.strapworks.com/default.asp

http://diygearsupply.com/shop/

This is one of my favorites

http://downrangegear.net/DownRangeGear.html

www.paragear.com

http://store.jontay.com/

http://www.ahh.biz/fabric/camouflage/

http://www.seattlefabrics.com/

http://www.therainshed.com/

http://milspecmonkey.com/store/15-hardware-diy

These guys have the best Paracord

http://www.supplycaptain.com/

http://www.lighthound.com/

http://www.tnwebbing.com/

http://www.magnafabrics.com/

http://www.dj-associates.com/products.html

http://www.questoutfitters.com/

http://thru-hiker.com/materials/index.php

And one of our soon to be Sponsors on Rokslide

http://www.bearpawwd.com/fabrics_misc/fabrics_misc.html
 

dotman

WKR
Joined
Feb 24, 2012
Messages
8,201
Looks great, if my koldo rain pants don't sell I may make a few items out of the material. I may have to take a sewing lesson :)
 
OP
colonel00

colonel00

WKR
Joined
Jun 19, 2013
Messages
4,776
Location
Lost
Brad,

Fantastic work bro. These are Legit. You should start doing more and try and find the Glider Material. There is a reason Kifaru uses that stuff. Its strong. These came out fantastic. So how long would you say it takes you to make one? Below are some links to some hardware companies Ive found that you could get your hardware from.

Thanks for the links and comments. I actually have an order coming from DIYGearSupply right now. I was only suggesting the Walmart option as an inexpensive place to find some materials to learn on which are cheap yet similar in makeup. Also, I would suggest checking any local military surplus shops. There is one by me that has a ton of paracord for cheap and other sources of materials at times.

I agree on quality materials and that is why I will move on to some other stuff once I have a firm comfort level. I like the idea of silnylon since it will be waterproof. Granted, I doubt I will ever use waterproof zippers or seal the seams but it will provide a level of protection from the elements should your pack get wet or you have to pull stuff out and set it on the wet ground.

As far as time, once you have the basics down, you can probably crank these out in well under an hour. Most of the time comes in planning what you want and getting the materials cut and ready. Essentially, for the "3D" boxed pullouts there are only 10 stitches to be done. The biggest learning curves are with the zippers and the final step of providing the height of the "box". I do have a couple shortcuts that I will provide that will allow people to get going a little quicker.

A couple other quick notes. I have learned to do everything with binder clips instead of pins. I know many people use pins, even with silnylon, as they pin within the seams or along discarded portions so extra holes don't matter. I will probably work into this more but binder clips have been working so far. I picked up this bucket of clips from Walmart for under $8 and it has a good assortment.

http://delivery.walmart.com/usd-est...me=Products&headerVersion=v0&_requestid=22221

Also, sign up for the JoAnn Fabrics emails and coupons. They always run coupons so wait for a 50% off one and get a set like linked below. It is a good starting point for the necessary tools to use a rotary cutter to cut the materials.

http://www.joann.com/fiskars-rotary-cutting-set/2517431.html

As with anything, everyone will find their own likes and preferences but this is what has worked so far for me.
 
OP
colonel00

colonel00

WKR
Joined
Jun 19, 2013
Messages
4,776
Location
Lost
Alright, fire up your thread injectors. I wasn't able to make a video but I have some 70 photos uploading that should hopefully make this fairly painless. I am going to try to get this all written up tonight but it will definitely take a while. Essentially we are going to go from this:

IMG_2217_zpsecc492f4.jpg


To this in this first tutorial:

IMG_2284_zps3606b70f.jpg


Later this week I will do a Part 2 that will take this from a flat pouch to the fully shaped pouch. However, the basics included in this first lesson will be core building blocks to make any of the zippered pouches in the first post.
 
OP
colonel00

colonel00

WKR
Joined
Jun 19, 2013
Messages
4,776
Location
Lost
Well, let's see now, where to start...I guess at the beginning. For any of the zippered pouches that I have made so far, it always starts at the zipper. Since I don't have an endless supply and the whole idea here is to keep things economical, I ordered two sets of zippers from Zipperstop via Amazon. I linked the longer ones in the first post and really, that is all you will need as you can always cut them down to the size you need. Also, checking that link, I ordered 14" zippers but I actually got 16" so bonus for me I guess. Just wanted to mention that since I will be using one that is 16" in this tutorial and it may have confused someone.

Anyway, this pouch's size will be bound by the zipper size as are the others. For this one, I wanted to make up my own zipper with double pulls. Basically, on one zipper I cut across the actual zip below where the stops are. On another zipper I did the same and pulled the zipper pull off. Getting the second pull back on the zips in the proper alignment is a little tricky but I don't think it was too tough. Besides, one of the tips and tricks I will mention at the end of this will require you to do this anyway.

So, here is the zipper after the second pull is installed. As you can see, after being cut it only has less than 16" of zipper to use. Now, you could still count the tabs at the end but I like the zip to go from one side all the way to the other.

IMG_2214_zps2ce4dc5d.jpg


So, with a zipper length of 15.5" and the fact that I already had a piece of ripstop that was essentially 17x16, I went to the handy spreadsheet that is linked above at google docs and entered the zipper length in the second calculator. Playing with the numbers to match the material I already had, I ended up with a pouch that will be 13.5x6x2 and I only needed to trim up the material a little.

IMG_2215_zpsd7f65212.jpg


Using the rotary cutter and the cutting mat, I trimmed the ripstop to 16.5x16. Now, you don't have to have a rotary cutter and mat but I highly suggest it. These things are nice and make many steps of this process very easy.

IMG_2217_zpsecc492f4.jpg


I should also mention that you can adjust your seam allowance and zipper overlap if you want. I have them set at a quarter inch because I am comfortable at this point. As you can see, the cut fabric fits inside the zipper length.

IMG_2218_zpsb436ceaf.jpg


Note: Ripstop nylon and silnylon do not have a right and wrong side as far as I know unless they are calendared. However, if you are working with a PU or DWR material, you will want to pay attention to which side is facing out. For the purposes of this intro tutorial, I will assume we are working with cheap materials and we can worry about right and wrong sides later.

So now with the zipper facing up, place the material over the zipper and align it with the edge if the zipper ribbon.

IMG_2219_zps37afac74.jpg


Now, this is where I like to use binder clips. By no means is this necessary but it is just how I have been learning to do this. Mostly the binder clips were suggested when working with silnylon so you aren't putting unnecessary holes in the material. However, if you pin withing seams, it shouldn't really matter and this is especially true with these pouches as they really aren't meant to be waterproof like a tarp or tipi. Anyway, use binder clips or whatever means you like to fasten the material to the zipper ribbon making sure the edges align.

IMG_2220_zpsbe6e1df7.jpg


Here is a shot if it flipped over. Remember, the top of the zipper is facing the material.

IMG_2221_zpsb1fd1aae.jpg
 
OP
colonel00

colonel00

WKR
Joined
Jun 19, 2013
Messages
4,776
Location
Lost
Now, hopefully you have a zipper foot for your sewing machine. This isn't the end all be all but it sure does help. As you can see here, the foot rides along the zipper and you can have the needle come down just next to the zipper.

IMG_2226_zps9b8f45ff.jpg


Line up the zipper with the foot and begin to sew along the zipper trying to keep the needle and foot as close to the zipper as possible. It should ride along on its own pretty nicely.

IMG_2227_zps2ea2bb98.jpg

IMG_2228_zps191b8603.jpg


Note: You don't have to lock in the zipper stitches as you will cross these later. If you don't know what locking a stitch is, I will discuss it later.

As you proceed forward, remove the clips. Don't be afraid to go slow and stop when you need to until you get the hang of it. Here you can see the ripstop material just under the edge of the zipper ribbon.

IMG_2229_zps93f1d704.jpg


You will want to stop an inch or more before you get to the zipper pulls. Make sure your needs stays down when you stop. My machine automatically stops with the needle down but this is very important. With the needle down, raise the presser foot and slide the zipper pulls under to the other side. This can be a bit of a challenge so I always have a paperclip and some needle nose pliers handy. The biggest trick is getting the pull to be flat enough to fit under the presser foot. Here is where it is vitally important to leave the needle down. You can rotate the material and move it to where it is easier to manage the zipper.

IMG_2230_zps8446fde5.jpg

IMG_2231_zps7a33cd05.jpg

IMG_2232_zps0e50f787.jpg

IMG_2233_zps35f22d9b.jpg
 
OP
colonel00

colonel00

WKR
Joined
Jun 19, 2013
Messages
4,776
Location
Lost
Once you get the zipper to the other side, realign the material with the zipper foot and lower the foot back down.

IMG_2234_zps80406d8a.jpg

IMG_2235_zps7d1dbab8.jpg


Continue sewing until you reach the other end of the zipper. Congratulations! You have successfully injected thread with extreme prejudice and if all went well, you have something that looks a little like this.

IMG_2237_zpscaa5471a.jpg


Now, I don't usually iron in this step but I wanted to mention it as it might be helpful for the first couple tries at this. With your trophy situated as above with the top of the zipper facing up, fold the material back over the stitch line you just made. Then use an iron to make a nice crease here that makes a nice line. Be advised, working with coated materials could be tricky so start with very low heat. I would also suggest doing tests with some scraps of the material. This goes for stitching too, always do some test stitches before you start on a project.

IMG_2238_zpsb899caed.jpg


After ironing you have a nice straight line.

IMG_2239_zps2517ed12.jpg


With the zipper facing up, here is what it looks like from the end. FYI, this is where the zipper overlap comes from in the calculator. I believe a quarter inch is pretty standard but if you have a zipper with a really wide ribbon, you can adjust accordingly.

IMG_2240_zps9d1f5f2a.jpg
 
OP
colonel00

colonel00

WKR
Joined
Jun 19, 2013
Messages
4,776
Location
Lost
Now head back to the sewing machine.

Note: Once I have my zipper foot and needle location set, I never have to move them for any of these stitches. It is easy to get confused so I like to just keep them constant.

Now you are going to align the material and zipper so the needle rides the outside of the zipper ribbon.

Note: I have found that I like to sew the zippers with the zipper ribbon on top and showing. This isn't gospel but sure seems to work well where I can see that I am following along nicely.

IMG_2241_zps643acd58.jpg

IMG_2242_zpsb2ef0a25.jpg


Continue to sew until again you are about an inch or so from the zippers.

IMG_2243_zpscc97e912.jpg


With the needle down, raise the foot and work the zippers to behind the presser foot. This one isn't that bad actually but you will still probably need something to grab the zipper pulls with. Once you have the zippers moved, lower the zipper foot and continue on.

IMG_2244_zps10fdd5db.jpg

IMG_2245_zps387e84ad.jpg

IMG_2246_zpsca8f957c.jpg


Continue on to the end of the zipper. Congratulations again! With any luck you were successful and have something that looks like the photo below.

IMG_2247_zpsba182245.jpg


Yet Another Note: I am using white ripstop with a black zipper and black thread. Not the best combo obviously but it allows me to see and show my mistakes and successes. I would suggest using contrasting colors on your practice items so you can learn as well. Once I start working with my final materials, I will have thread and possible zippers that match up better to the material color.

Be aware, running around the house showing the wife and kids will be a little underwhelming at this point so I suggest taking a break and enjoying a frosty adult beverage as I am about to. I will continue this tomorrow.
 
OP
colonel00

colonel00

WKR
Joined
Jun 19, 2013
Messages
4,776
Location
Lost
So, continuing on, we have the project lying as pictured above with the zipper facing up. Now you want to flip the bottom edge of the material up which creates a tube.

IMG_2248_zps61967ca9.jpg


As we did before, line up the edges and clip with binder clips (or pin if you choose).

IMG_2249_zpscaac0bea.jpg

IMG_2250_zpsb880d175.jpg


Then we are back to sewing with the zipper foot close to the zipper. Notice that the foot and needle are still in the same position.

IMG_2252_zps2126a362.jpg

IMG_2253_zps5ef0bd93.jpg


This line of stitching isn't too bad but it will be a trick once you get to the zipper pulls. Again, with the needle down, raise the foot and work the pulls to behind the foot.

IMG_2254_zps0585bc91.jpg


You will need to get inside the "tube" so again, some sort of wire, paperclip or pliers will be helpful.

IMG_2255_zpsd234c2cd.jpg


As you can see, you can turn the material quite a bit with the needle down which makes it easier to get to the pulls.

IMG_2256_zps2b972b95.jpg
 
OP
colonel00

colonel00

WKR
Joined
Jun 19, 2013
Messages
4,776
Location
Lost
With a little effort you will get the pulls to the other side and then, as before, realign everything and continue sewing.

IMG_2259_zpsb27f6c2a.jpg


When finished with that stitch, you should have this and the material should form a tube.

IMG_2260_zps9036ccda.jpg


Now for what is probably the most tricky part. We have one more stitch to do for the zipper where we follow along the edge of the zipper ribbon. If you want, you can turn the tube right side out and iron as before. Be sure to turn it inside out before sewing so you can follow the zipper ribbon edge. The reason this becomes tricky is you will have to manage the fabric of the "tube" so it doesn't make its way under what you are stitching. Take your time and go slow. Stop frequently to double check everything.

IMG_2261_zps5c593f23.jpg


Luckily these thinner fabrics are somewhat transparent but you still want to check underneath from time to time too.

IMG_2262_zps2c3f3ed1.jpg


As you go, keep working the material. Eventually it will be all curled up on both ends. It was more dramatic of this pouch I am sewing because it is pretty long and fairly narrow. Go slow and stick with it. Also, I won't lie, the zippers are a pain but manageable.

IMG_2263_zps93b0f14b.jpg

IMG_2264_zpsb657d3b8.jpg

IMG_2265_zpsc3139320.jpg

IMG_2267_zpsdfce7a25.jpg
 
OP
colonel00

colonel00

WKR
Joined
Jun 19, 2013
Messages
4,776
Location
Lost
So now, with a little luck and a lot of patience, you are hopefully seeing the light at the end of the tunnel. If you flip it right side out, it should look something like this.

IMG_2268_zpsd90c830c.jpg


Now we can head back to the cutting board. Lay the "tube" out flat with the zipper centered. For my project, it measures 8 inches across. Remember, I wanted this to be 6" wide and 2" tall so that is the 8" I currently have. Using the ruler, line up the zipper to be right in the middle.

IMG_2269_zps65fba3c3.jpg


Important Note: When taking the photos, I almost made a very simple mistake. Make sure you flip the tube inside out before you center the zipper.

That's better.

IMG_2270_zps07184ccc.jpg


I place a couple clips along the edge to hold it in place. If you want to have pull loops on the ends of the pouch, now is the time to put them in.

IMG_2271_zps10c1aecd.jpg


Fold a piece of grosgrain over and place it on the inside touching the top of the zipper with the ends of the loop aligning with the edge of the zipper. It is hard to use a binder clip here so I suggest using a pin.

IMG_2274_zpsd22f6e73.jpg

IMG_2273_zps54099912.jpg


Once you have the zipper centered on each end and the edges clipped, you are on the home stretch.

IMG_2275_zps91532529.jpg
 
OP
colonel00

colonel00

WKR
Joined
Jun 19, 2013
Messages
4,776
Location
Lost
Back to the sewing machine and install the normal presser foot. In the calculator at the beginning, I set my seam allowance to a quarter inch so I now want to sew a seam a quarter inch from the edge as best as I can. Your machine should have measured guides but I just like to line the material up with the edge of that clear viewing window on the foot and roll from there.

IMG_2277_zps90caacef.jpg


Make sure to lock your stitches at the beginning and the end. Slow down when you get to the zipper and double check the pull tab if you need. Go really slow when you get to the zipper teeth but you should be able to do a continuous stitch. I like to reinforce the stitches around the zipper as these will get some stress. So, I go forward across the whole zipper ribbon, then backwards all the way, then forwards continuing on to the end of the stitch. Remember to lock the end of the stitch too.

IMG_2277_zps90caacef.jpg


Here is a completed stitch. To lock the ends you just go forward a couple stitches, reverse a couple stitches and then continue forward. I got a little wonky on the right side there but it will do.

IMG_2279_zps61a081e1.jpg


Do the same on the other side and then trim up any threads. If you are working with regular ripstop, it will most likely be fraying like crazy by now so trim that up too if you want. You can also trim the ends of the zipper ribbon. If your edges didn't quite match up and you don't like the way it looks, you can trim these too but it really doesn't matter as they will not be seen. After all that you should have this.

IMG_2280_zps0b213649.jpg


Work, the zipper open and turn it right side out. Tada! Look what you made!

IMG_2281_zpsc97d3406.jpg


Now stuff it with some clothing and add some loops to the zipper pulls if you want.

IMG_2282_zps3b04a480.jpg

IMG_2284_zps3606b70f.jpg


You are victorious. Now you can be proud and show off your creation to everyone in the house. I suggest celebrating with a few more frosty adult beverages :D
 
OP
colonel00

colonel00

WKR
Joined
Jun 19, 2013
Messages
4,776
Location
Lost
Alright, finally had a little time to take some pics and get this pouch wrapped up.

This first step isn't necessarily required but it will definitely help for the first time or two. Make sure your pouch is emptied and turned inside out and then iron the edges to make a visible seam along the sides.

IMG_2286_zpsf887c0c0.jpg

IMG_2287_zps9278e27c.jpg


Now here is the tricky part. You want to pinch the sides with either the sewn seam or the ironed seam facing you. Pull the sides out to form a triangle, ideally a right triangle. The reason I suggest ironing the seam is you can see that seam and line it up with the sewn seam (depending on the material). Now, this isn't rocket surgery but take your time and try to get it where there is equal distance on each side of the seam.

IMG_2288_zps1b1845aa.jpg


I like to clip the edges and check to see if the angle is decent. I do this in the corner of the cutting mat where it should line up nicely if it is a good right triangle.

IMG_2290_zpsf7c6983d.jpg


You will be able to skip this step as you become more comfortable but I wanted to explain the concept. Now, since we decided way back that we wanted the pouch to be 2" tall. If you were successful in achieving a right triangle, if you measure one ince from the peak, you should be left with an inch on either side of the center seam. These two inches are the height of the pouch. You can mark the 1" location if you want.

IMG_2291_zps20d8d191.jpg

IMG_2292_zps3092cbb8.jpg


I usually just use a section of the mat like below. You can see that an inch down gives me 2 inches across.

IMG_2294_zps4b0ba635.jpg


With a fabric pen, trace this line.

IMG_2294_zps4b0ba635.jpg
 
OP
colonel00

colonel00

WKR
Joined
Jun 19, 2013
Messages
4,776
Location
Lost
Get all four corners done and you have something that looks a little like this:

IMG_2296_zpse6a7e716.jpg


Now head back to the sewing machine and sew along the lines. Again, this isn't rocket surgery so it doesn't have to be perfect. Also, remember to lock your stitches at each end. You could also do a second row of stitches to reinforce the seam if you want.

IMG_2297_zps54717ece.jpg


Once all the corners are stitched, cut off the excess corner. Make sure to leave a little bit of fabric. You can clean up these edges if you want but I don't mess with it for these practice pouches.

IMG_2298_zps949585e8.jpg

IMG_2299_zps3e5c65c3.jpg


Turn it right side out and you have a completed pouch.

IMG_2300_zpsbbf415fe.jpg


IMG_2301_zps6741b9e3.jpg
 
OP
colonel00

colonel00

WKR
Joined
Jun 19, 2013
Messages
4,776
Location
Lost
If you remember our original dimensions, we wanted the pouch to be 6" wide:

IMG_2302_zps584af1bf.jpg


13.5" long:

IMG_2303_zps4ab1b8f6.jpg


and 2" tall:

IMG_2304_zps8256a9a6.jpg


And there you have it. If you can get these steps down, you can make all sorts of things. It is all about the configuration of where the zipper is and where you sew the 6 total seams.

IMG_2305_zps25d80af3.jpg
 
Top