Dylan Sluis
FNG
Recently I have posted a bunch of threads asking questions about arrow components and figuring out how I want to build my arrows. Now that I have completed the arrow build I figured it would be good to explain how everything went, so other people don't make some of the mistakes I made. I did everything myself, besides bringing the arrows to a shop to get them cut. This is my arrow build.
- Easton 5mm Axis Match Grade 300 Spine cut to 27.75in CTC
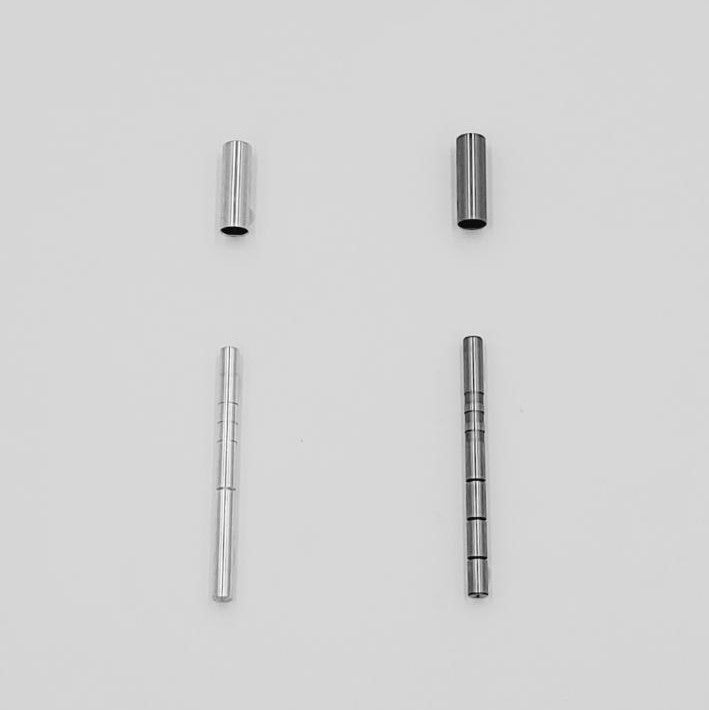
- 50 Grain Brass HIT
- 25 Grain Iron Will Impact Collar
- 100 Grain Point
- TAC Driver 2.25 4 Fletch
- TAC Arrow Wrap
I squared both ends of the shaft before doing anything else. I then removed the nocks and installed the HIT insert. I installed the HIT insert and let the arrows sit on a flat surface. I went back to check the depth about 3 hours later. And on most arrows the depth was good. But on some of them the depth was to deep, luckily I was able to just barely screw in a field point and pull the insert closer to the end. So if I were to do that again I would mix the epoxy and let it sit for 40 minutes before doing anything. So the glue would be more tacky so the HIT inserts wouldn't move after installing them. I then nock tuned all of the arrows, a PITA, but it is satisfying seeing perfect bare shaft flight.
I then wrapped all of the arrows and fletched them up with 2.25 driver in a 4 fletch. A big thing with TAC vanes is adhesion issues. That is the biggest complaint about them. This was my first time ever fletching arrows. I used their TAC wraps, primer pen, and glue. The only issues I had with adhesion were my fault, like glue on the clamp. Other then that they adhered great. I messed up one of the vanes on the last of 4 and decided to see how well they were stuck on the shaft. The arrow wrap would break before the vane would come unadhered, so adhesion wasn't an issue for me. I used a left helical clamp and put around 2-3 degrees of left helical on them and they stuck great. Now I just have to wait for the snow to melt so I can shoot these things at long range. Thanks for all of the help on my previous threads, it is greatly appreciated!!
- Easton 5mm Axis Match Grade 300 Spine cut to 27.75in CTC
- 50 Grain Brass HIT
- 25 Grain Iron Will Impact Collar
- 100 Grain Point
- TAC Driver 2.25 4 Fletch
- TAC Arrow Wrap
I squared both ends of the shaft before doing anything else. I then removed the nocks and installed the HIT insert. I installed the HIT insert and let the arrows sit on a flat surface. I went back to check the depth about 3 hours later. And on most arrows the depth was good. But on some of them the depth was to deep, luckily I was able to just barely screw in a field point and pull the insert closer to the end. So if I were to do that again I would mix the epoxy and let it sit for 40 minutes before doing anything. So the glue would be more tacky so the HIT inserts wouldn't move after installing them. I then nock tuned all of the arrows, a PITA, but it is satisfying seeing perfect bare shaft flight.
I then wrapped all of the arrows and fletched them up with 2.25 driver in a 4 fletch. A big thing with TAC vanes is adhesion issues. That is the biggest complaint about them. This was my first time ever fletching arrows. I used their TAC wraps, primer pen, and glue. The only issues I had with adhesion were my fault, like glue on the clamp. Other then that they adhered great. I messed up one of the vanes on the last of 4 and decided to see how well they were stuck on the shaft. The arrow wrap would break before the vane would come unadhered, so adhesion wasn't an issue for me. I used a left helical clamp and put around 2-3 degrees of left helical on them and they stuck great. Now I just have to wait for the snow to melt so I can shoot these things at long range. Thanks for all of the help on my previous threads, it is greatly appreciated!!