- Banned
- #1
Sharp Things
Lil-Rokslider
Im beginning the restoration of the first shotgun I ever fired. If memory serves that was when I was 9 or 10 years old. My Dad bought this Winchester model 37,single barrel, break action,shotgun used in 1958. The first owner sold it because it kicked too hard. He sold it to another guy who only briefly owned it and then sold it to my dad in 1958 for $20 because it kicked too hard. These were rugged adult males, farmers/hunters, that didn’t want the 12 Ga because of the recoil so when my dad had me and my 2 brothers shoot the gun as little boys you can imagine the result. My two older brothers (then aged 11 and 12) went first and after just one shot ran into the house crying. The end result was tears and black and blue shoulders. Over the next 56 years that old shotgun sat leaning in the corner of the farm house with very little use as everybody was to intimidated to fire it.
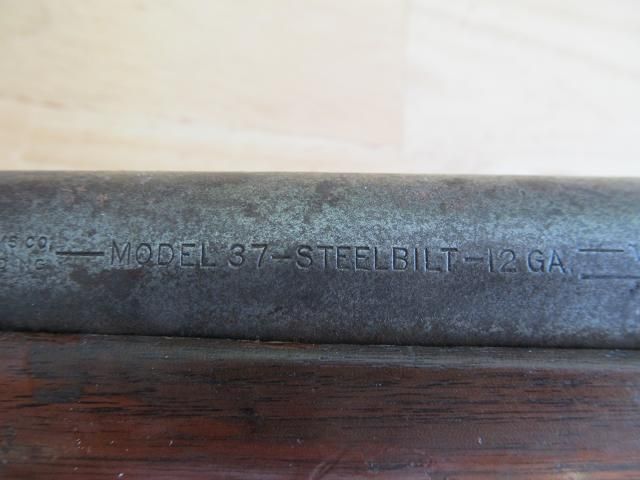
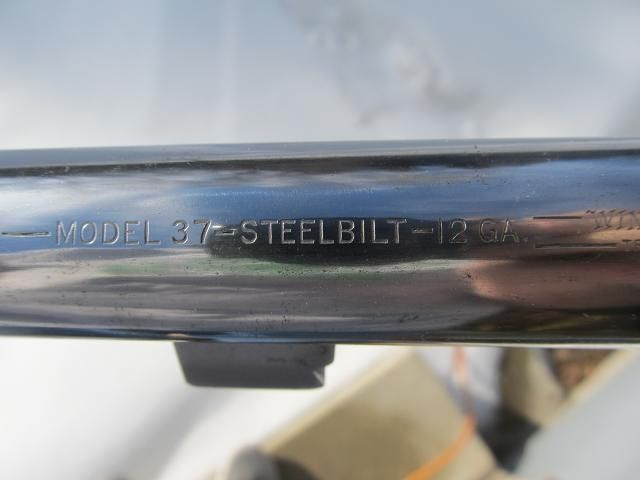
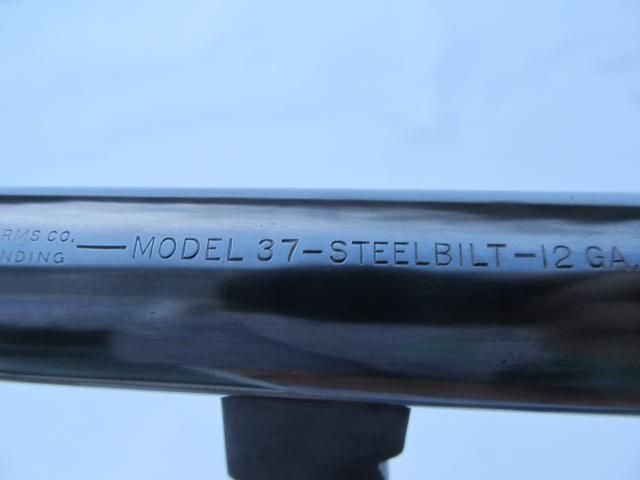
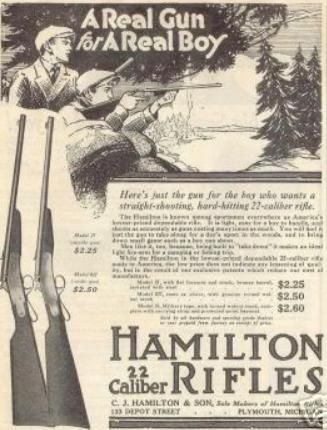
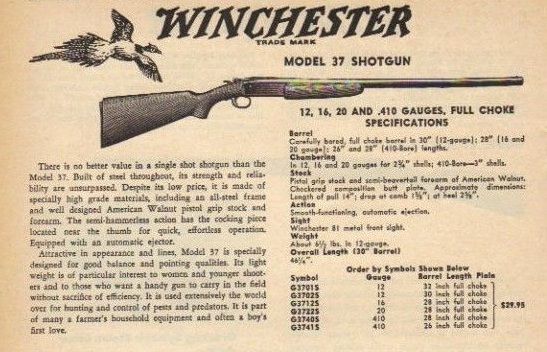
The Winchester model 37 was produced from 1936 to 1963. During that time slightly more than one million were made. During World War II, the National Guard soldier used Winchester Model 37, 12 gauge shotguns. When my dad bought the gun used in 1958, the shotgun sold new for $29.95. Here are some ads from the past. This first ad mentions how the light weight would make it good for women and kids and even mentions the model 37 would be a boys first love. Love? If love means getting knocked on your ass.
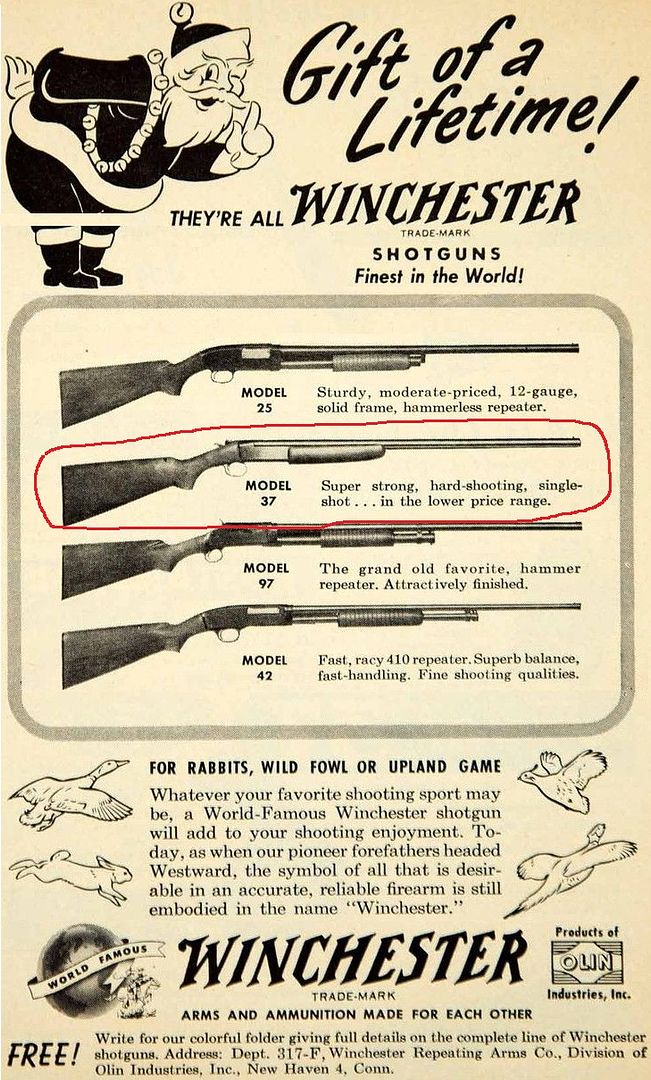
I doubt Santa understood the pain and terror he was placing beneath Christmas trees. Look at the words they used to describe the model 37. “hard shooting” At least this ad was factual. Santa must have fired the 37 as it looks like his right arm doesn’t work and he lost the sight in his left eye from the recoil, it appears (by the droopy mouth) that it caused a stroke and it screwed his back up so badly he cant stand upright.
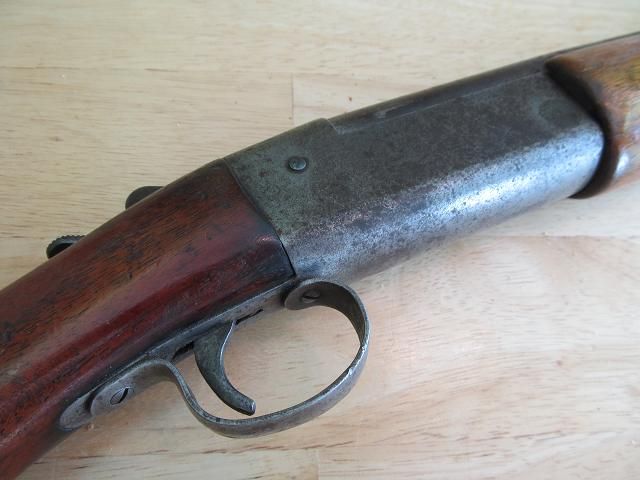
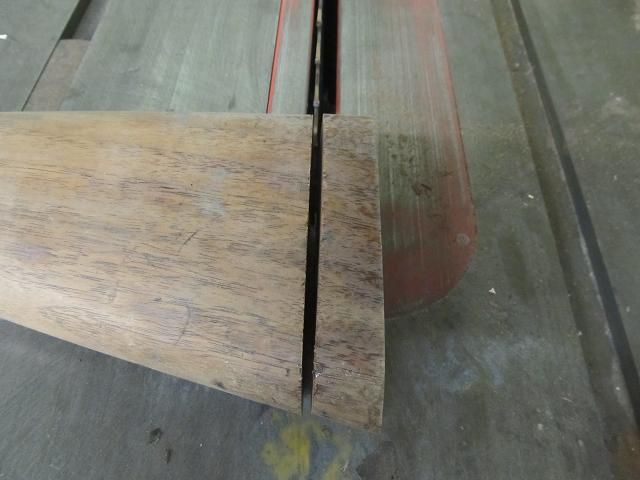
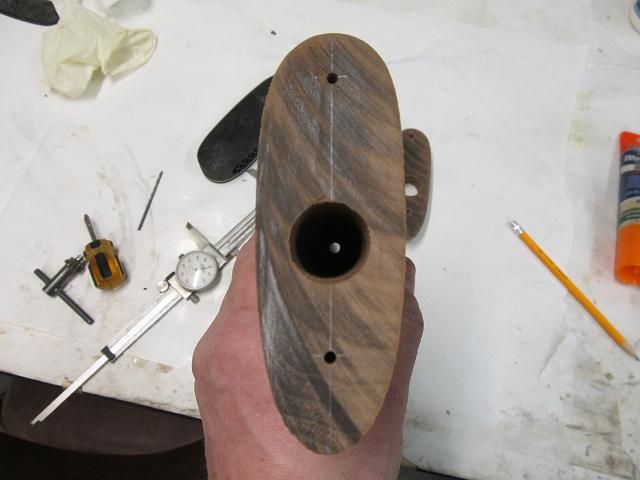
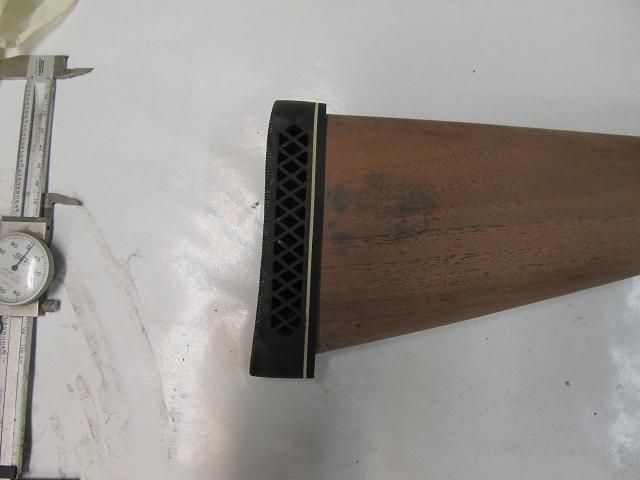
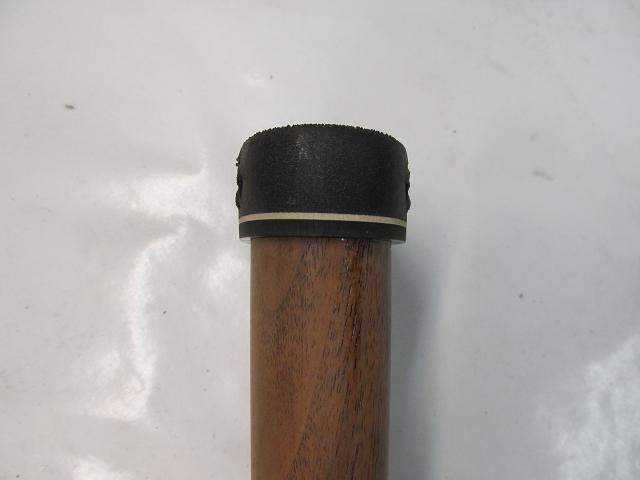
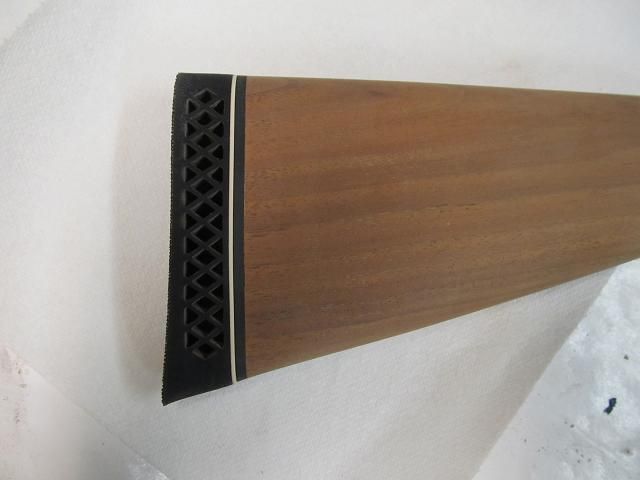
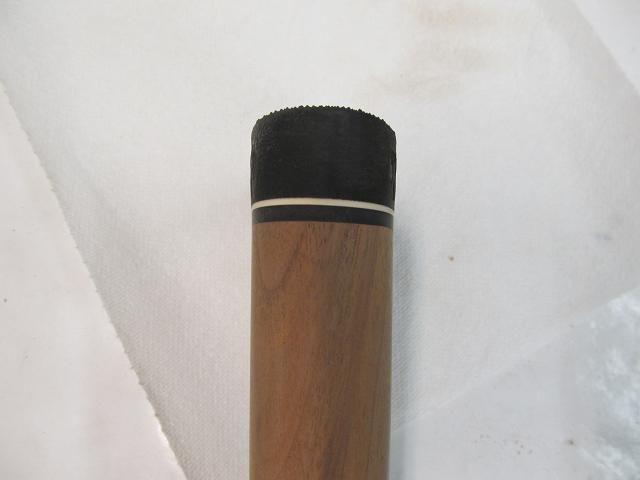
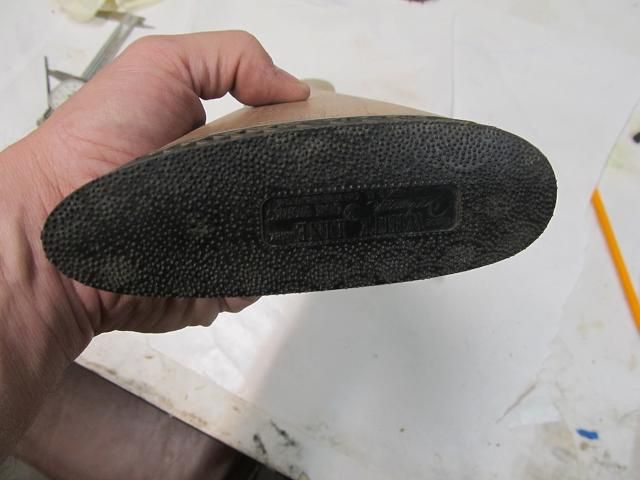
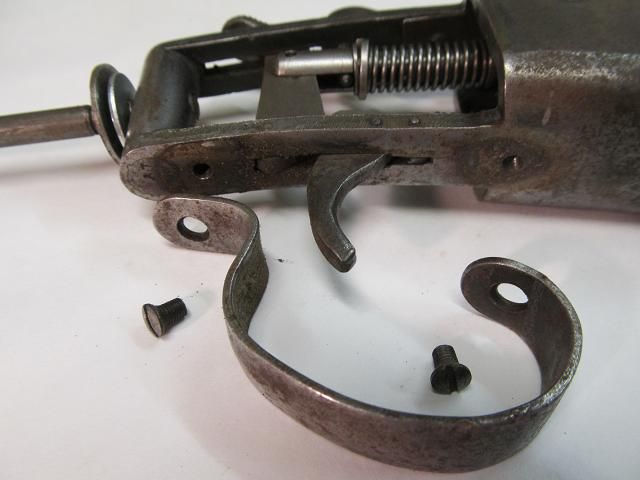
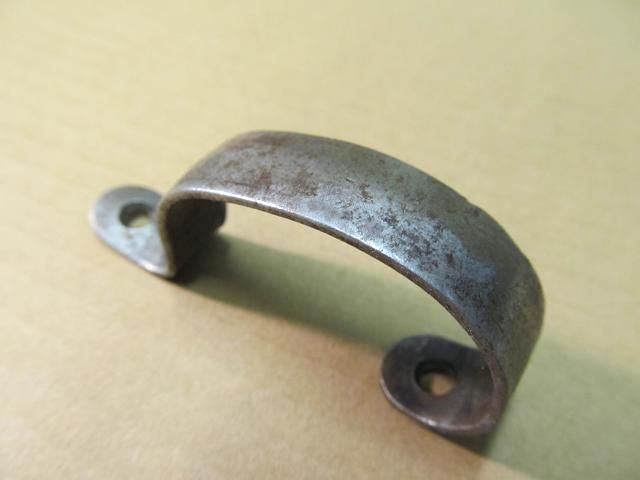
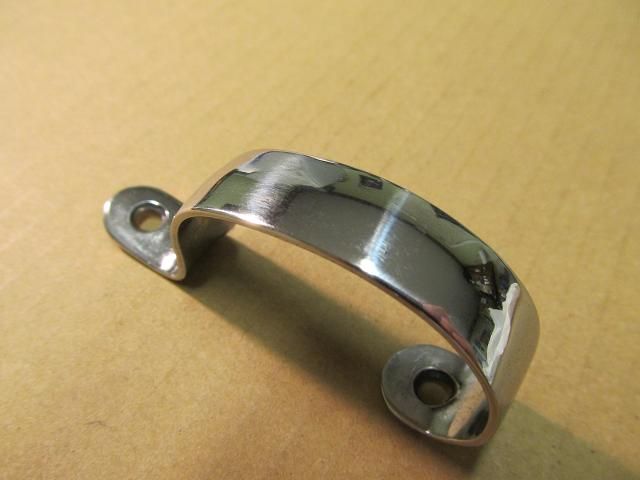
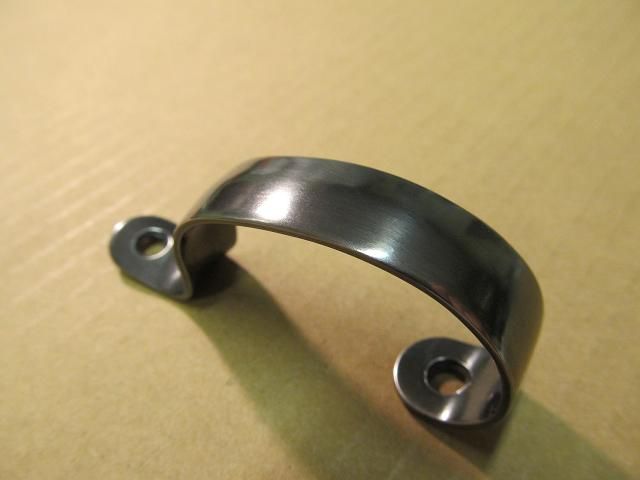
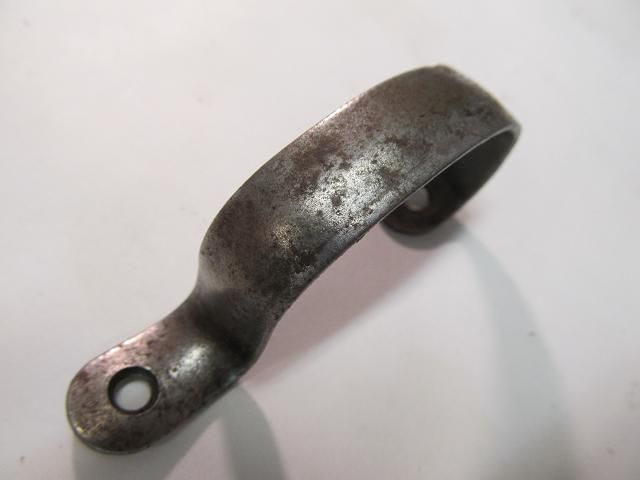
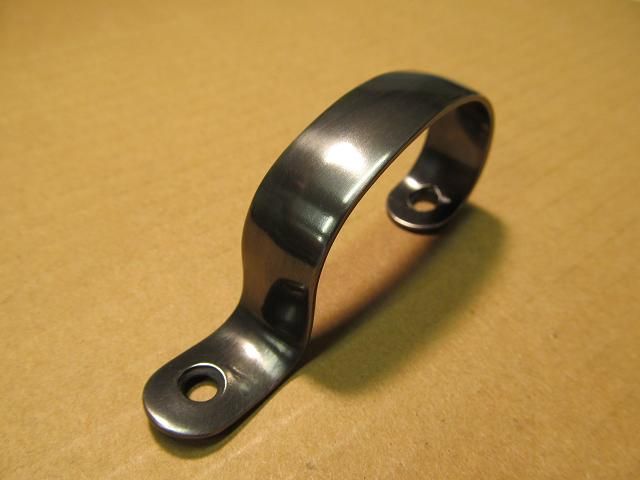
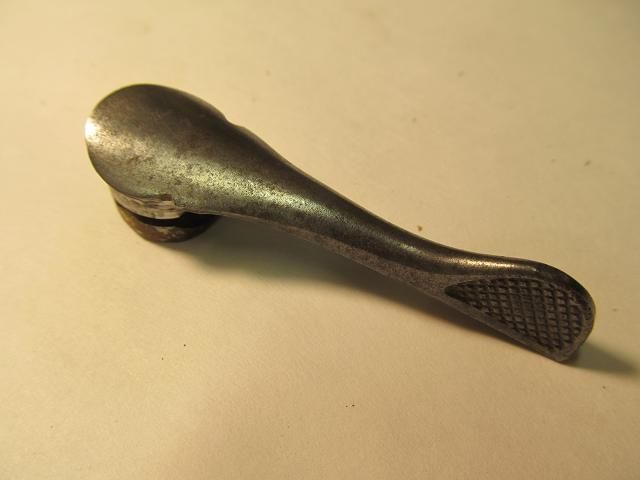
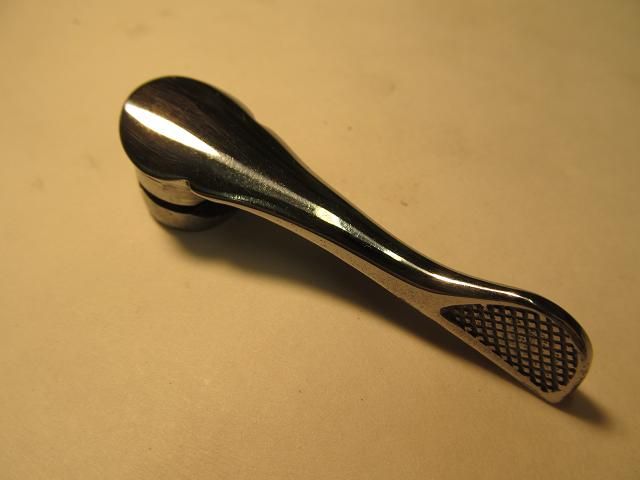
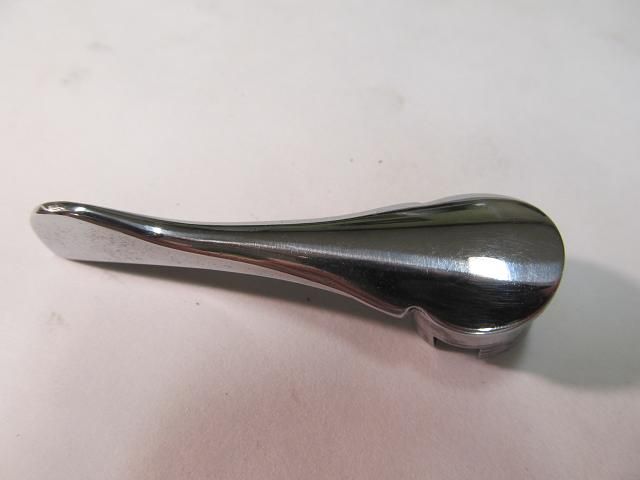
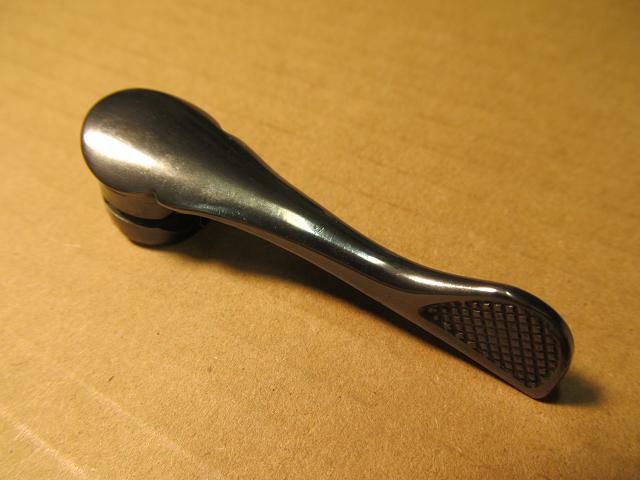
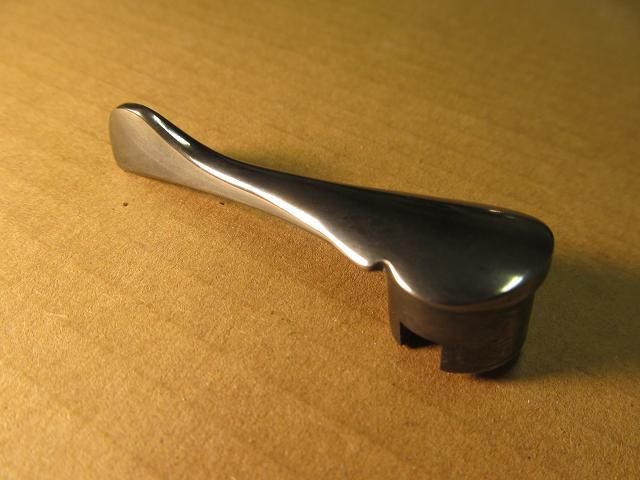
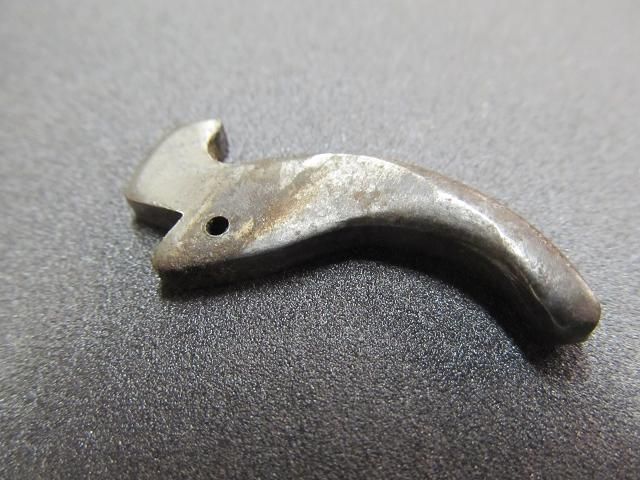
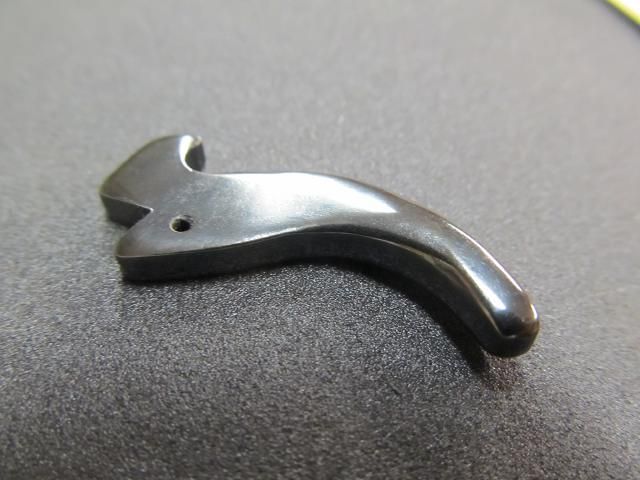
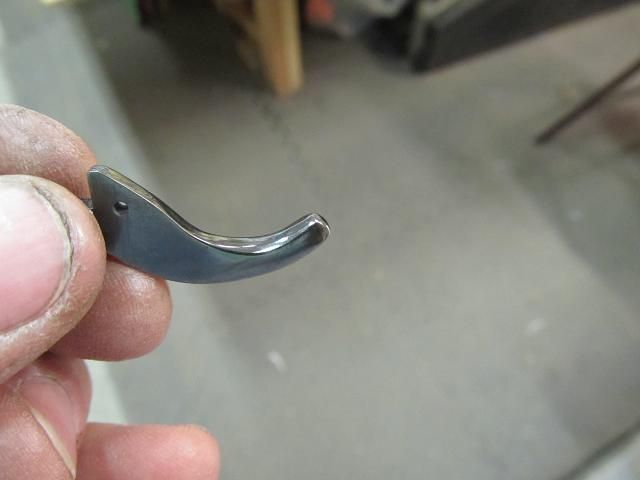
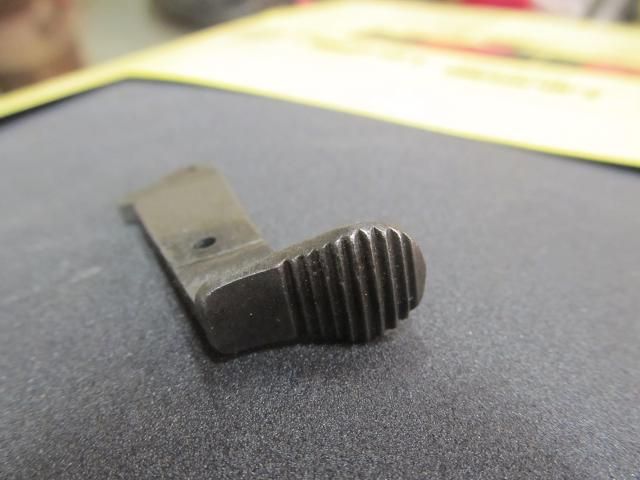
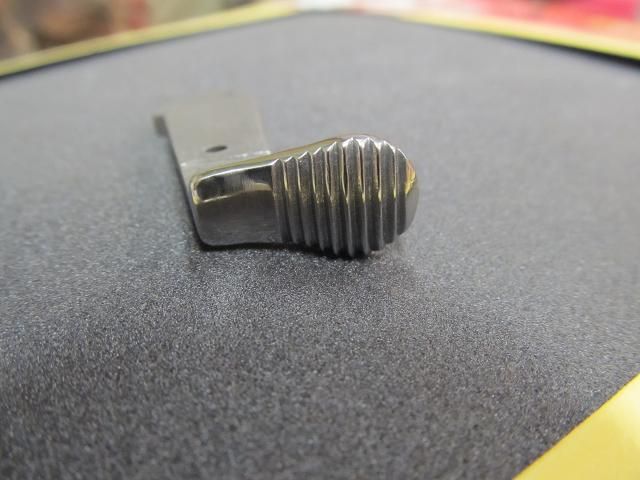
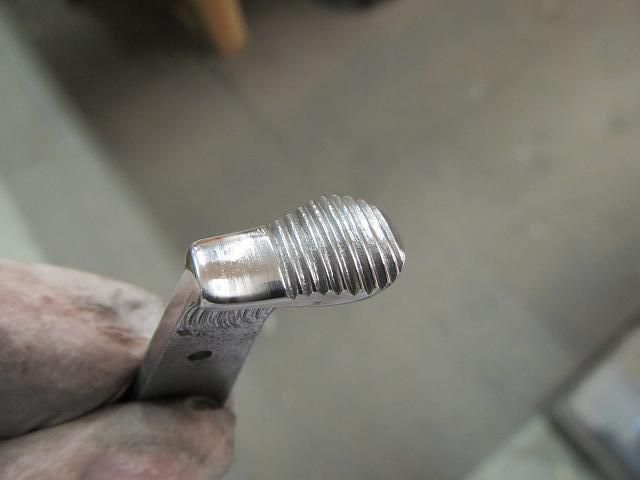
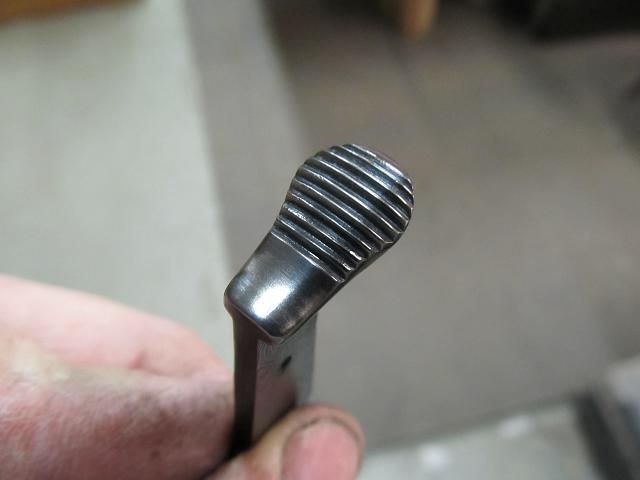
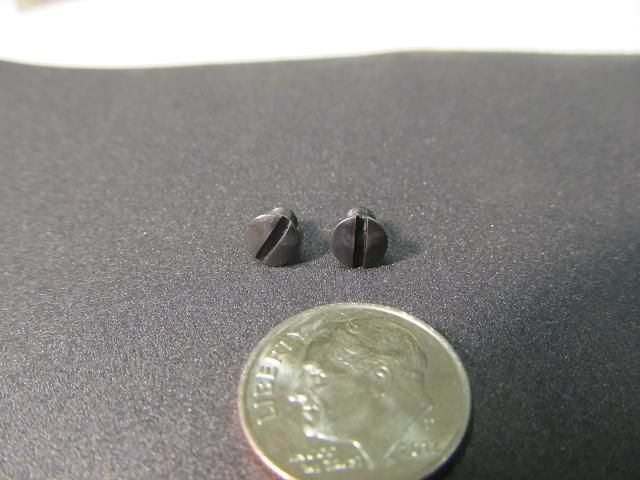
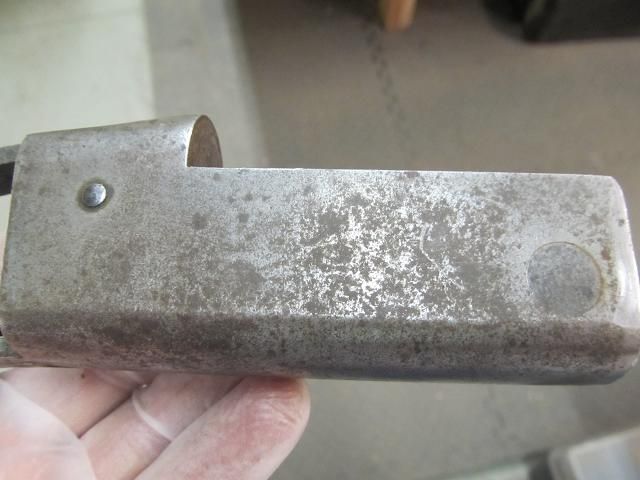
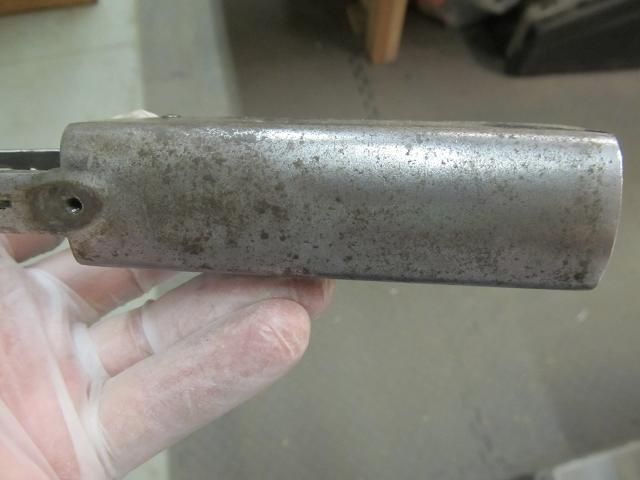
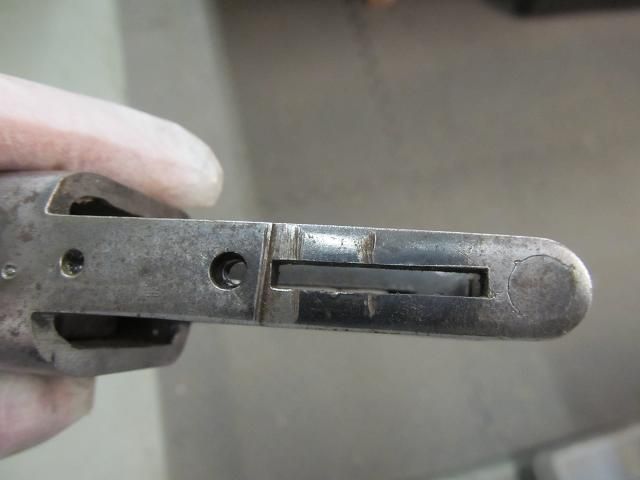
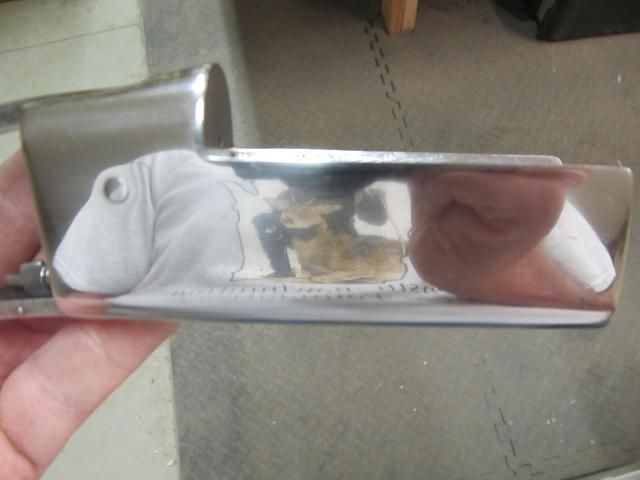
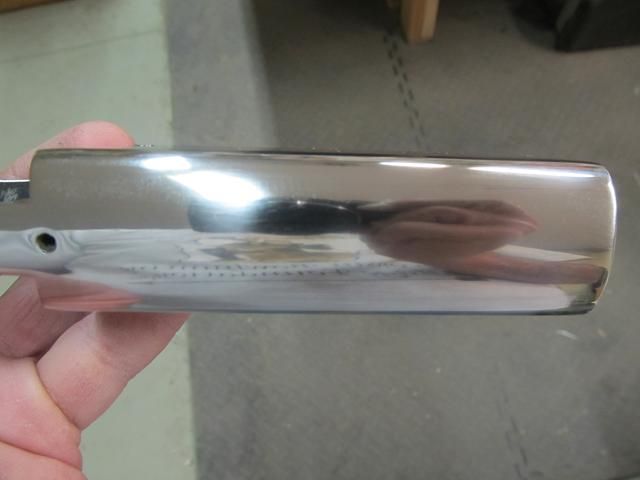
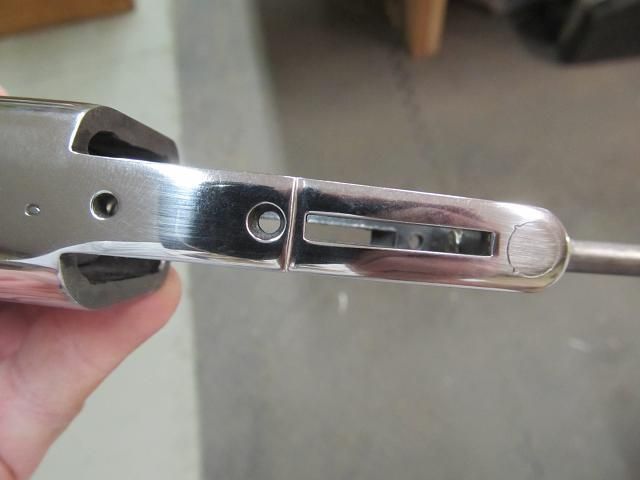
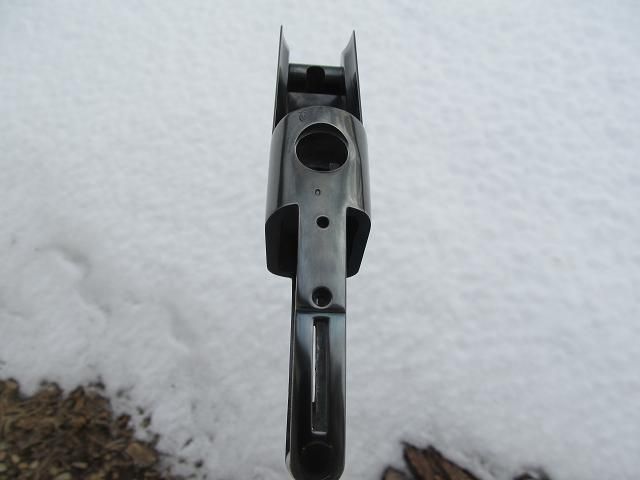
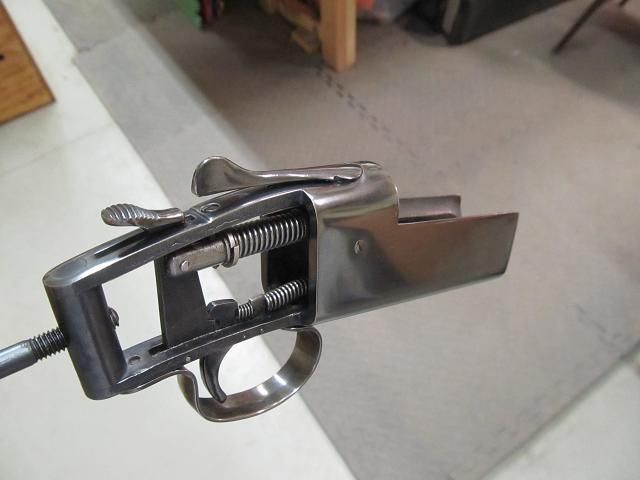
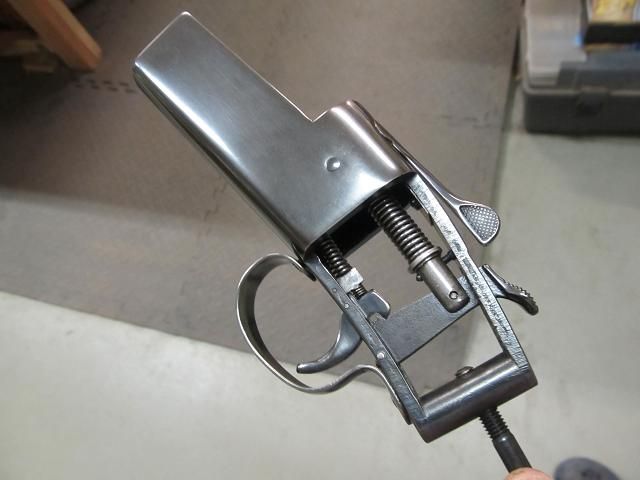
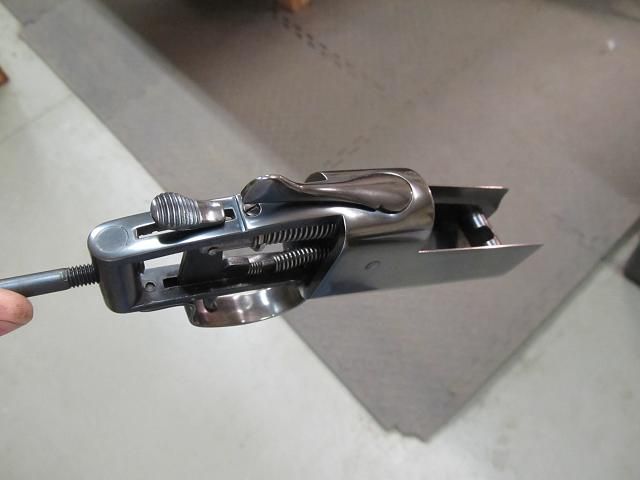
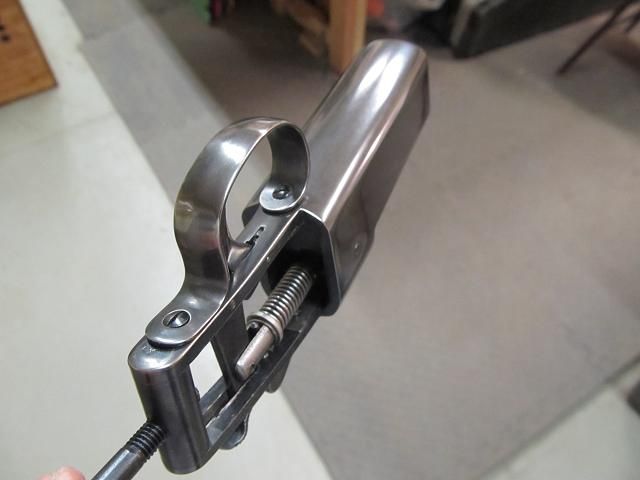
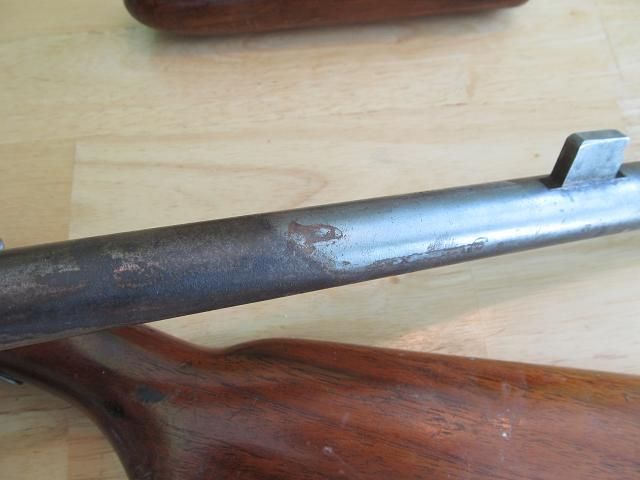
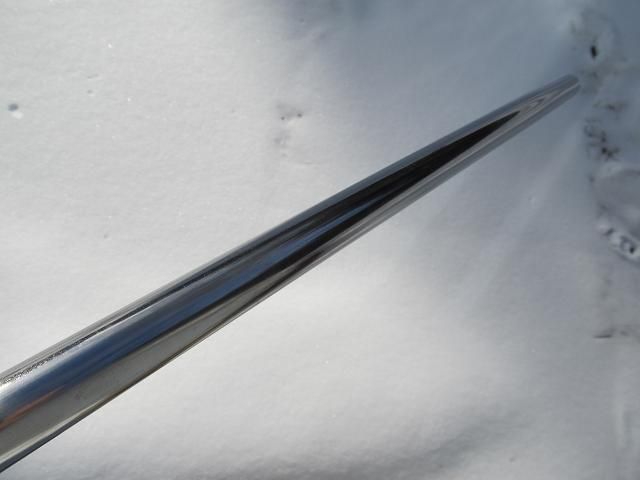
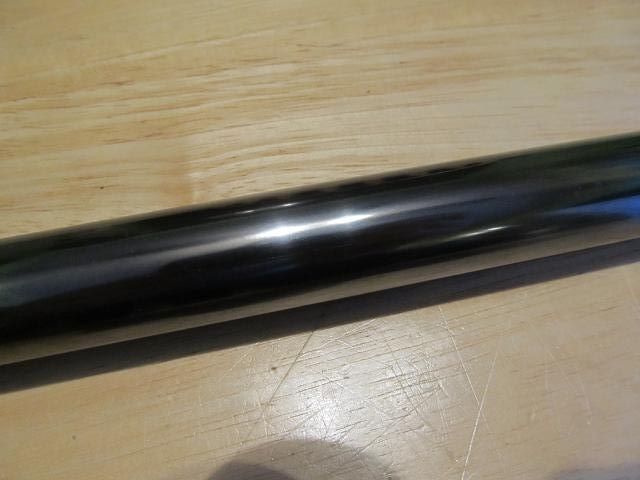
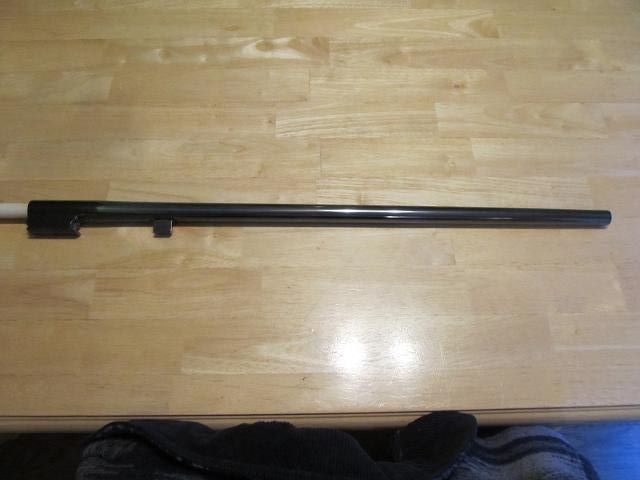
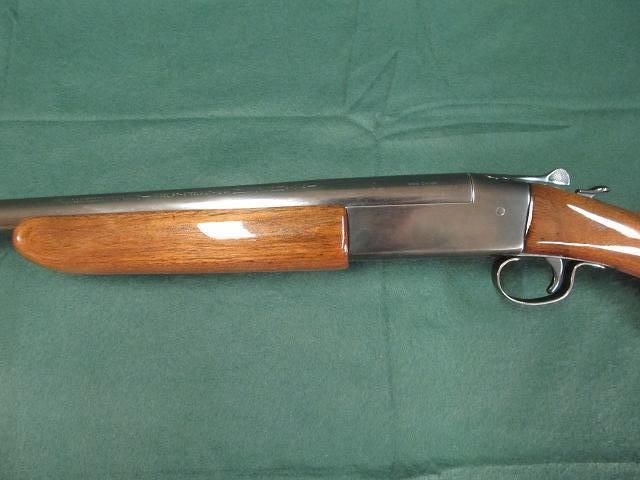
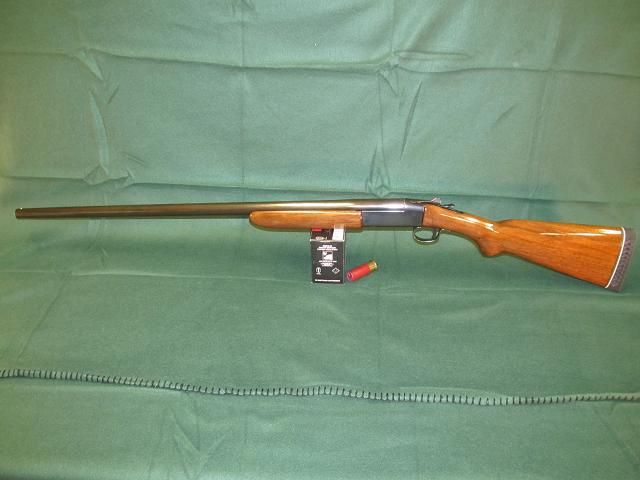
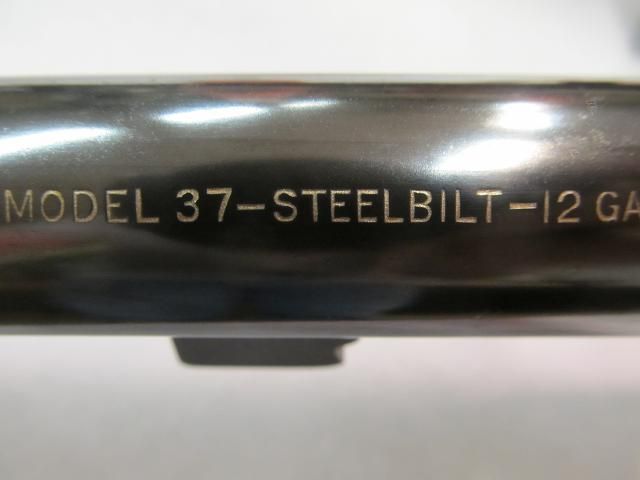
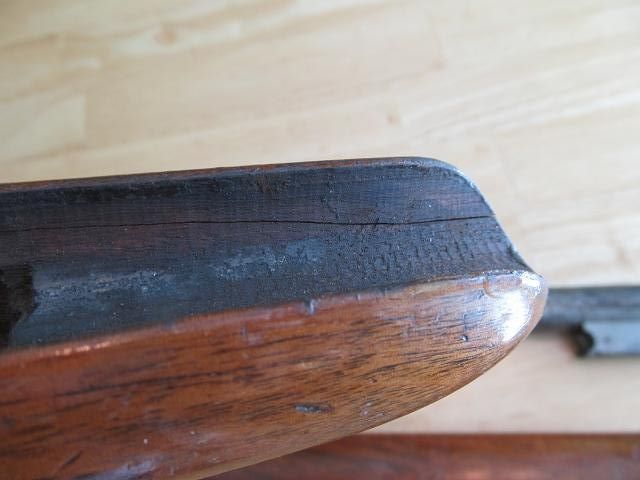
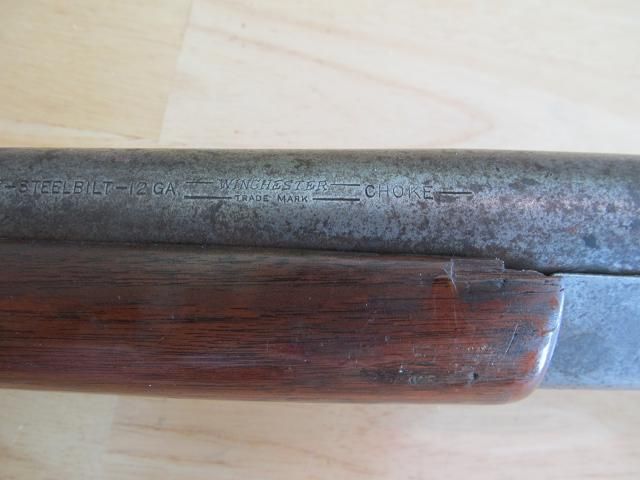
Winchester did not serialize these guns so the exact date of manufacture is not known but I will assume it was made in the mid to late 1940's. During my last visit to the farm I collected the old model 37 so I could do the restoration. Like a lot of 60 and 70 year old guns, this one is in need of some TLC. The butt stock is broken as is the butt plate. The foregrip is cracked and both stocks finish is missing in some areas. There are many dings and scratches and a few burns (im guessing cigarette). Im not too concerned about the broken heel on the butt stock since Im going to shorten the stock and install a recoil pad (something this shotgun sorely needs) and the cracked wood will be easy to repair. A recoil pad should make this gun tolerable to fire.
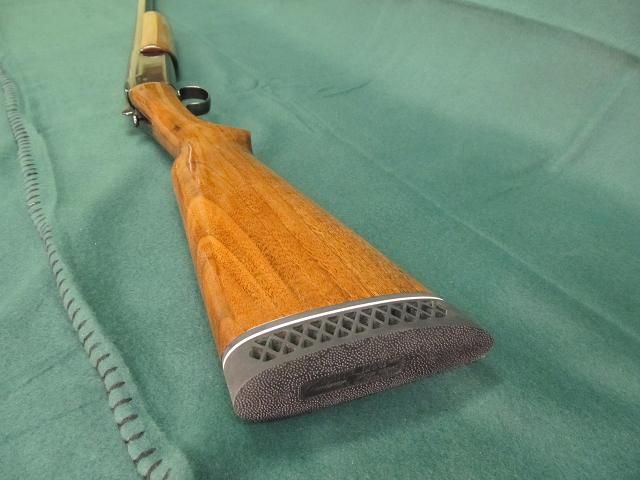
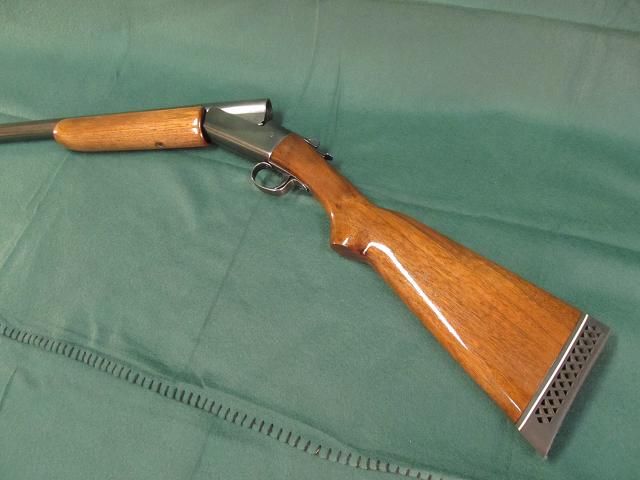
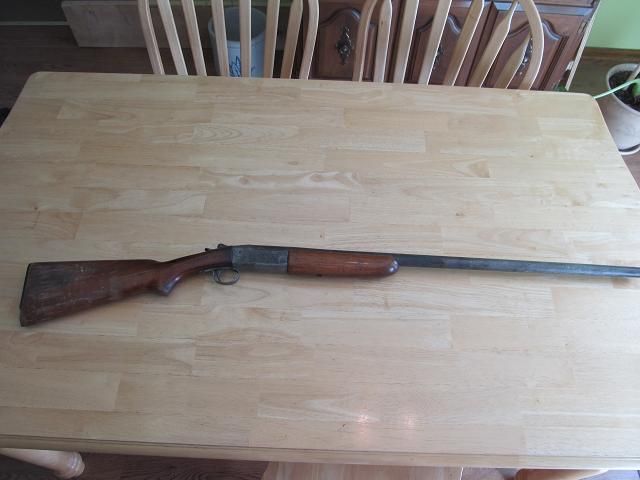
Here is the shotgun in the condition I got it in.
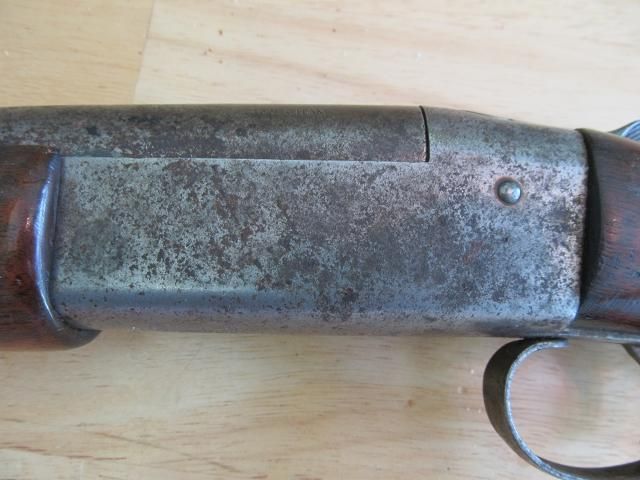
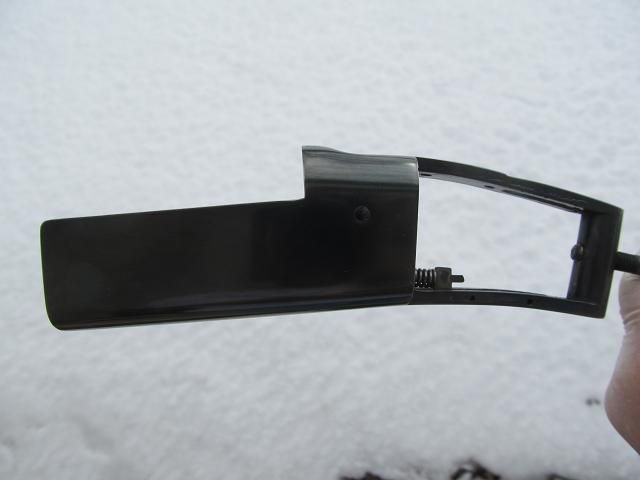
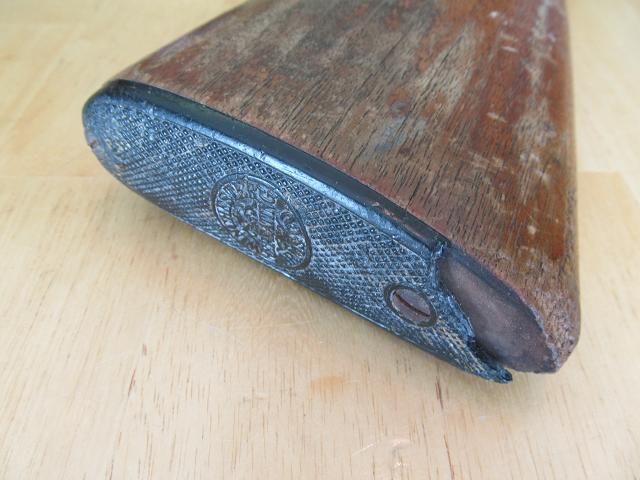
The stock it chipped away and the butt plate broken. It looks like either water damage or sun (uv) damage to one side of the stock as the finish is gone and the wood is very grey.
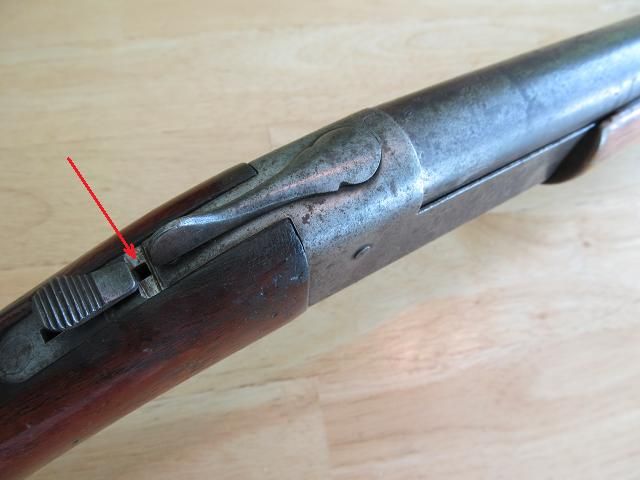
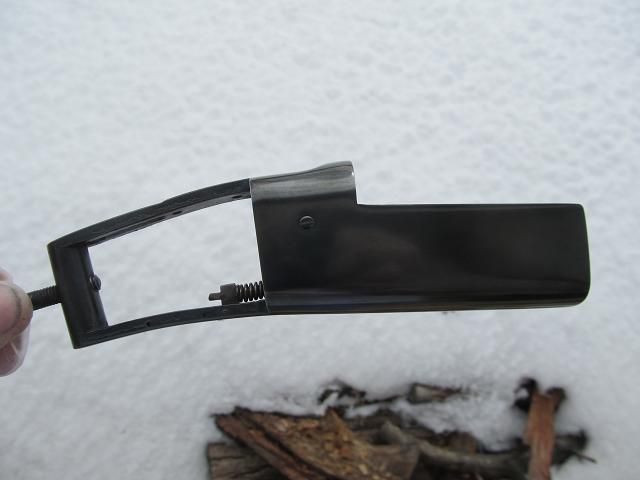
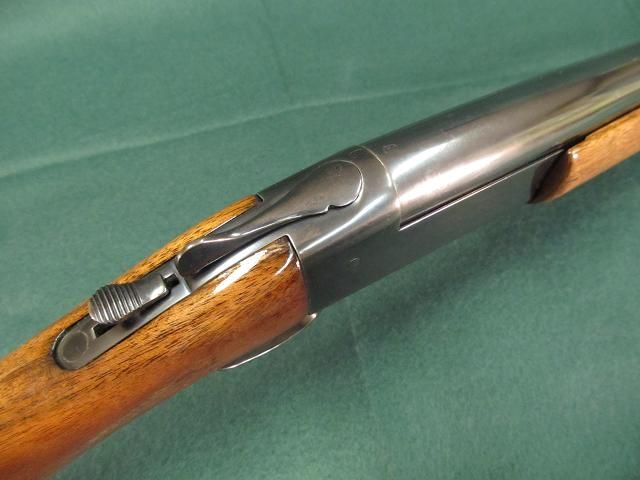
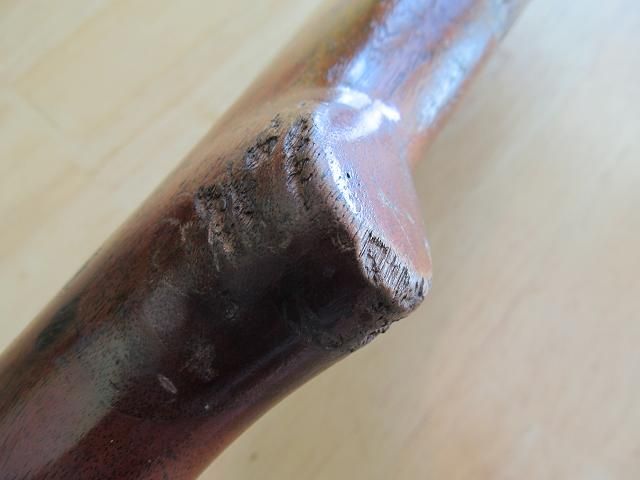
The grip is pretty chewed up as well.
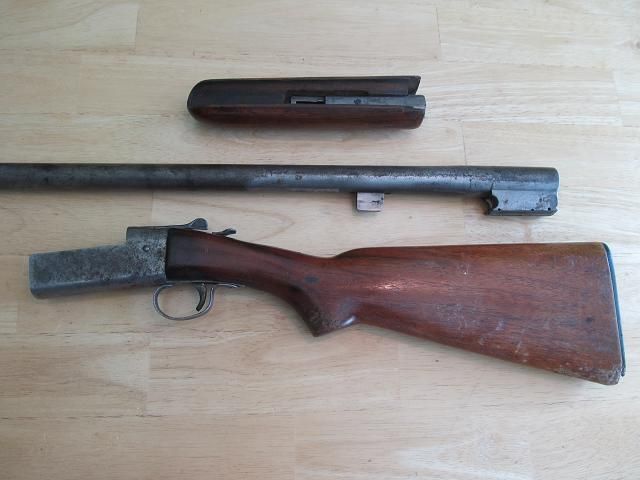
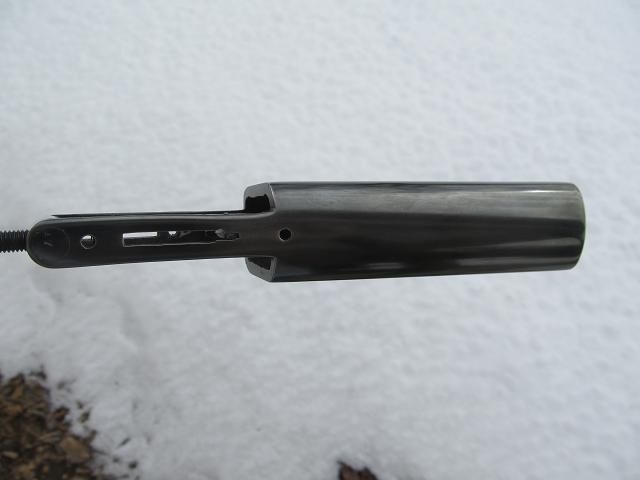
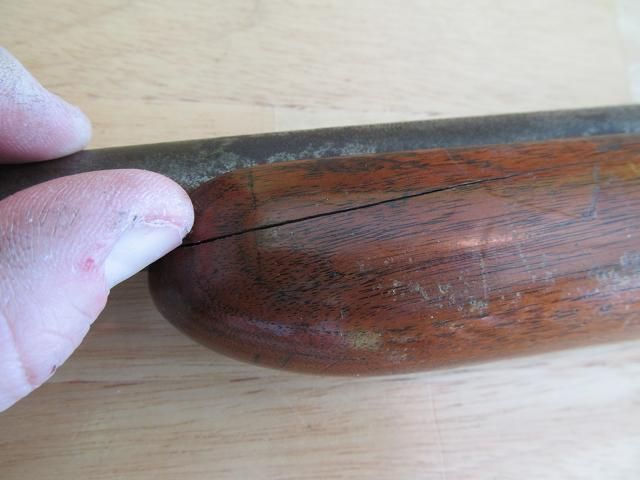
The fore grip is cracked.
And chipped away at the back end.
The Winchester model 37 was produced from 1936 to 1963. During that time slightly more than one million were made. During World War II, the National Guard soldier used Winchester Model 37, 12 gauge shotguns. When my dad bought the gun used in 1958, the shotgun sold new for $29.95. Here are some ads from the past. This first ad mentions how the light weight would make it good for women and kids and even mentions the model 37 would be a boys first love. Love? If love means getting knocked on your ass.
I doubt Santa understood the pain and terror he was placing beneath Christmas trees. Look at the words they used to describe the model 37. “hard shooting” At least this ad was factual. Santa must have fired the 37 as it looks like his right arm doesn’t work and he lost the sight in his left eye from the recoil, it appears (by the droopy mouth) that it caused a stroke and it screwed his back up so badly he cant stand upright.
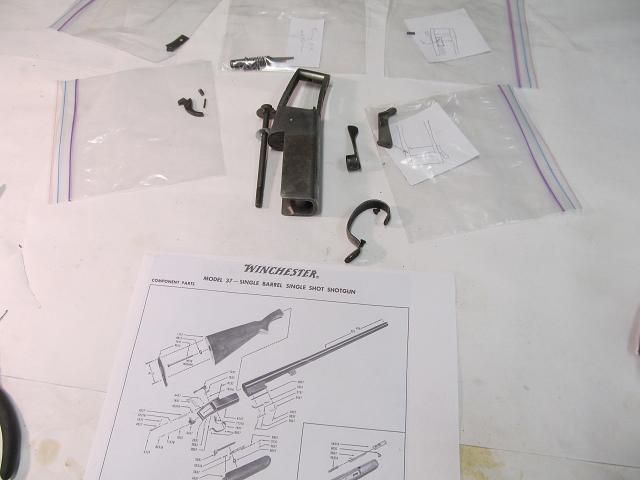
Winchester did not serialize these guns so the exact date of manufacture is not known but I will assume it was made in the mid to late 1940's. During my last visit to the farm I collected the old model 37 so I could do the restoration. Like a lot of 60 and 70 year old guns, this one is in need of some TLC. The butt stock is broken as is the butt plate. The foregrip is cracked and both stocks finish is missing in some areas. There are many dings and scratches and a few burns (im guessing cigarette). Im not too concerned about the broken heel on the butt stock since Im going to shorten the stock and install a recoil pad (something this shotgun sorely needs) and the cracked wood will be easy to repair. A recoil pad should make this gun tolerable to fire.
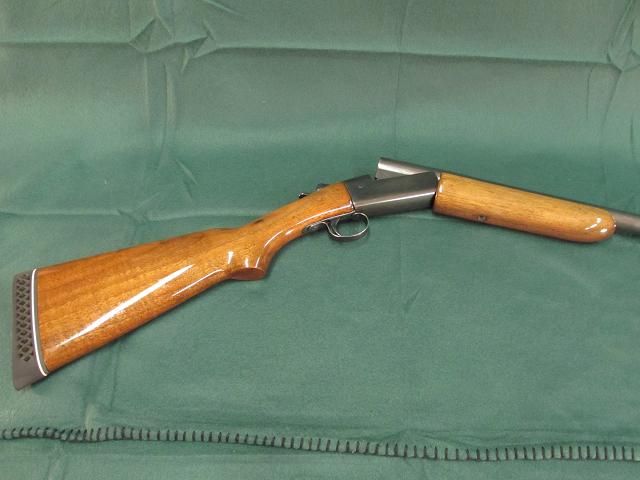
Here is the shotgun in the condition I got it in.
The stock it chipped away and the butt plate broken. It looks like either water damage or sun (uv) damage to one side of the stock as the finish is gone and the wood is very grey.
The grip is pretty chewed up as well.
The fore grip is cracked.
And chipped away at the back end.