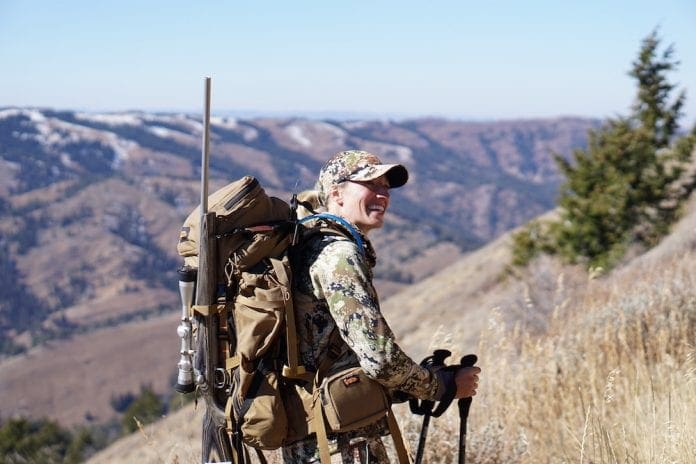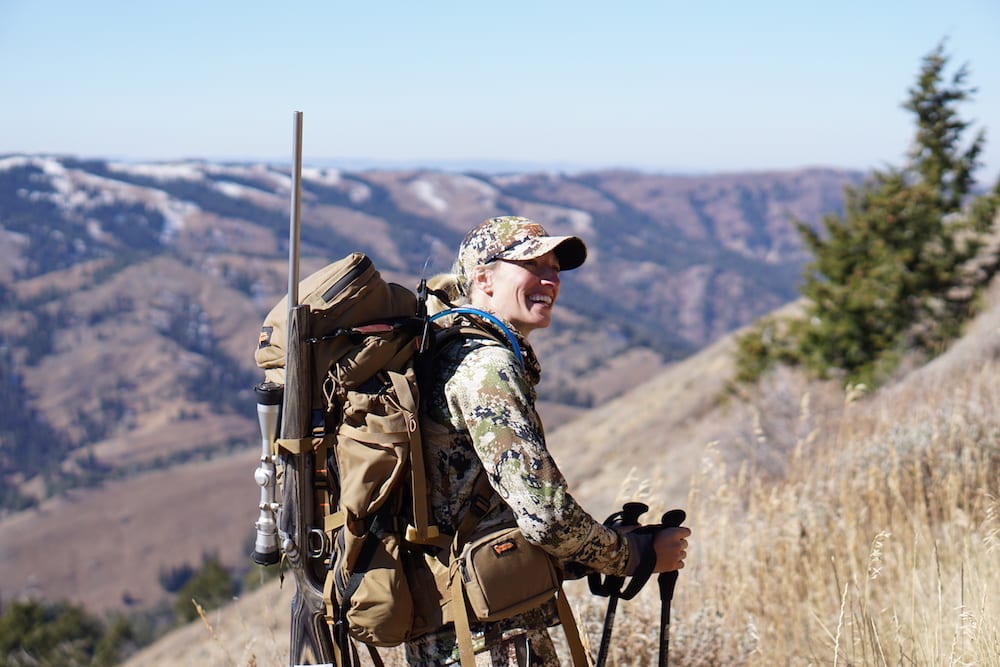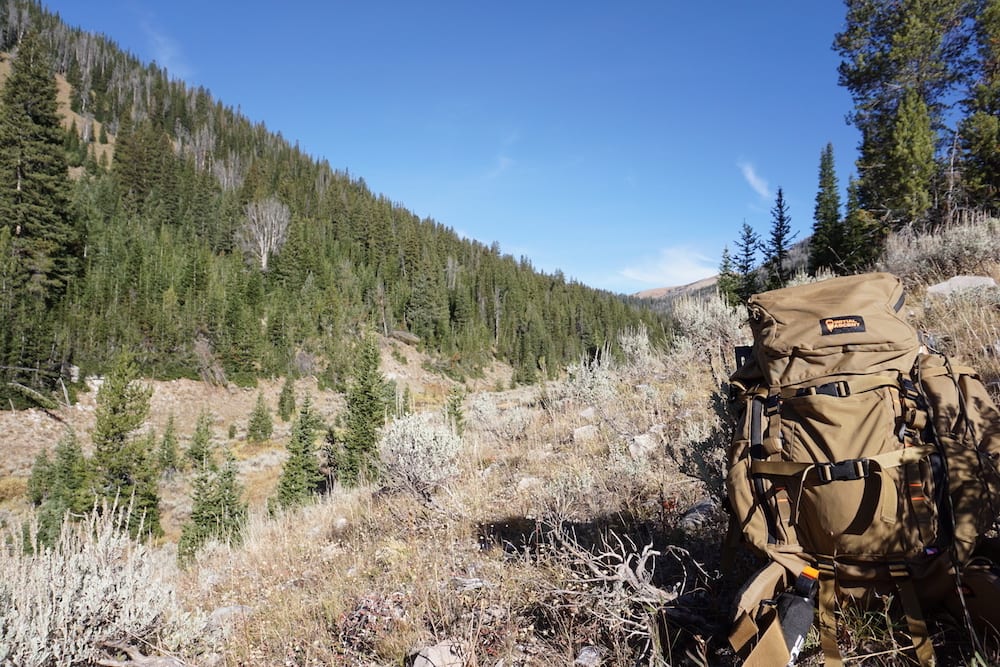
I’ve been working with a new backpack company the last few months: Initial Ascent. It’s been fun to see a new company jump into the market and bring fresh concepts and technologies to the field. Initial Ascent is based in Idaho and offer products that are 100% made in the USA. I’ve ran the Initial Ascent Backpack in the IA4K-4 Gear Combo Kit system myself through the 2018 season, and tested it across multiple friends during that time. This review highlights my experiences during that time.
Initial Ascent Backpack Specs
The IA4K pack system is suited for the hunter engaging in five plus day backcountry hunting excursions. The IA4K transitions from full-pack mode to day-pack mode easily. Because I can’t say it better myself, I’ll include the specs straight from the Initial Ascent website:
IA4K – 4 Gear Combo Kit
Triaxial carbon fiber frame (the foundation of our system)
- Total weight with Platypus Big Zip 1.5L Bladder &The Pannier Load Carrier 6.5 lbs.
- Total frame weight 18 oz.
- 4000 cubic inch capacity (expandable to 6500 cubic inch capacity utilizing “The Pannier Load Carrier”)
- Made proudly in Idaho, USA
- $639.95
On my scale, the IA4K pack/gear combo kit weighed in at exactly 7 lbs without the water bladder (add a paltry 5.4 ozs for an empty bladder).
Highlight Features of the IA4K, that are unique to Initial Ascent.
- Gun sling notch on the integral frame
- 3-point locking system that secures shoulder straps to the frame
- Water bladder storage within the lid
- Integrous frame design allowing comfort & airflow
I’ll cover these features point-by-point first.
The Gun Sling Notch
The Gun Sling Notch is a small cutout used to cradle the rifle’s sling. There is one located on each side of the frame to accommodate left or right hand shooters.
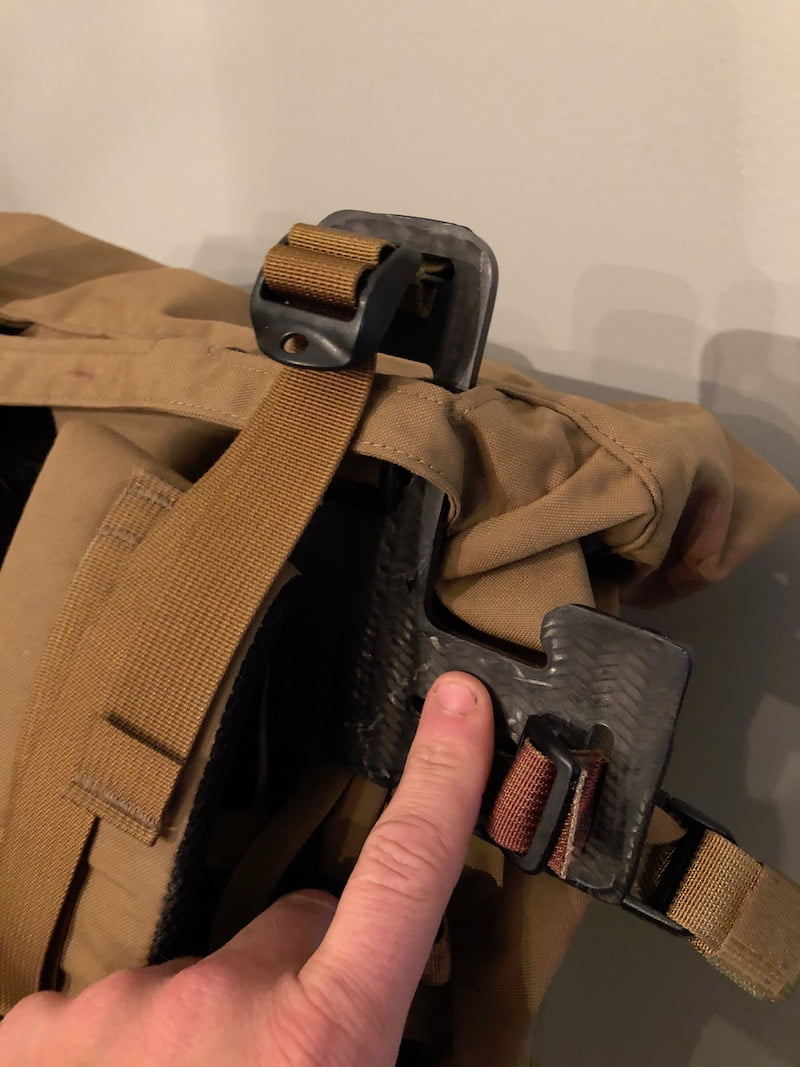
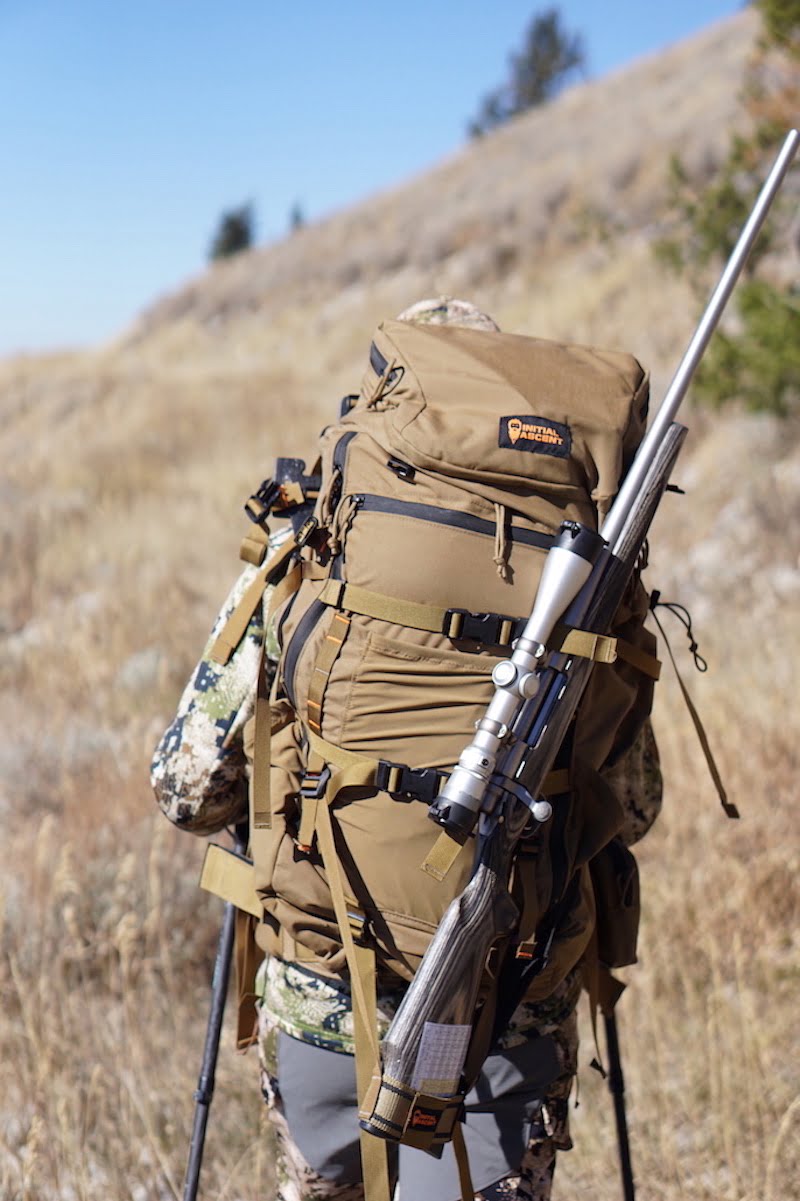
The notch will hold the gun fairly well in daypack mode, but with a loaded pack where bulk becomes an issue, I preferred to use the Initial Ascent Rifle Holder (shown below.) Along with the Rifle Holder and use of one of the cargo straps, it holds your weapon rock solid for the pack-in and pack-outs where quick access to your rifle isn’t high priority. When actually hunting, the Gun Sling Notch is a better choice as you can get to the gun quickly. However, if I were in very rough terrain, I’d still prefer the Rifle Holder as the rifle may become dislodged from Gun Sling Notch. Each user will have to find out what he prefers, but having both options is the best.
3-Point Locking System
Just to the inside of the gun sling notch, on each side, is the 3-point locking system. This is a super quick attach/detach/adjustment system. It attaches the shoulder harness to the frame, but it also allows adjustment to set the load lifters to the correct angle. This feature allows the pack to be used between multiple users quickly, yet efficiently.
Hydration System
Initial Ascent utilized the 1.5 L Platypus in their low-profile water bladder storage system. It installs in the top lid. At first, I didn’t like this idea, but I hadn’t actually hadn’t tried it. I judged the proverbial book by its cover. After using it, I found that not having to open up the pack, rearrange, dig, and pry out the water bladder, was a pretty slick idea! Very simple and quick to access, and still functional to either side of the pack.
Integrous Frame
After three years and fourteen iterations, Initial Ascent finally settled on their 18 oz. triaxial weave carbon composite blend frame. As most serious backpackers know, the frame is an integral part of the pack. Initial Ascent built this pack around their frame. Their end goal was to create a pack that could not only shoulder heavy loads, but do it comfortably. For sure they succeeded here. Their frame design allows the load to be positioned to the center of the bag, in part by the wedged bag design, allowing the weight to be evenly distributed. In turn, muscle fatigue and shoulder strain are minimized and air flow is maximized to help keep cooler in hot conditions.
Some noteworthy points on the bag
- 500 D Cordura® & 400 D high density coated pack cloth
- Wedge-shaped designed bag to elevate loads to the optimal carrying position
- Two 19” vertical YKK waterproof zippers to allow for easy access to either side of the bag with “no rattle” drawcord zipper pulls
- Duraflex® hardware with 1″ nylon flat weave webbing
- One 13” x 5” horizontal pocket with YKK waterproof zipper
- Two side expandable mesh pockets and one oversized external mesh pocket provides additional external storage
- One 19” side pocket ideal for even the largest spotting scope
- One 11” side pocket designed to handle tripod needs
- 14 compression straps to support all load capacity needs (includes 4 lid straps)
- Orange color-coded bar tack for easy buckle and accessory management
- External molles
- Oversized reflective hunter’s orange handle, allowing for easy identification in the dark
Pannier Load Carrier
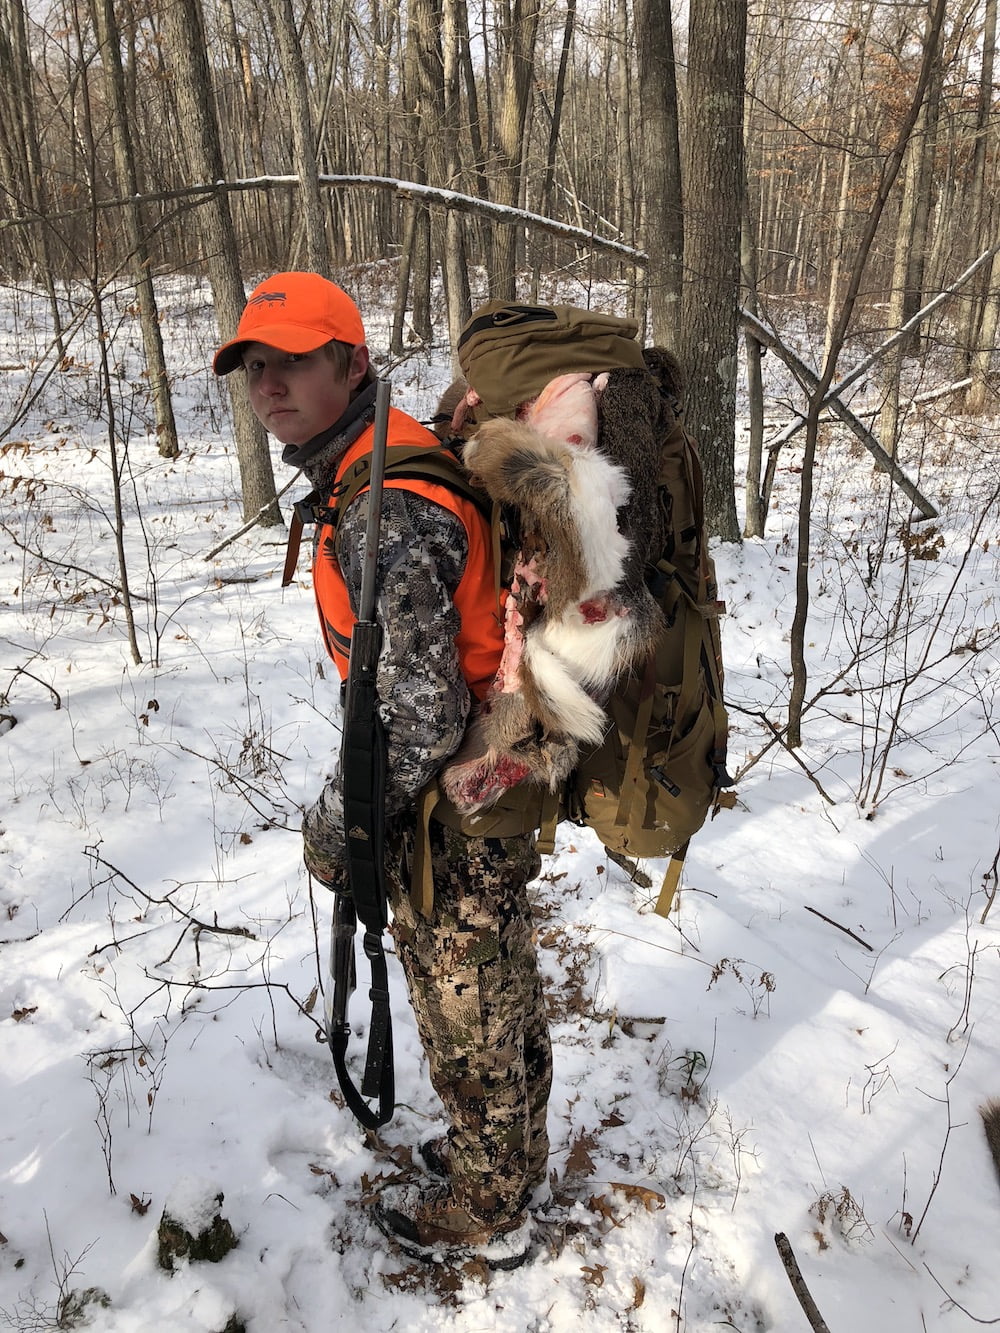
The Pannier Load Carrier is a neat feature. It allows the user to carry the meat between the frame and the bag. This is an integrated, always-ready-to-use system. It allows the bag to haul while keeping gear clean inside the bag, and keeping the weight of the meat close to the user’s center of gravity. This improves balance and additional comfort at the contact points on the shoulders and hips. We used this configuration on multiple loads of Wisconsin whitetail and Wyoming elk (up to 120lbs) and were very happy to see it functioned as it was designed to.
- Meat is securely carried between the frame and the main bag on the pack out
- 6 compression straps to secure meat to the frame with an additional four lid straps to lock heavy loads to the frame
- 2500 cubic inches of carrying capacity
- One oversized pocket providing 400 cubic inches combined with 450 cubic inches of lid storage allowing for 850 total cubic inches
- 2-¾” compression straps on the outside of “The Pannier” secures weapon or other various items to the outside of the large pocket
- External molle attachment points including IA weapon-specific carriers
- Orange color-coded bar tack for easy buckle and accessory management
Nuts & Bolts and The Hands-on
I’m anal about packs. Obviously, there isn’t a perfect pack out there. I’d grade this a 7.5 out of 10, with a 10 out of 10 not existing (hell, I’m not even sure there is a pack that I would grade 9 out of 10?)
Some Stand-outs
- Fit on Hips
This pack rides my hips better than any pack I’ve ever worn. That says a LOT. It’s comfortable. My last load out of Wyoming was in the 120# range. It wasn’t painful anywhere, indicating they have hit the sweet spot for the frame and suspension set-up on this pack. The waist belt has a forward or center pull, allowing the tightening to be a “cinch”.
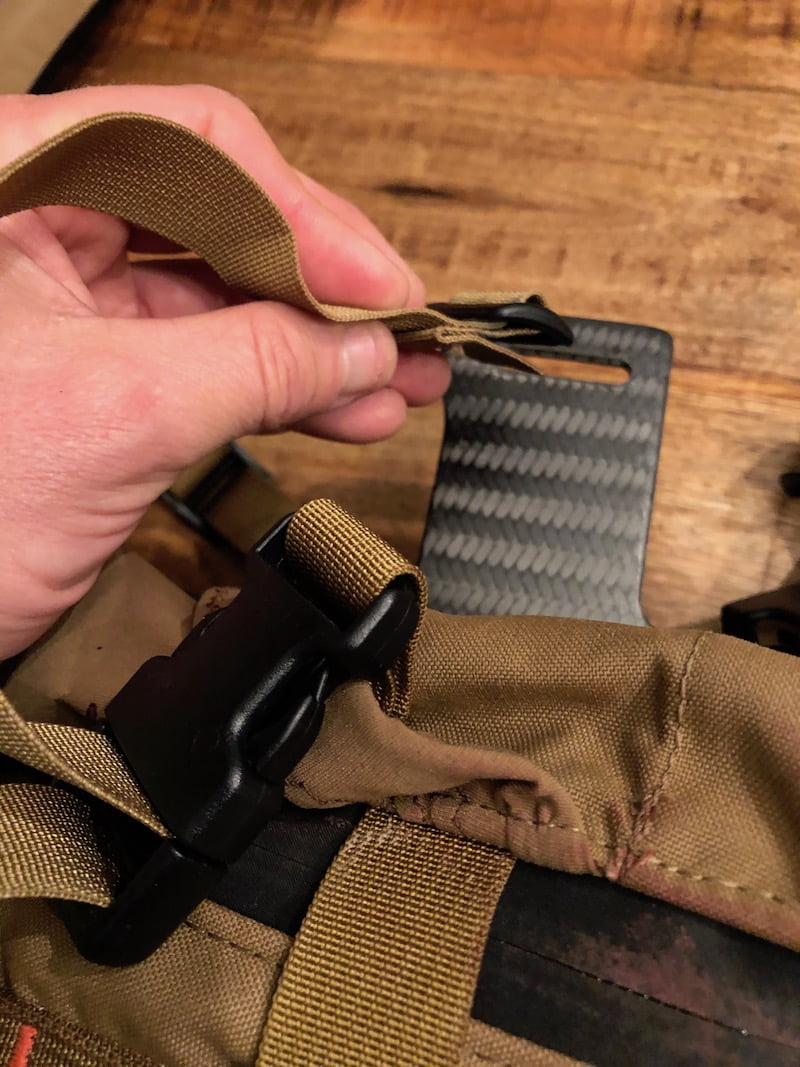
- Frame attachment straps.
They are quick and convenient, easily popped in and out for switching between different users or frame and pannier mode. The photo below illustrates this feature (but read on for a few issues I had).
- Pack pockets
They are are sufficient, and accessories are available in enough possibilities (click here for those options.) Here are a few pictures of the pockets:


- Versatility
Last but not least, was the ability to go from pack, pannier, or pack and pannier combination. Very simplistic, yet functional. I’m very happy with this setup.
Things I would like to see improved
- The strap attachment (s).
Initial Ascent utilizes a“quick slide/release” system. The theory is there and I really like it, and I like that it’s “molle” adjustable. However, I did lose several straps during my testing. The first was the strap that goes from the lid to the bag. It came off four times during my testing and unfortunately I only found it three times. I also lost one of the frame attachment straps and never found it. In looking at the design, and using it, I wouldn’t think this would be happening. It is, however, and I hope the Initial Ascent team can rectify the problem.
- Waist Belt Padding
The waist belt padding is different than I’m used to. It’s stiffer. It’s not uncomfortable, it’s just different. I’m nitpicking, and not saying that it’s bad, it’s just different from everything else I’ve ever used. Even more time will form a better opinion.
The last thing that I would like to see “changed” is variety. They are a new company, so I totally get where they are at. Right now, there aren’t many options in the bag; just one size in one color. Not a big deal, but options increase usability. That’s a good thing for everyone involved. With that said, I do believe they are working on more options for 2019.
In summary
The Initial Ascent Backpack is a great product. The company spent three years developing this pack, and didn’t rush into releasing something that wasn’t ready for the market. They have some innovative ideas, are progressive thinking, and are willing to listen to the customer. I’m looking forward to seeing how they continue to grow and develop.
Follow along on the Initial Ascent thread here, and check out previously asked questions, or ask your own. The guys at Initial Ascent and myself will be answering them.
*Initial Ascent is now a Rokslide sponsor, so watch for more information on the forums as they work to improve and bring more products to the market.


