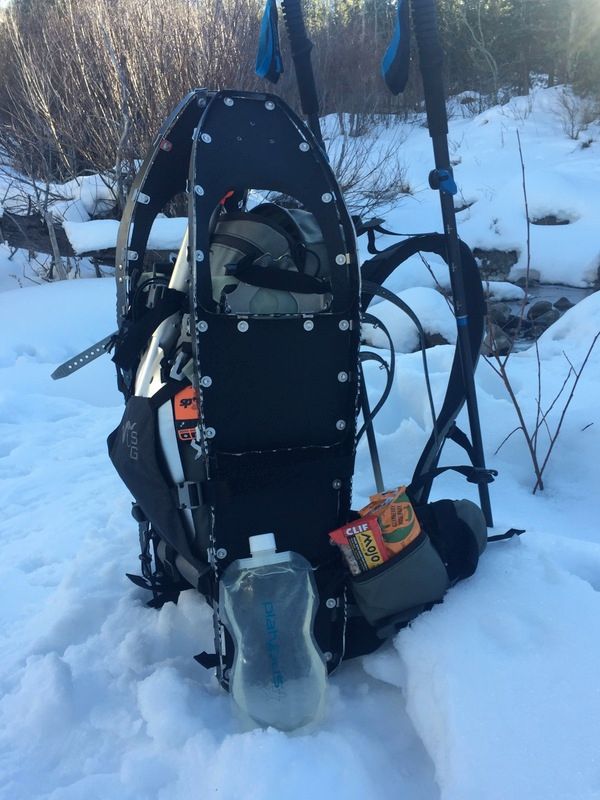
Here are some photos - the main thing that's a little tougher with this set up is firmly keeping the bag on the frame - the lower frame attachment straps (above the load shelf attachment webbing) aren't on the avail since you wouldn't want those digging into your back while running the avail suspension (without the frame).
In the field photos I used the lower 2 straps on the frame through the avail's bottom 3 bar slider (these are the black colored ones), which pinned the bottom of the bag against the frame. That way is shown in the first pic. The SG photos appear to have it setup like I have it in the second picture below.
The other thing I noticed is you can use the 3 bar sliders that attach the avail hip belt to the bag to attach to the lower side compression straps on the frame (see third picture). Then the lower side compression strap sewn to the avail bag is routed through the 3 bar slider on the front of the bag, just as it would be if you weren't attaching the frame.
The upper two compression straps on the frame are attached to the buckles on the front of the avail bag - the side compression straps on the bag just get tucked between it and the frame. This is shown in the fourth pic. Note there is an extra 3 bar slider (green) shown against the frame. That's the attachment point for the shoulder straps, which just folds behind the bag when you attach it to the frame.
For the top attachment to the frame, all you have to do is route the frame's top compression straps through the bag's load lifter 3 bar sliders.
All in all I think it works fine, and you can route the bottom straps either way.
Hope that helps. Probably tough to interpret without a video, I can shoot one later this week if my explanation is still confusing.
")