Building Accurate Sight Tapes
By Doug Rosin, Rokslide Moderator
When your trophy of a lifetime requires you to dial your adjustable sight to a specific distance, you want to be 100% confident your arrow is going to be delivered to that one tuft of hair you were intent on splitting. So, building the most accurate sight tape is the beginning to having the confidence to do just that.
Building sight tapes is not rocket science, but there are things you can do to be more accurate in the long run. Most adjustable sights are being packaged with pre-made sight tapes. On occasion, these could be the specific one you need, but often will only be “close” throughout the range of the tape. Having an accurate tape from the short range to the long range can extend your maximum distance or allow you to take a long-range follow-up shot on an animal you have already put an arrow in. I am not here to tell you what your maximum distance is or what is long range, those are personal decisions each hunter needs to identify within themselves.
There are a variety of programs out there that can assist you in building your tapes; several are web-based services and smartphone-based. They all work relatively the same, but there are some differences. The data you input is critical to making your tape the most accurate and some programs fall short of collecting enough data. I personally use Archers Advantage as it is web-based and takes into account the most variables, and for me has produced the most accurate tapes. Archers Advantage will ask for specific inputs related to your bow, arrow, and sight. Archers Advantage does require an annual fee to use their program.
Once you decide on the program you are going to use to make your tapes, you need to be as accurate as possible when collecting and recording your data. These programs only work with the data you input, so if you are not accurate in recording your data, your tape won’t be as accurate.
These are the measurements that are most critical:
- Peep to arrow
- Peep to pin
- Arrow weight
- Arrow diameter
- Sight type.
Here is how I measure each of them:
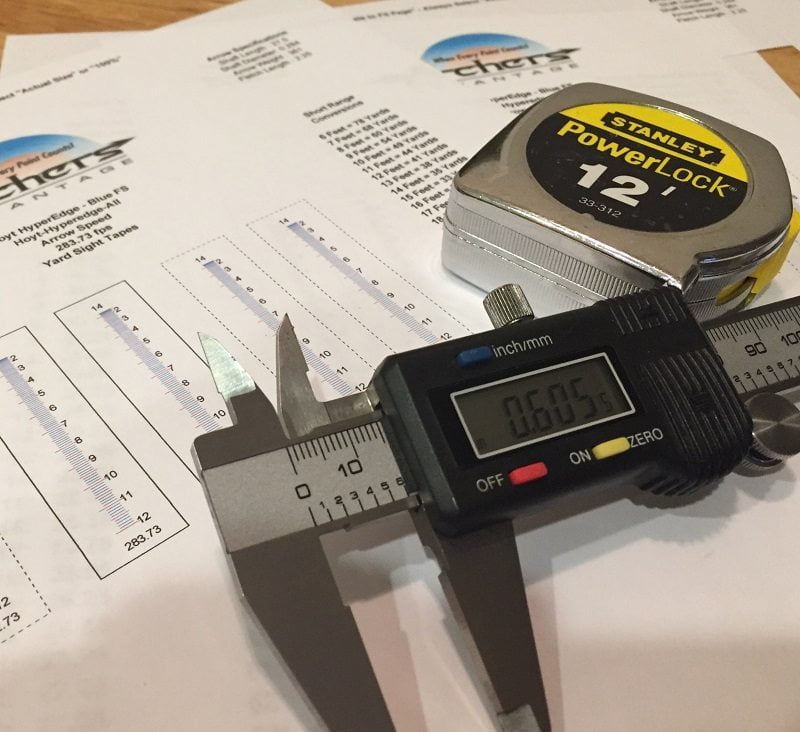
Peep to Arrow – this is the measurement from the middle of your peep to the middle of the arrow when the bow is at full draw. I use a draw board and calipers to get exact numbers. I use the calipers to measure the outside diameter of the arrow and outside diameter of the peep. I then use the calipers to measure from the top of the arrow to the bottom of the peep. I will then add that number to half of the arrow diameter and half of the peep diameter. This will give you an exact distance and should be represented to the hundredth of an inch, for example, 3.61 inches.

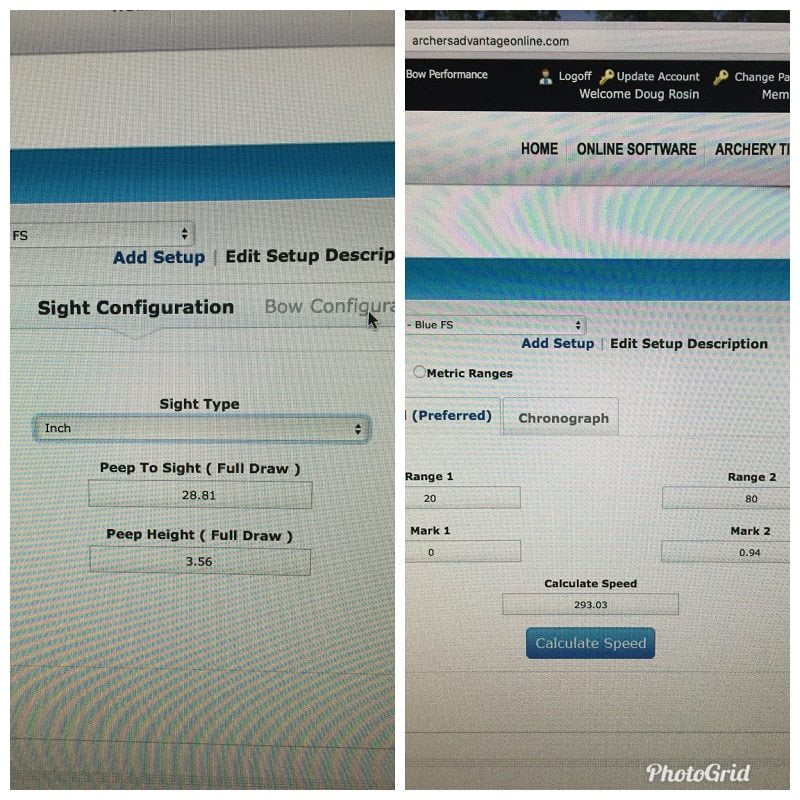
Peep to Pin – this is the measurement from the middle of your peep to your pin in your sight. This measurement is also taken at full draw and I use a draw board and tape measure to record it. To get to the middle of your peep, measure to where your string and peep come together. Record this to the hundredth of an inch also. So, if it is 28 13/16” convert that to 28.81”.

Arrow Weight – take your average arrow weight for this input. For example, if your arrows weigh between 455 and 460 grains, use 457.5 grains for your arrow weight. That will allow for the least amount of dispersion across all your arrows.
Arrow Diameter – I take this measurement with calipers or you can refer to your arrow manufacturer’s specifications to find out the outside diameter.
Sight Type – the information needed for this input is usually in your literature for your sight. It is generally listed as a “click/turn.” Most apps will have a sight name also for reference, such as Tru Ball 20 click / 32 turn. If you get this incorrect you will get very frustrated. As a side note, the CBE Rapid Travel has no click/turn ratio, but a tape can still be built for them. You just have to do it through the “inch” option of the sight and I will discuss that later.
After collecting this data, it is time to shoot in two marks. I know most adjustable sights say to shoot 20 and 60, but that is because their premade tapes work off a “scale” designed off of those two yardages. The downfall to that is yardages past your sight in mark do not always match up as the spread in the two yardages is minimal. If 60 is your max distance, then this works well, but if you need a tape to 100 yards, this method will almost always be a few yards short at 100 yards.
The more accurate tapes are made when your short and long are spread over a longer distance. You also need to have your short distance far enough to see movement in your point of aim point of impact when you make a change in your sight. Sights with very small adjustments may only move your point of aim point of impact a ¼” per click/adjustment. Personally, I can’t shoot well enough to see that kind of change at the target.
I choose 25 and 80 for my two respective distances. At 25, I shoot at a horizontal line about ¼” wide. I will shoot that until nearly every arrow is hitting that line and I obviously discount any arrow where I make a bad shot. I then shoot 80 at a horizontal line about 2” wide with the same expectation to hit the line. Once those two marks are known, you plug those into the “Sight-In” section and it will calculate a tape for you. Each archer will need to know their own capabilities when shooting their long mark; if you can’t group at 80, move up and shoot the longest yardage you can accurately place arrows.
If you have put in all the data as accurate as possible and are confident in your two marks you collected, your tape should work easily to 100 yards. Once the tape is made, be sure to print it as “actual size” or “100%.” Many people do a great job with collecting the data and then print their tape on a smaller scale and can’t figure it out why it doesn’t work. Also, don’t get caught up in what the tape says for the speed of your arrow as most show about 10 feet per second slower than the actual speed, just know the tape works based on your data input.
For hunting, I prefer to print my tapes on waterproof map paper, as it holds up well when wet. I then cut it off the paper and use packing tape to secure it to the sight. I know several people that print their tapes directly onto adhesive paper used for labels and such, which is another good way to do it.
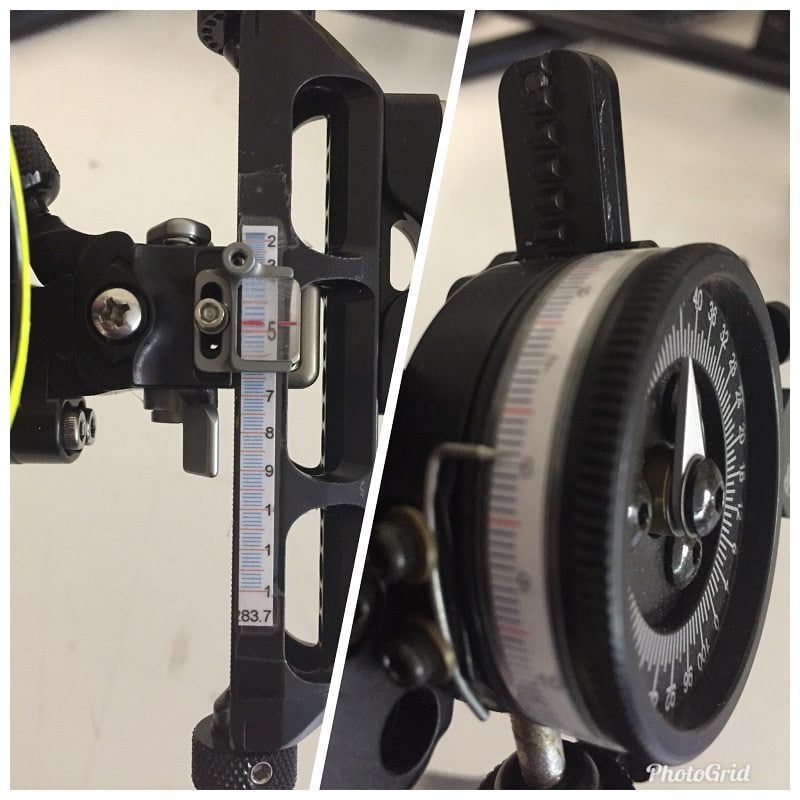
When attaching the sight to the tape, move your sight to your long mark, whatever it is. For me, it’s 80 yards. Then secure your tape with 80 under the indicator/pointer. After you get your tape secured, move your indicator to match up to 80 exactly.
Then it is time to verify your marks; shoot your long mark, then your short mark, and a few in-between yardages. All should match up and put you where you want to be.
The CBE Rapid Travel is one sight I haven’t seen a program for and I believe it is because it has no clicks. You can still build a tape for them with a few changes. First, your “sight type” needs to be on “inch.” If your App doesn’t have that option, you will need to use one that does. For your sight in marks, you will again need two marks. The mark for the first distance will be “0.” The mark for the second distance will be a measurement. So, you will shoot your two distances–say 25 and 80–then you will need to measure that distance and input that into your second mark; for example, 1.23 inch.

Once you print a tape for that distance, compare it to the marks you measured from and make sure they match up exactly. Then go out and verify it as sometimes this process takes a couple of tries to get it correct.
Possible Issues
There are are a few notes about building your tape and some issues that always seem to come up. Naive archers build their tapes with field points, then screw on broadheads and think all is good– it’s not. 100-grain field points may measure 102 grains and 100-grain broadheads may measure 98 grains. So, input data should change if they are not the same. I also don’t believe many archers can shoot the same size groups with broadheads as they do with field points, and they have trouble admitting that. I get into plenty of debates about field points and broadheads hitting the exact same at 100 yards and I personally think it is extremely rare and happens to about 1% of archers. The profile of a broadhead, even mechanicals, is much more than a field point and therefore has more drag. Because of that, they usually are a little low at the longer distances. Some very skilled archers/tuners can make this happen, but it is rare.
My personal fix for this is I just know where my broadhead starts to leave my tape. I am good with my tape to 80, then at anything between 80 and 90 I add one yard, 90 to 100 I add two yards. That will usually get my broadhead right with my field points at long range. I could build a second sight tape, but then every time I practice I have to change a tape out, so I just make an adjustment at the longer yardages.

This is my process. There certainly are others but this is what works for me and I’m confident that if you don’t already have a better method, this one is a sure-fire way to build your most accurate sight tapes.
You can comment on this article or ask Doug questions here.


