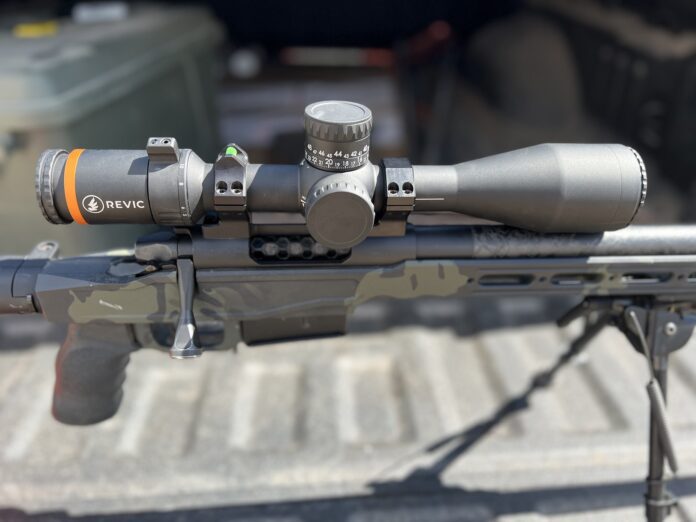
The Revic Acura RS25i is a new scope from Gunwerks, built for the long-range hunter. Weighing just over 35 ounces, with a 30 mm main tube, and a 50 mm objective lens the scope is sturdy. The reticle is a first focal plane and it has a 5-25 power magnification range.
The RS25i comes with an adjustable power throw lever that is big enough to give some mechanical advantage but not big enough to impede bolt travel. The factory position worked well on the rifles I mounted the scope on, so I never moved it. A fairly simple illuminated reticle has marks every MOA. The horizontal wire is numbered every four MOA out to 16. The numbered marks get bigger as they move farther from center. The vertical wire is a very bold, tapered post that starts four MOA below the cross hair. It is very easy to pick up and can be used as a quick aiming point at low power.
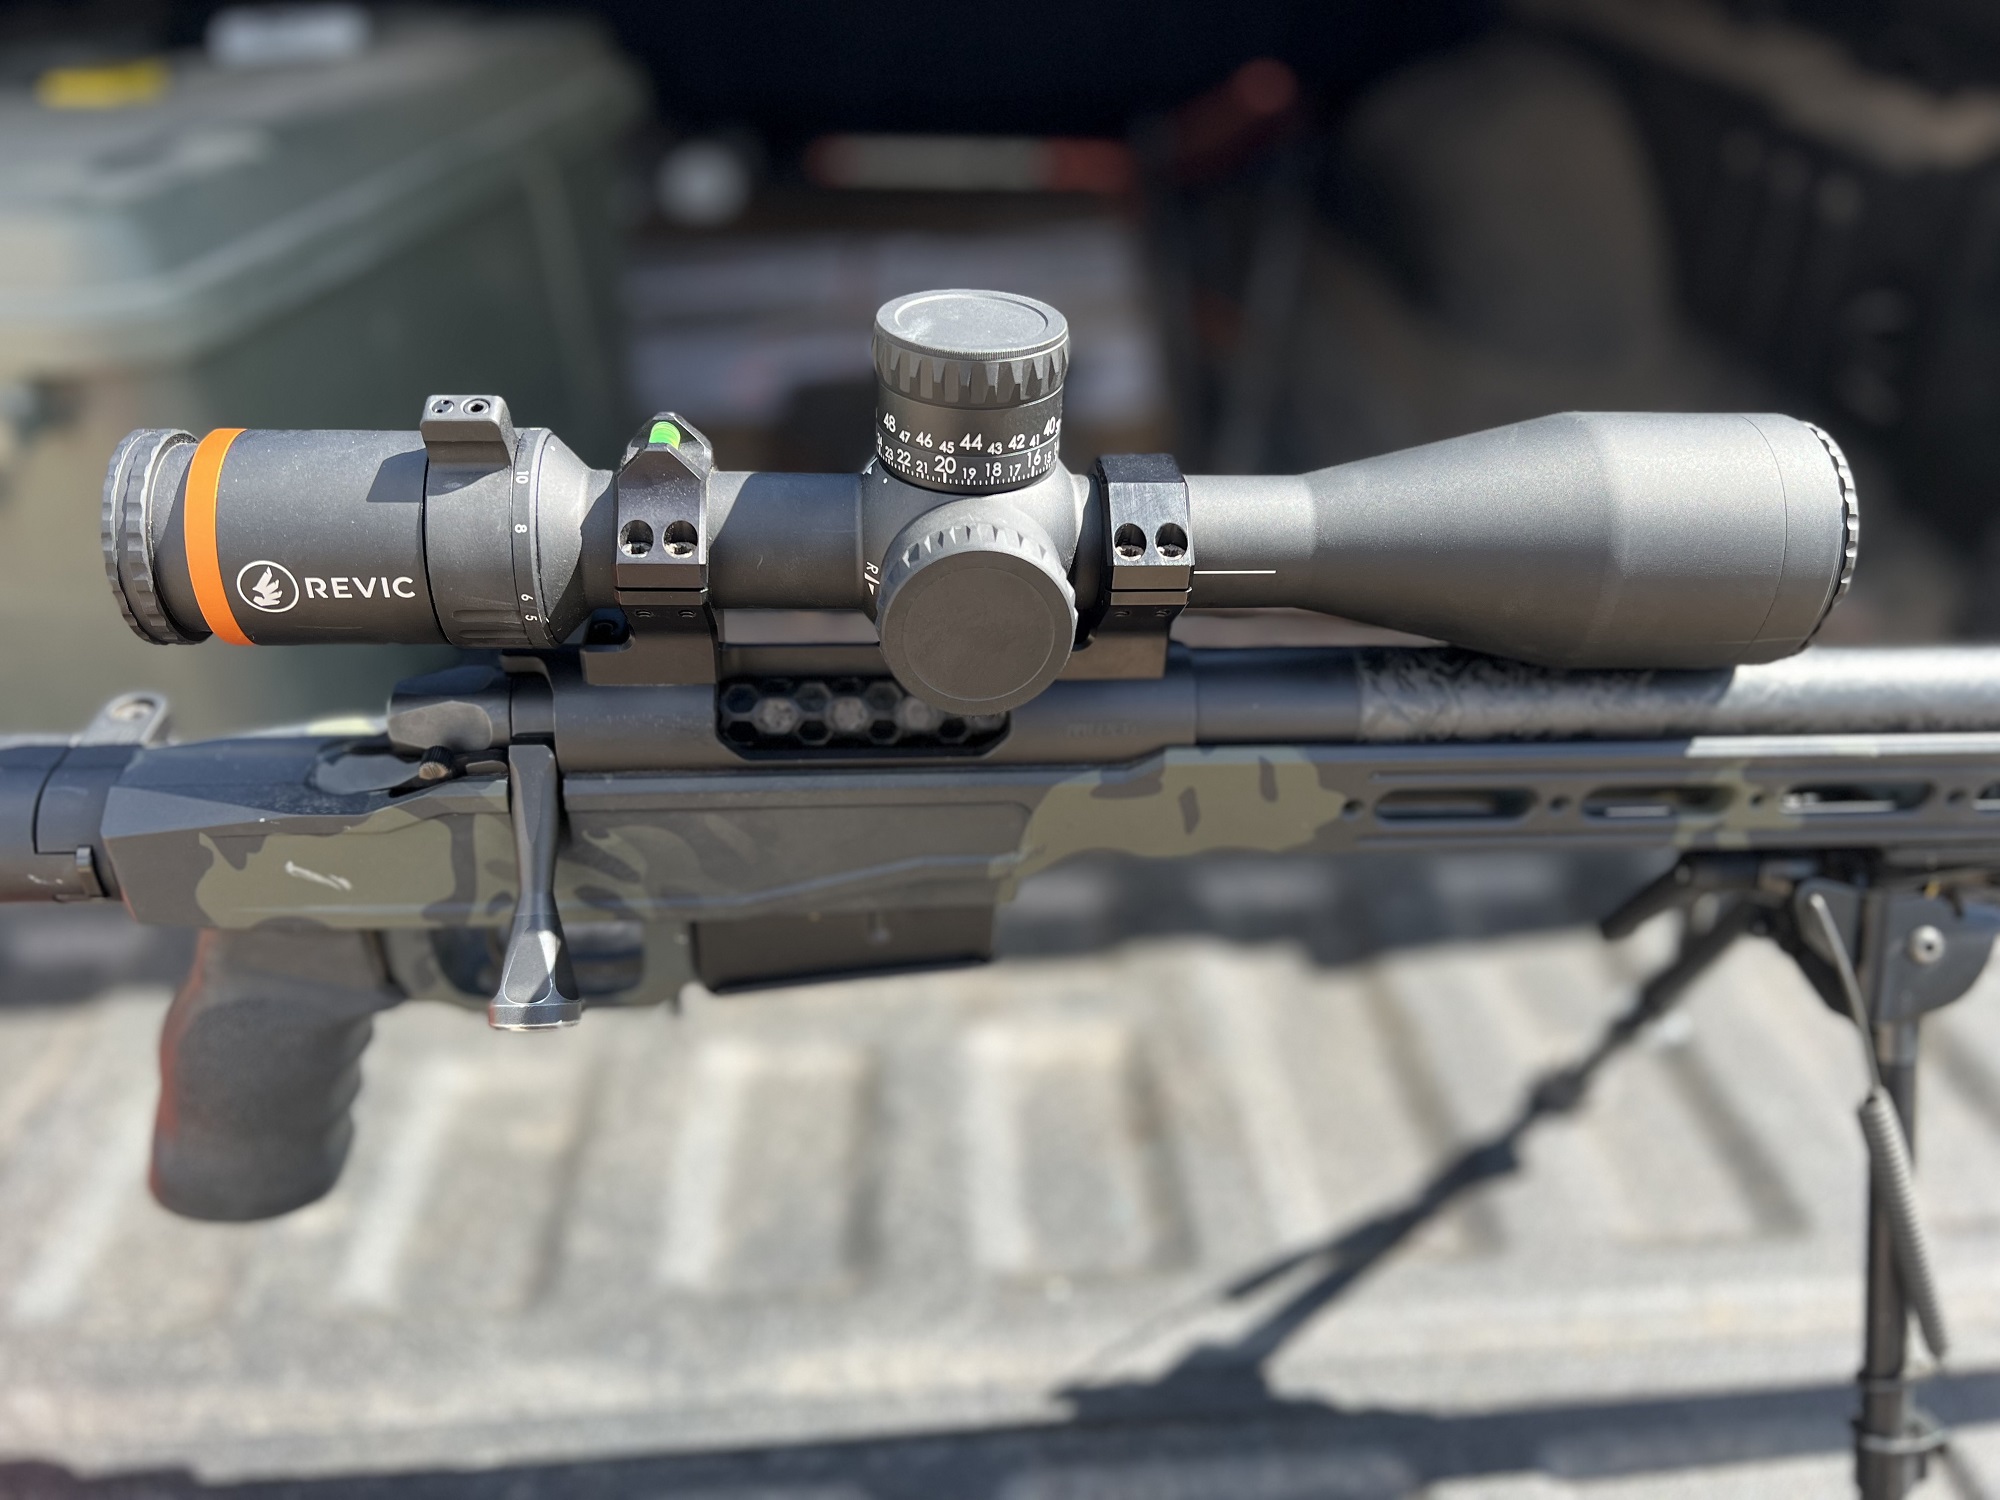
Revic RS25I Turrets
The elevation knob is big, and the clicks are very definite without being too difficult to turn. There are 25 MOA per revolution and the second pass is marked as well. There are index marks on the turret to help keep track of how far from home you really are. Windage is capped. The dial is marked 12 MOA each way and is also indexed.
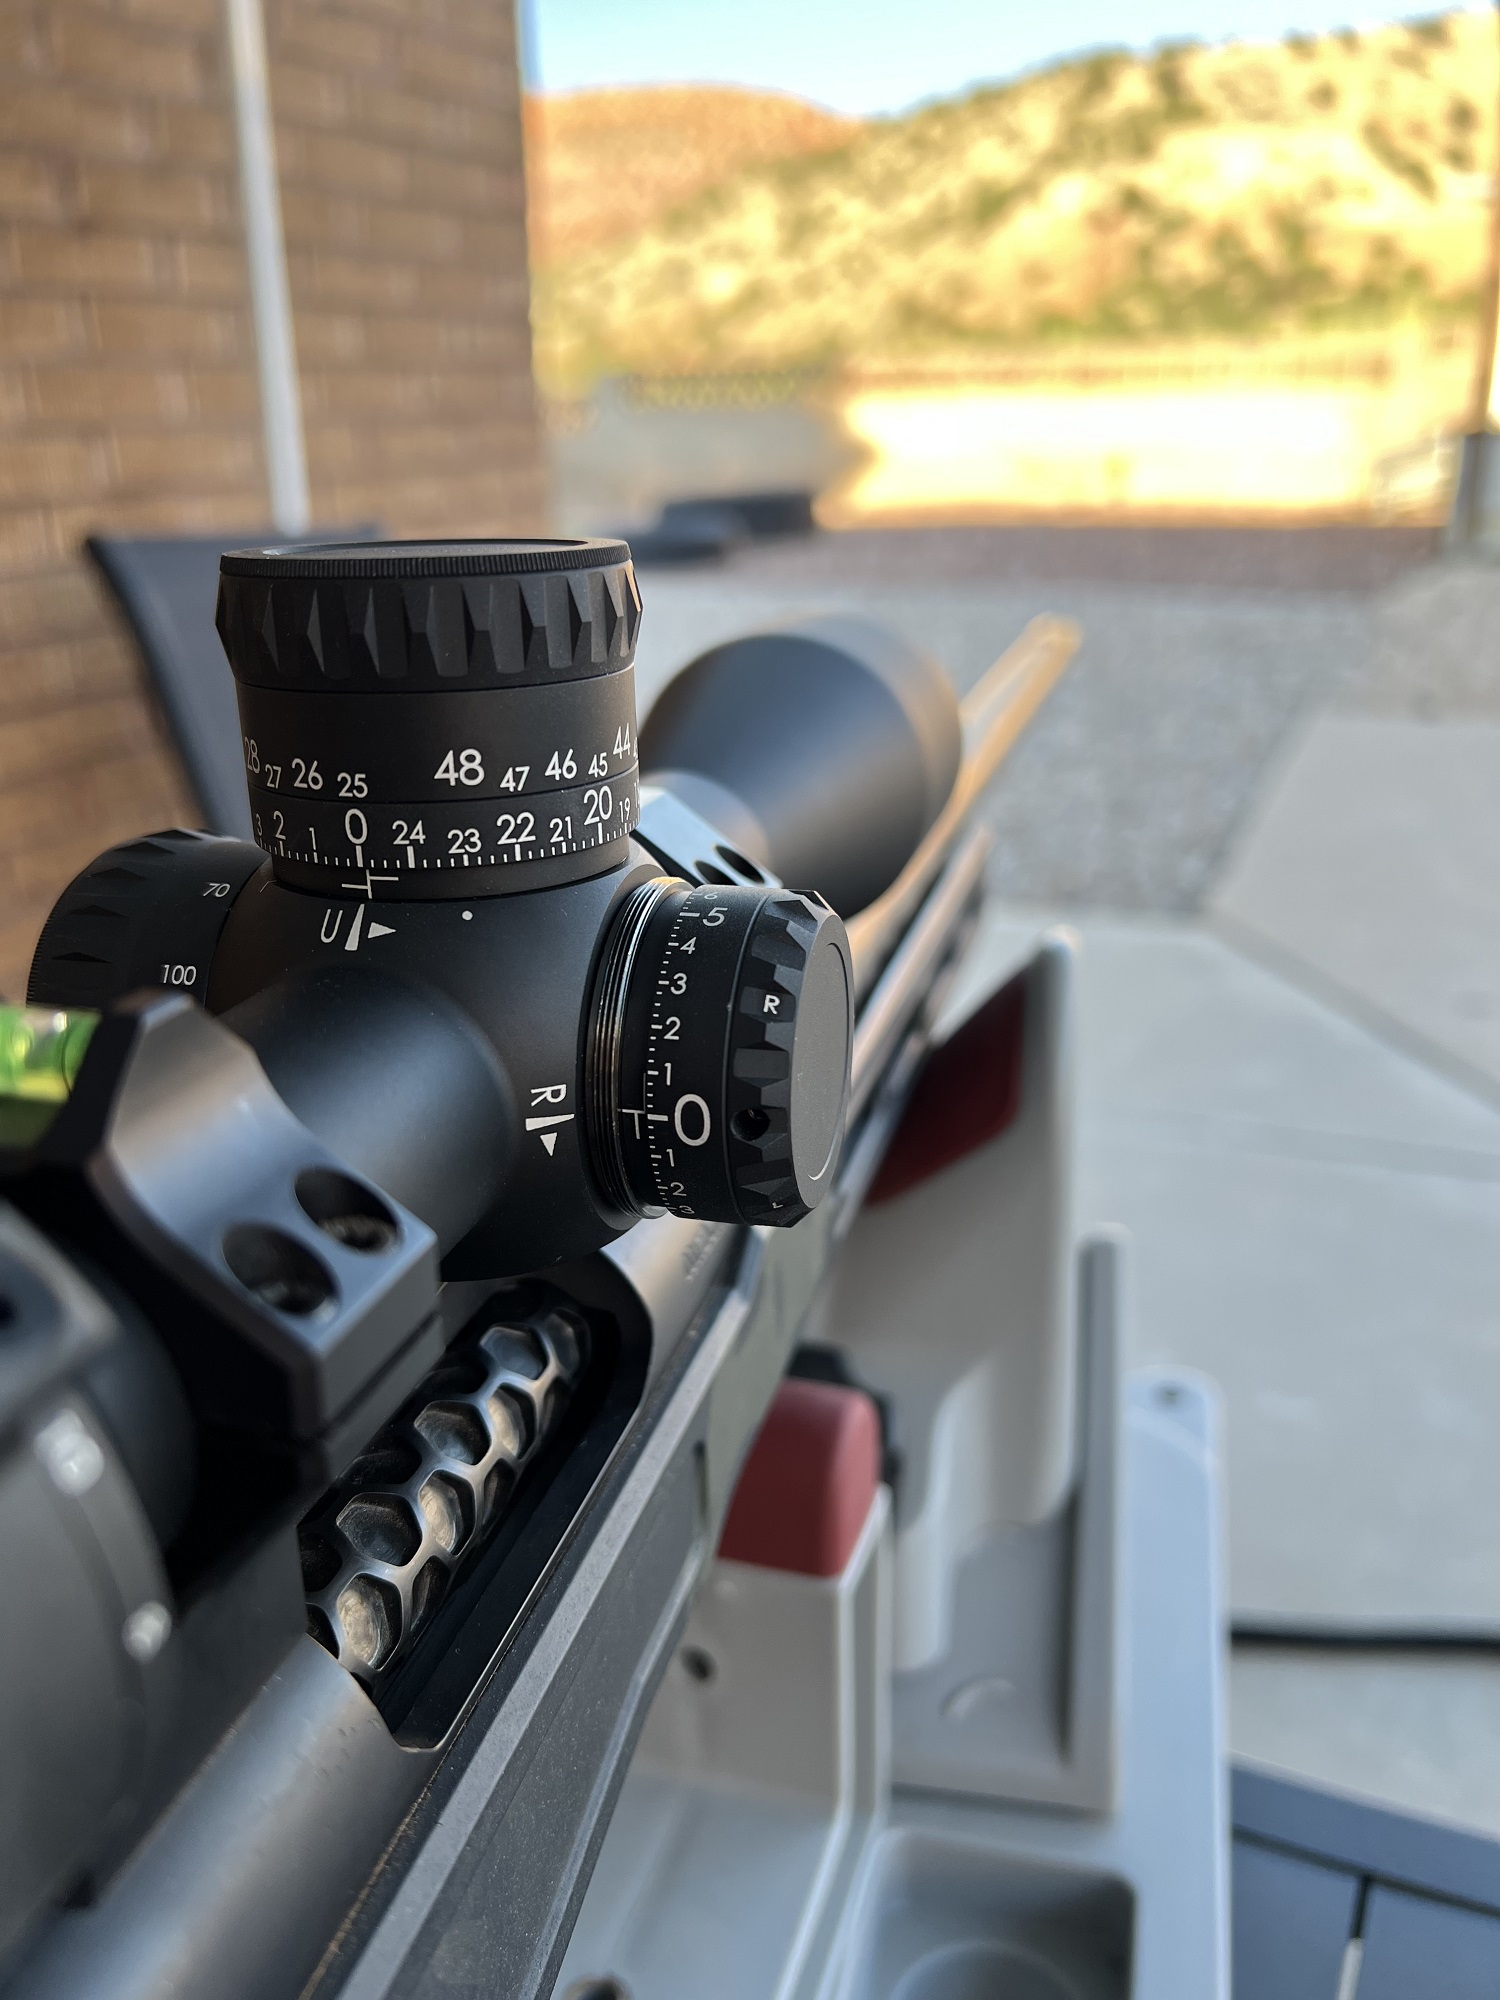
No tools are required to set the elevation zero. Windage requires a dangerously small Allen wrench. The zero stop is simple and very easy to set. Refreshingly so when compared to the gymnastics required to set some other scopes. It is very firm and definitely stops where it is set.
Parallax and Illumination
The parallax adjustment and illumination switch/dimmer are on the left turret. The illumination switch is at the center of the turret. One long press turns the illumination on. Each short press thereafter increases the brightness. Once the highest brightness is reached, each short press decreases the brightness. Another long press turns the illumination off.
Mounting The Revic RS25i
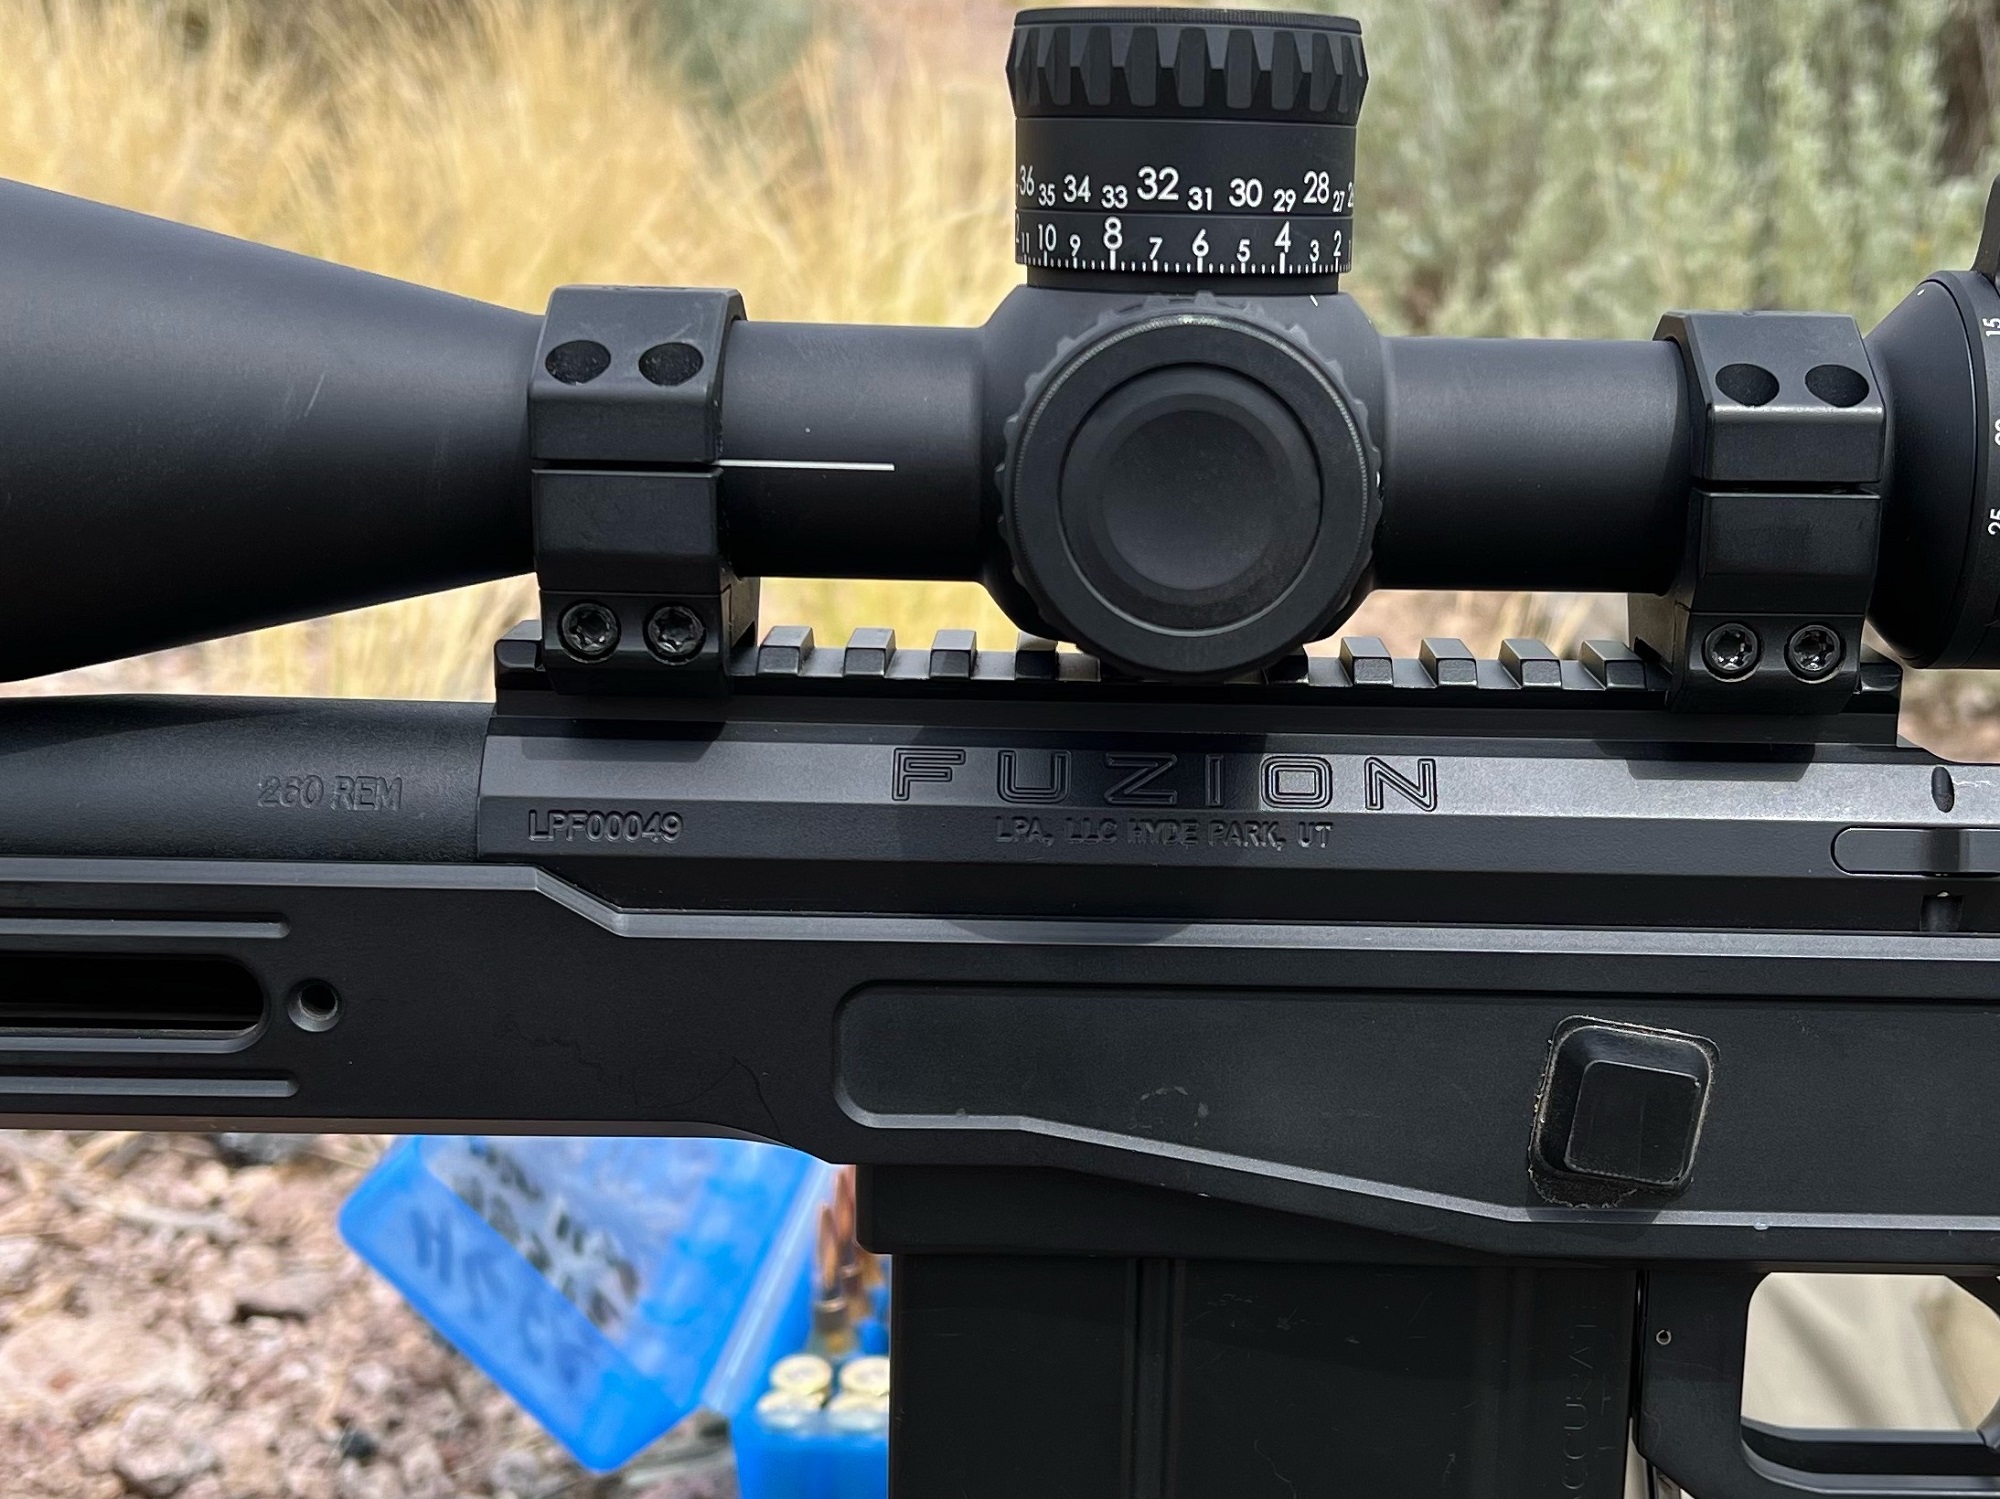
Mounting was very straightforward. I leveled up the rifle. Sat the scope in the rings. Put the caps on and torqued them to 25 in/lbs dry, while ensuring that all the bubbles stayed in the middle. SOS. The RS25i is only 14.25 inches long, but there is plenty of tube to accommodate most mounting scenarios. I have used it on a short-action Crux and a long-action Fuzion so far. It sits right where I want it on either one.
The scope has a cool feature that I intentionally ignored while mounting the first time. Just to see if it worked. Or see if my program had some holes. On the barrel of the scope, in front of the turret, are a pair of horizontal lines (one on each side) about an inch long that mark the exact center of the tube. With the scope mounted as level as I could get it, those lines ended up precisely in the gaps between the top and bottom half of the front ring. It’s a very handy feature.
Sighting In
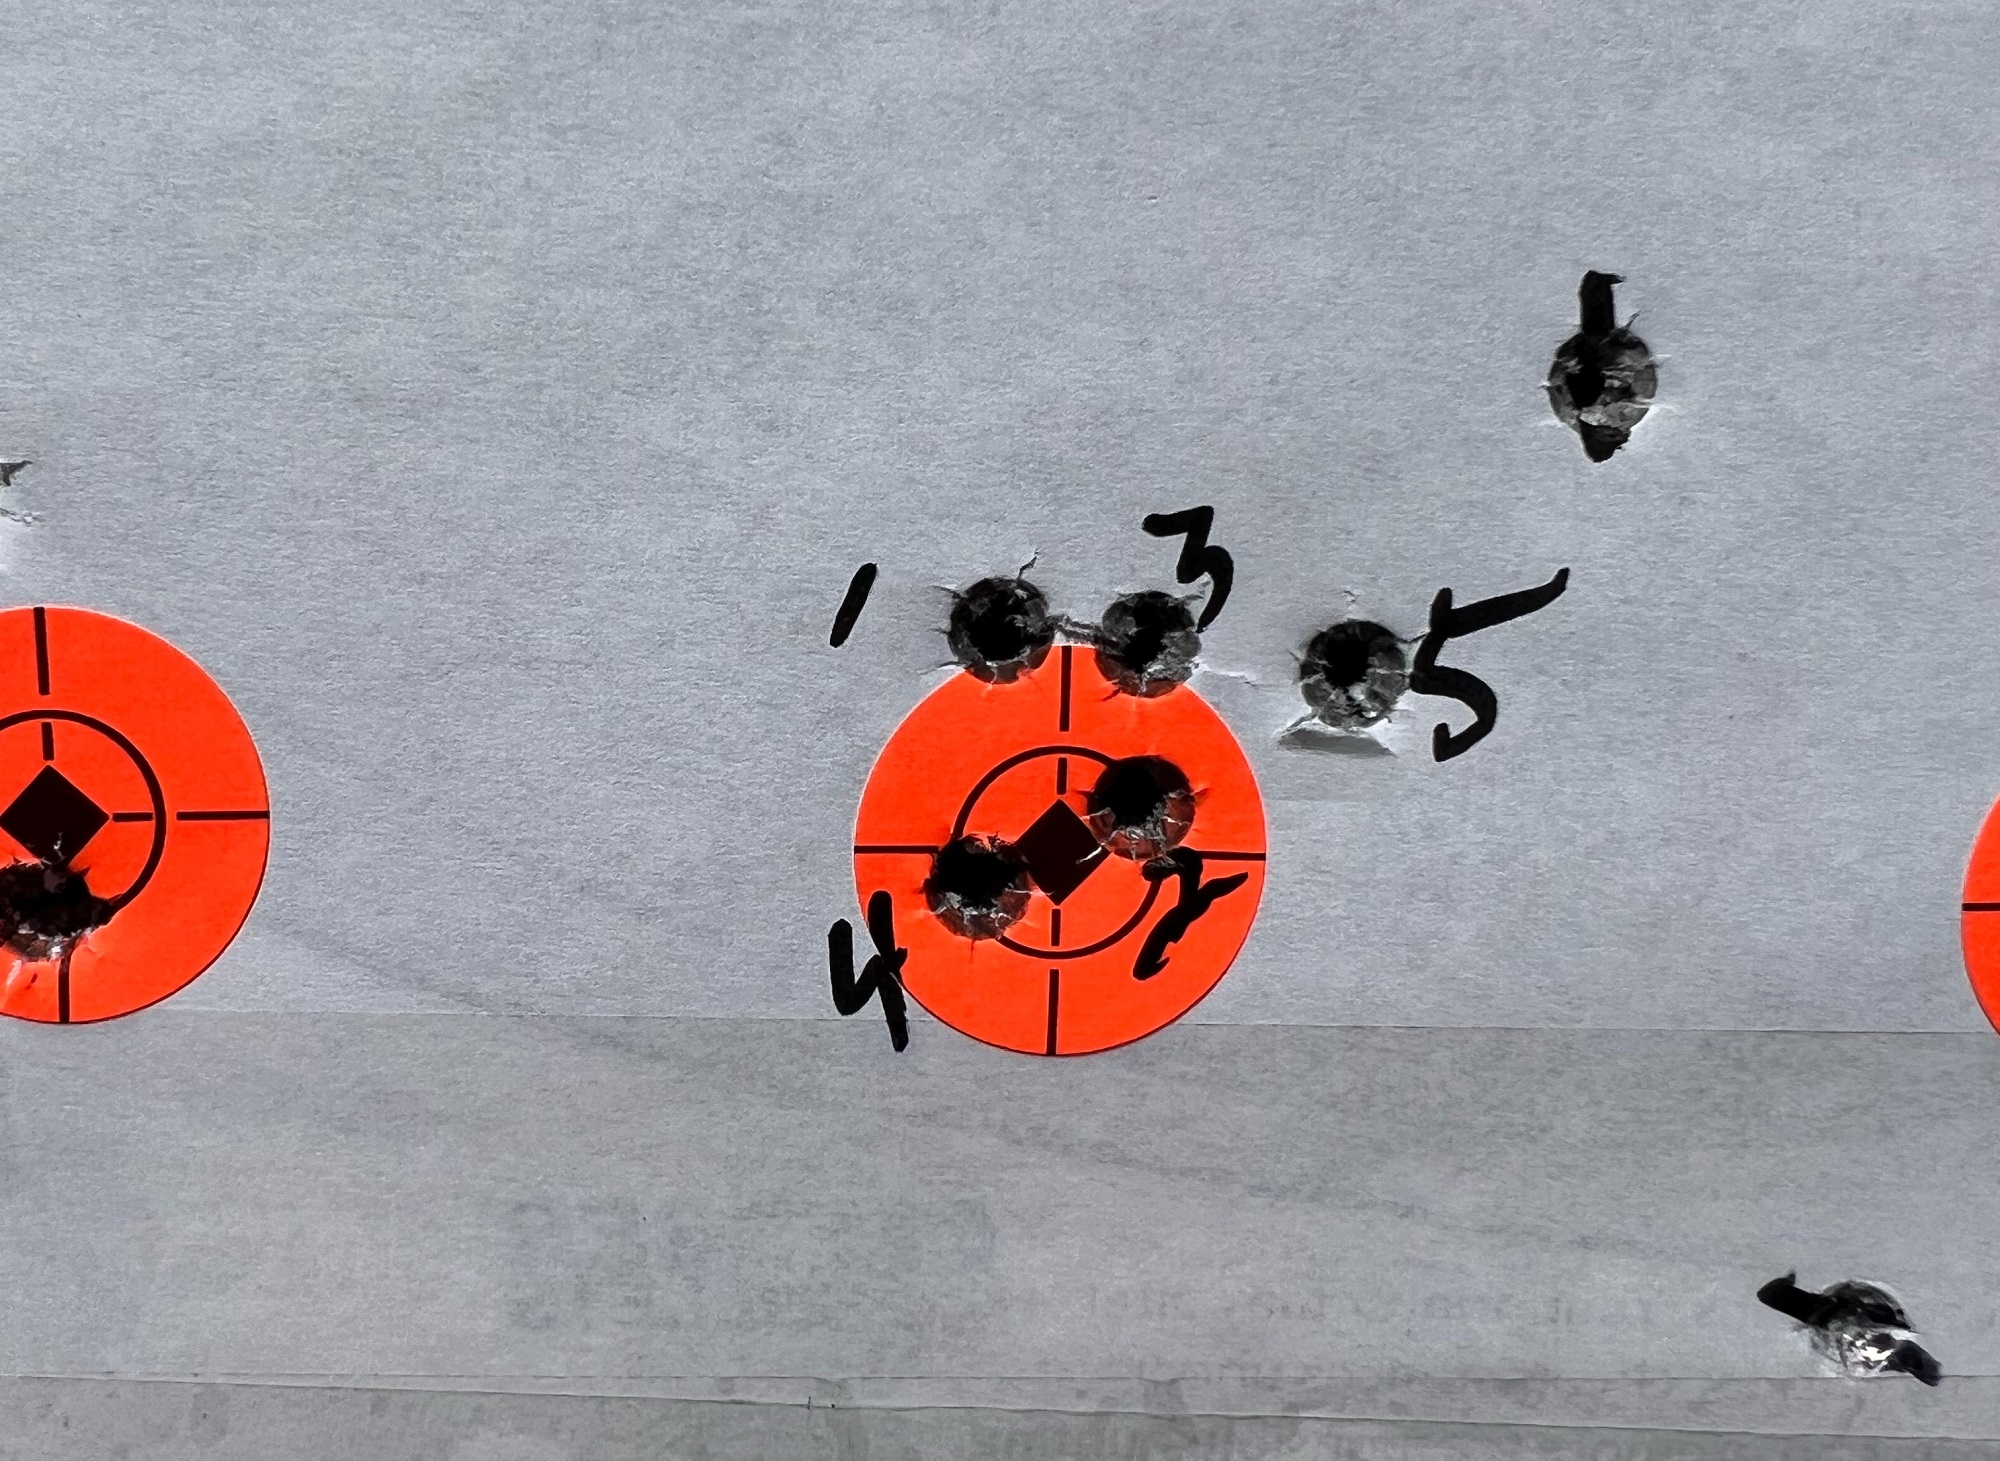
I set the diopter per the provided information. My eyes are old but there is plenty of adjustment to provide a very clear reticle. Initial zeroing was uneventful. I did not “bore sight”. I just shot one at 25 yards and walked it in with the next couple of shots. Next, I then fired five shots at a 1” dot. Although not impressive, it was center-ish and representative of my ability. I will never win a shooting competition.
As stated above, setting the zero stop was super simple. With zero stop set, I re-assembled the turret.
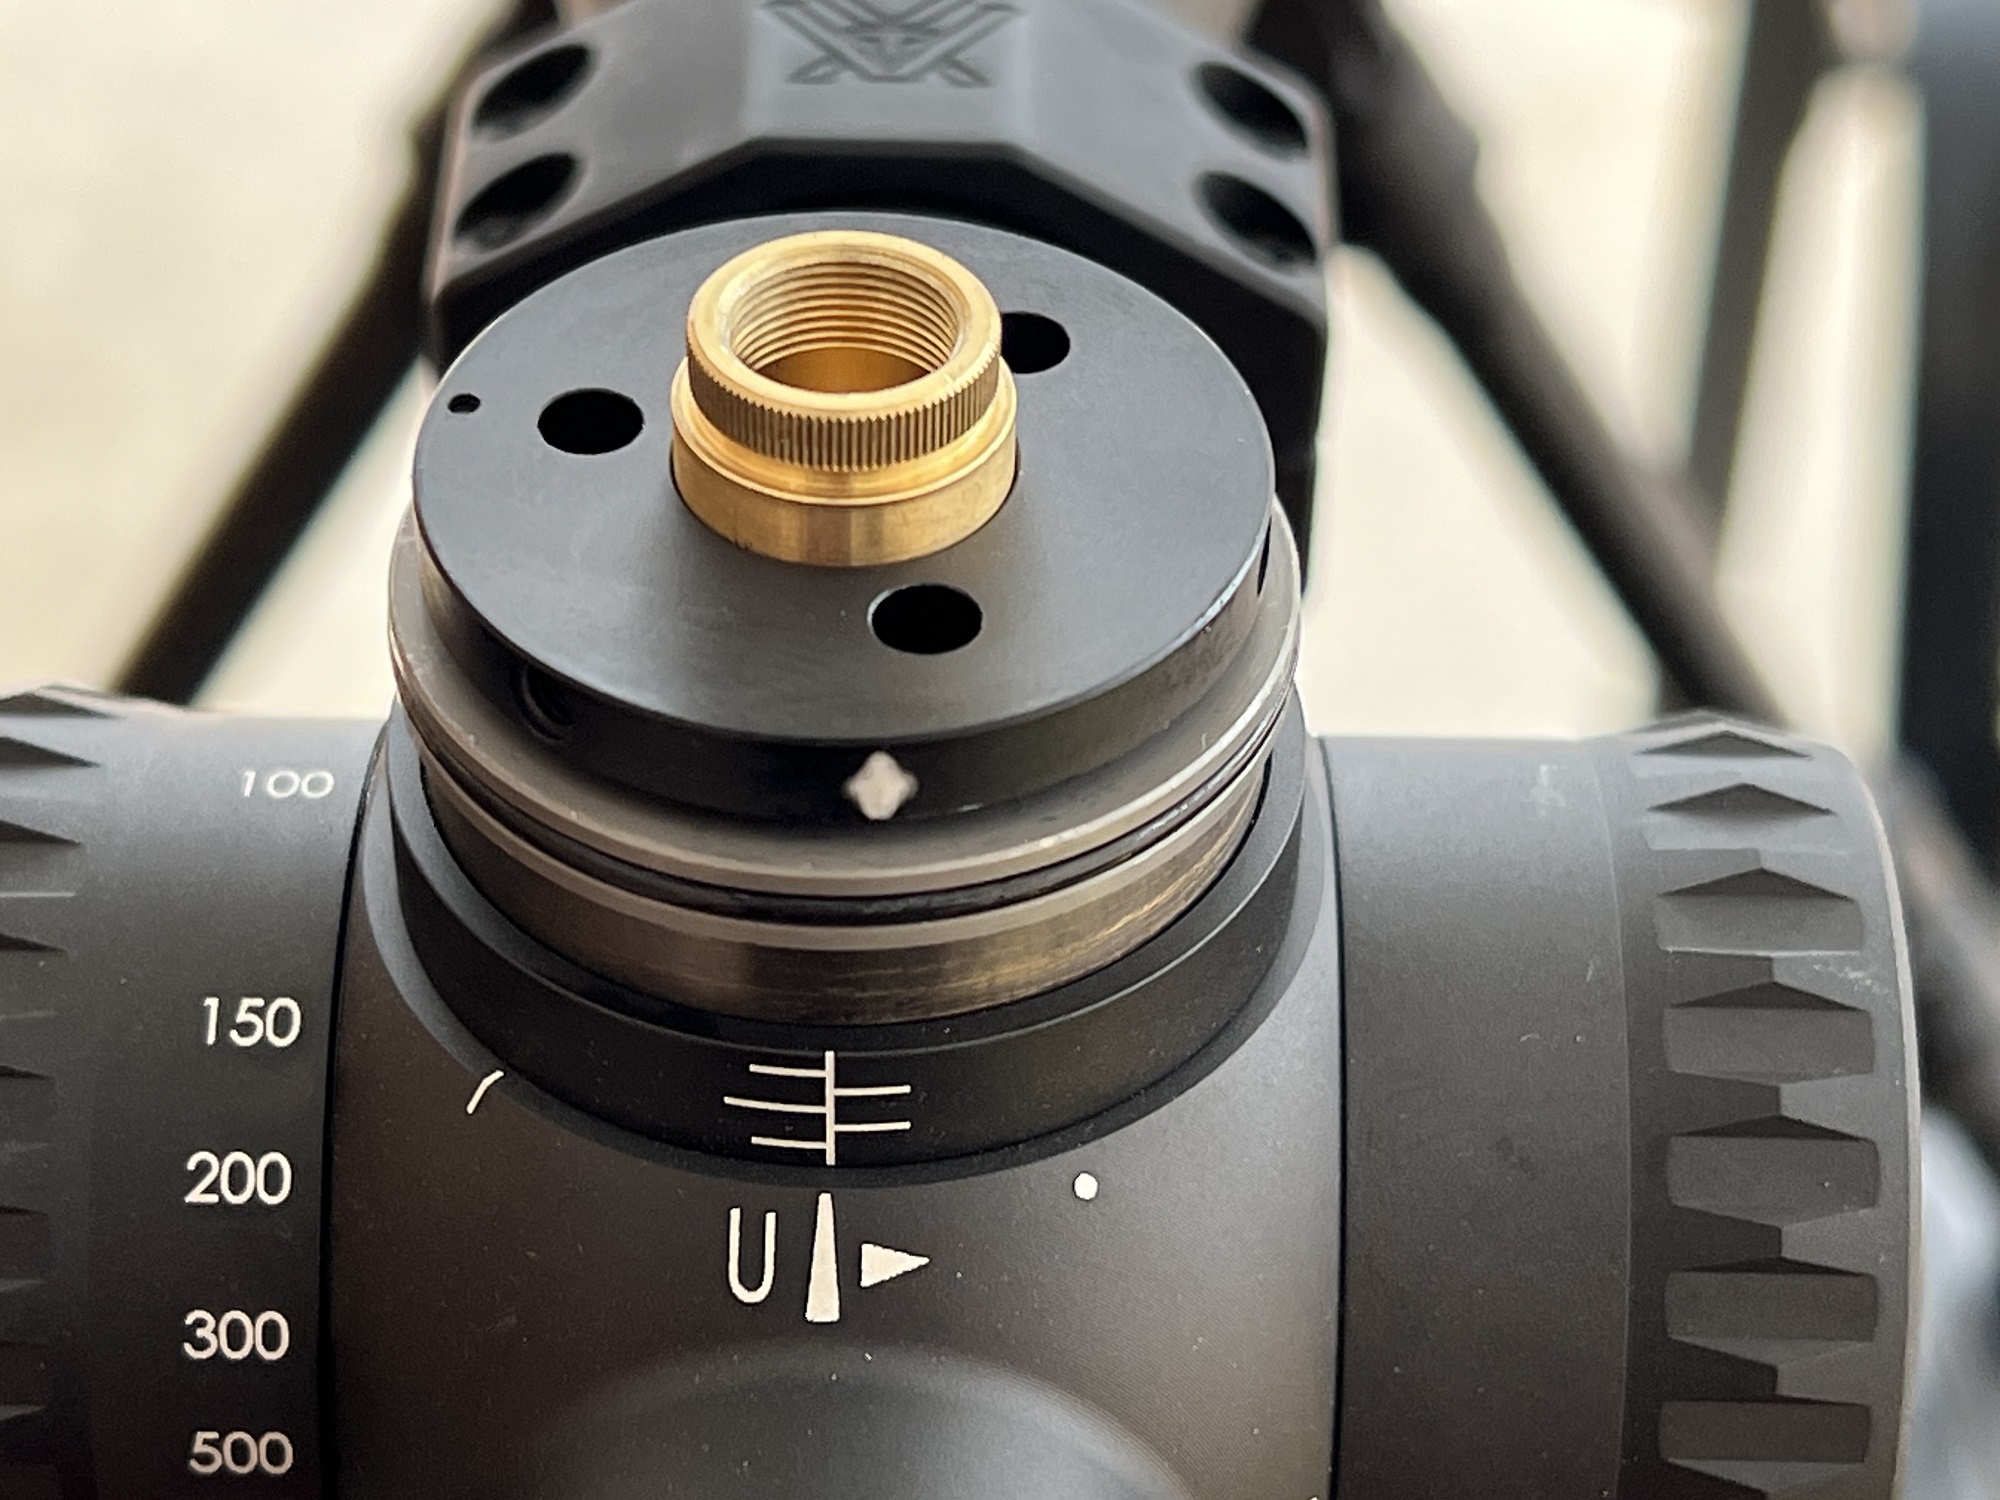
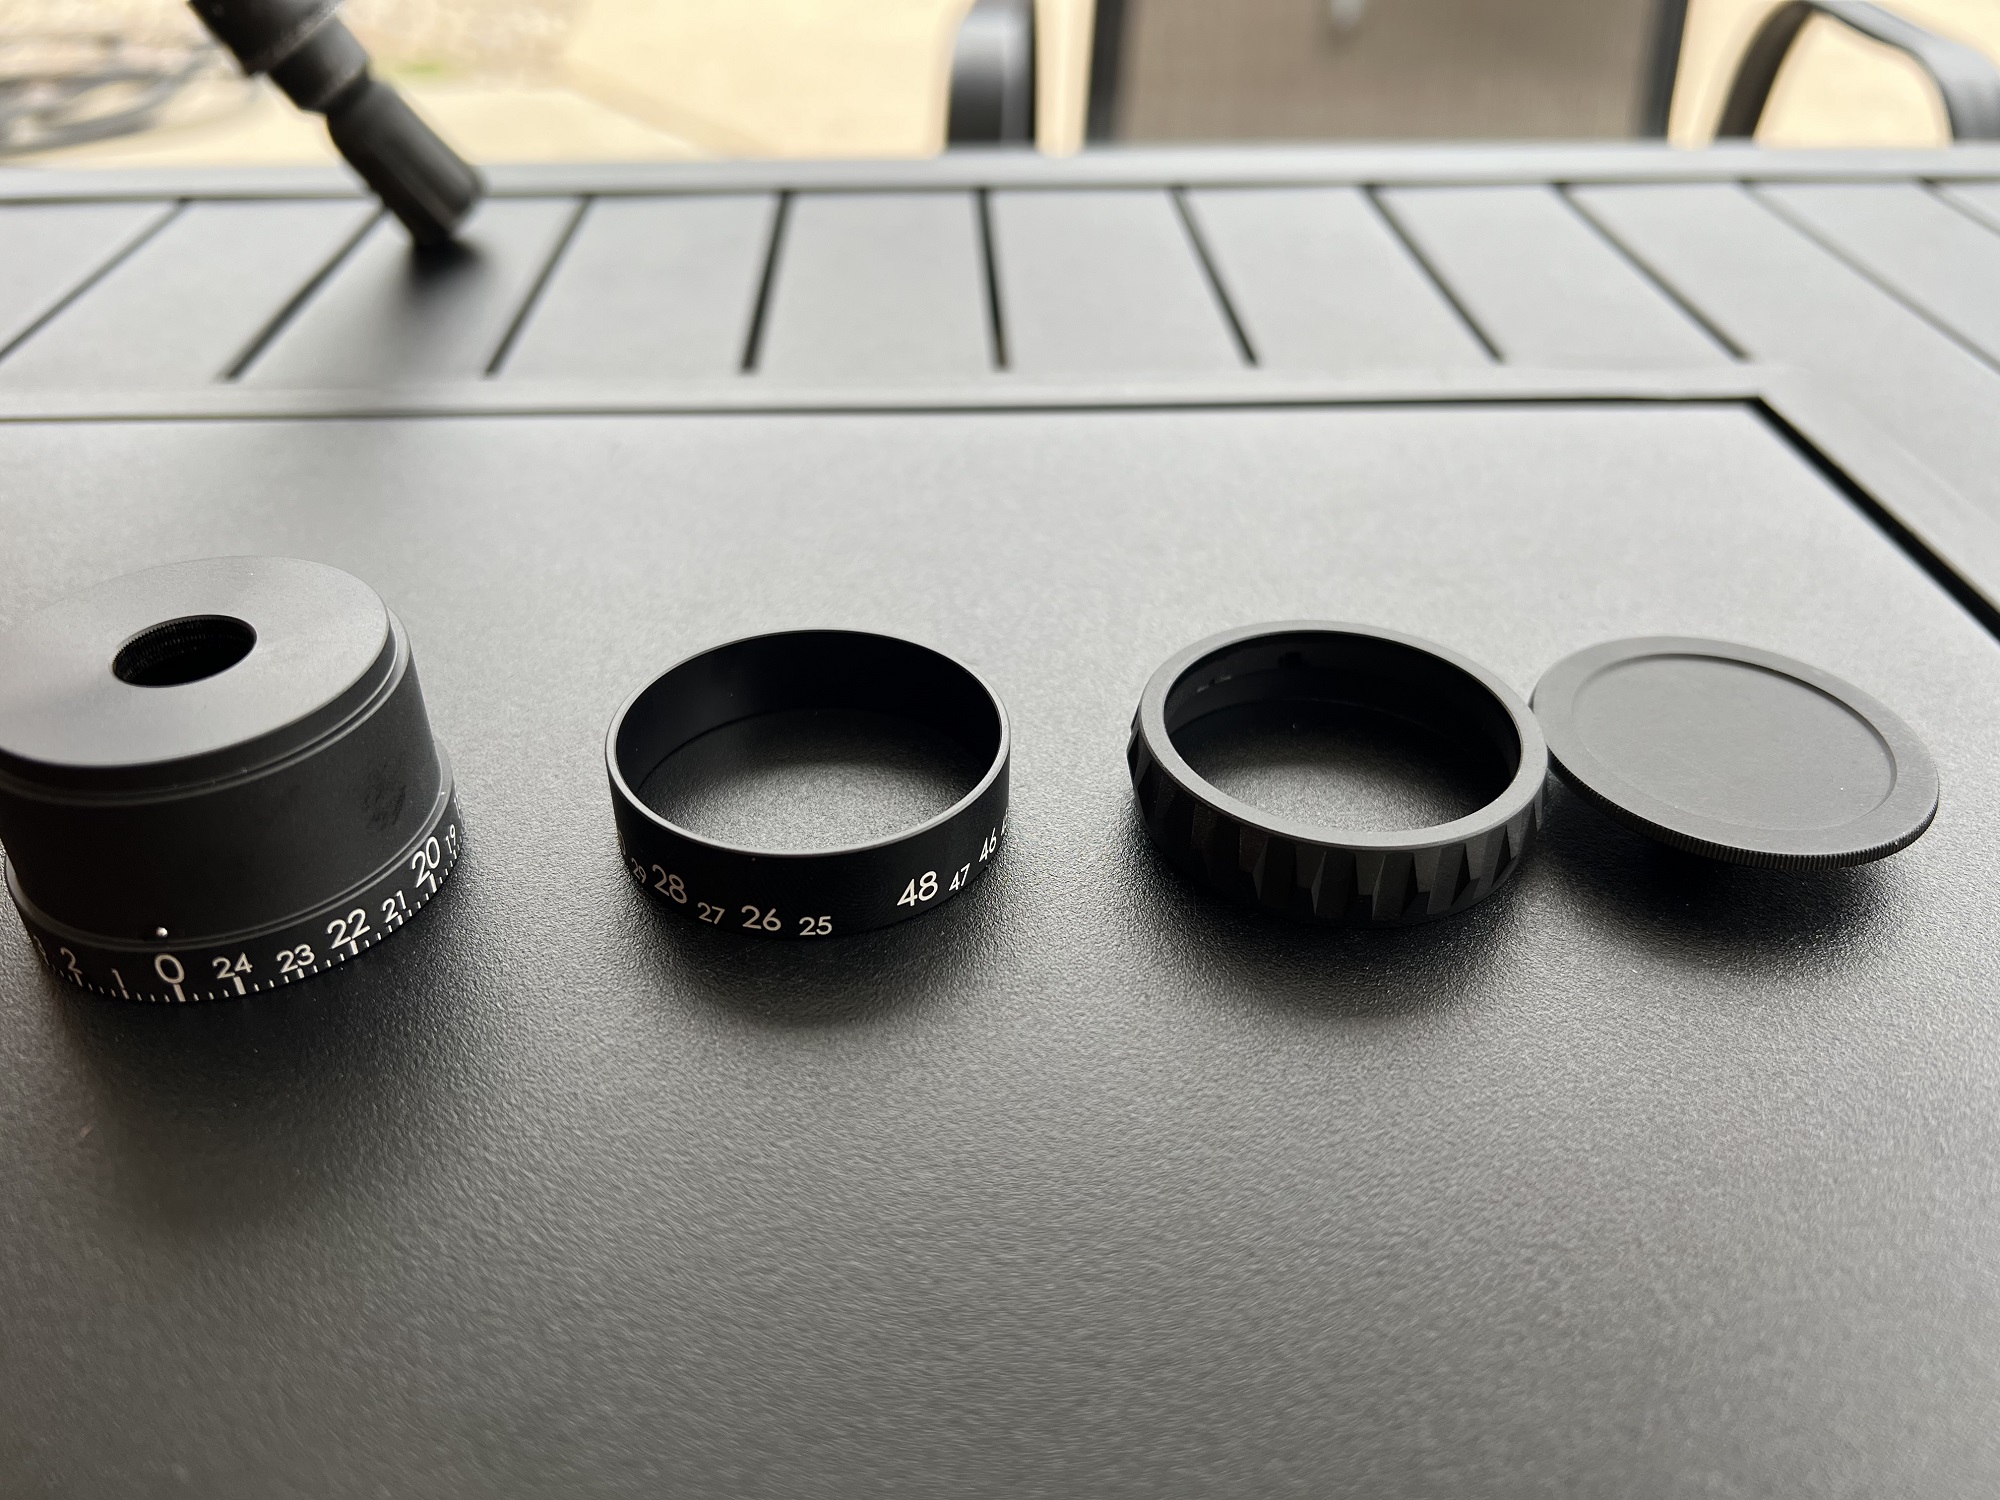
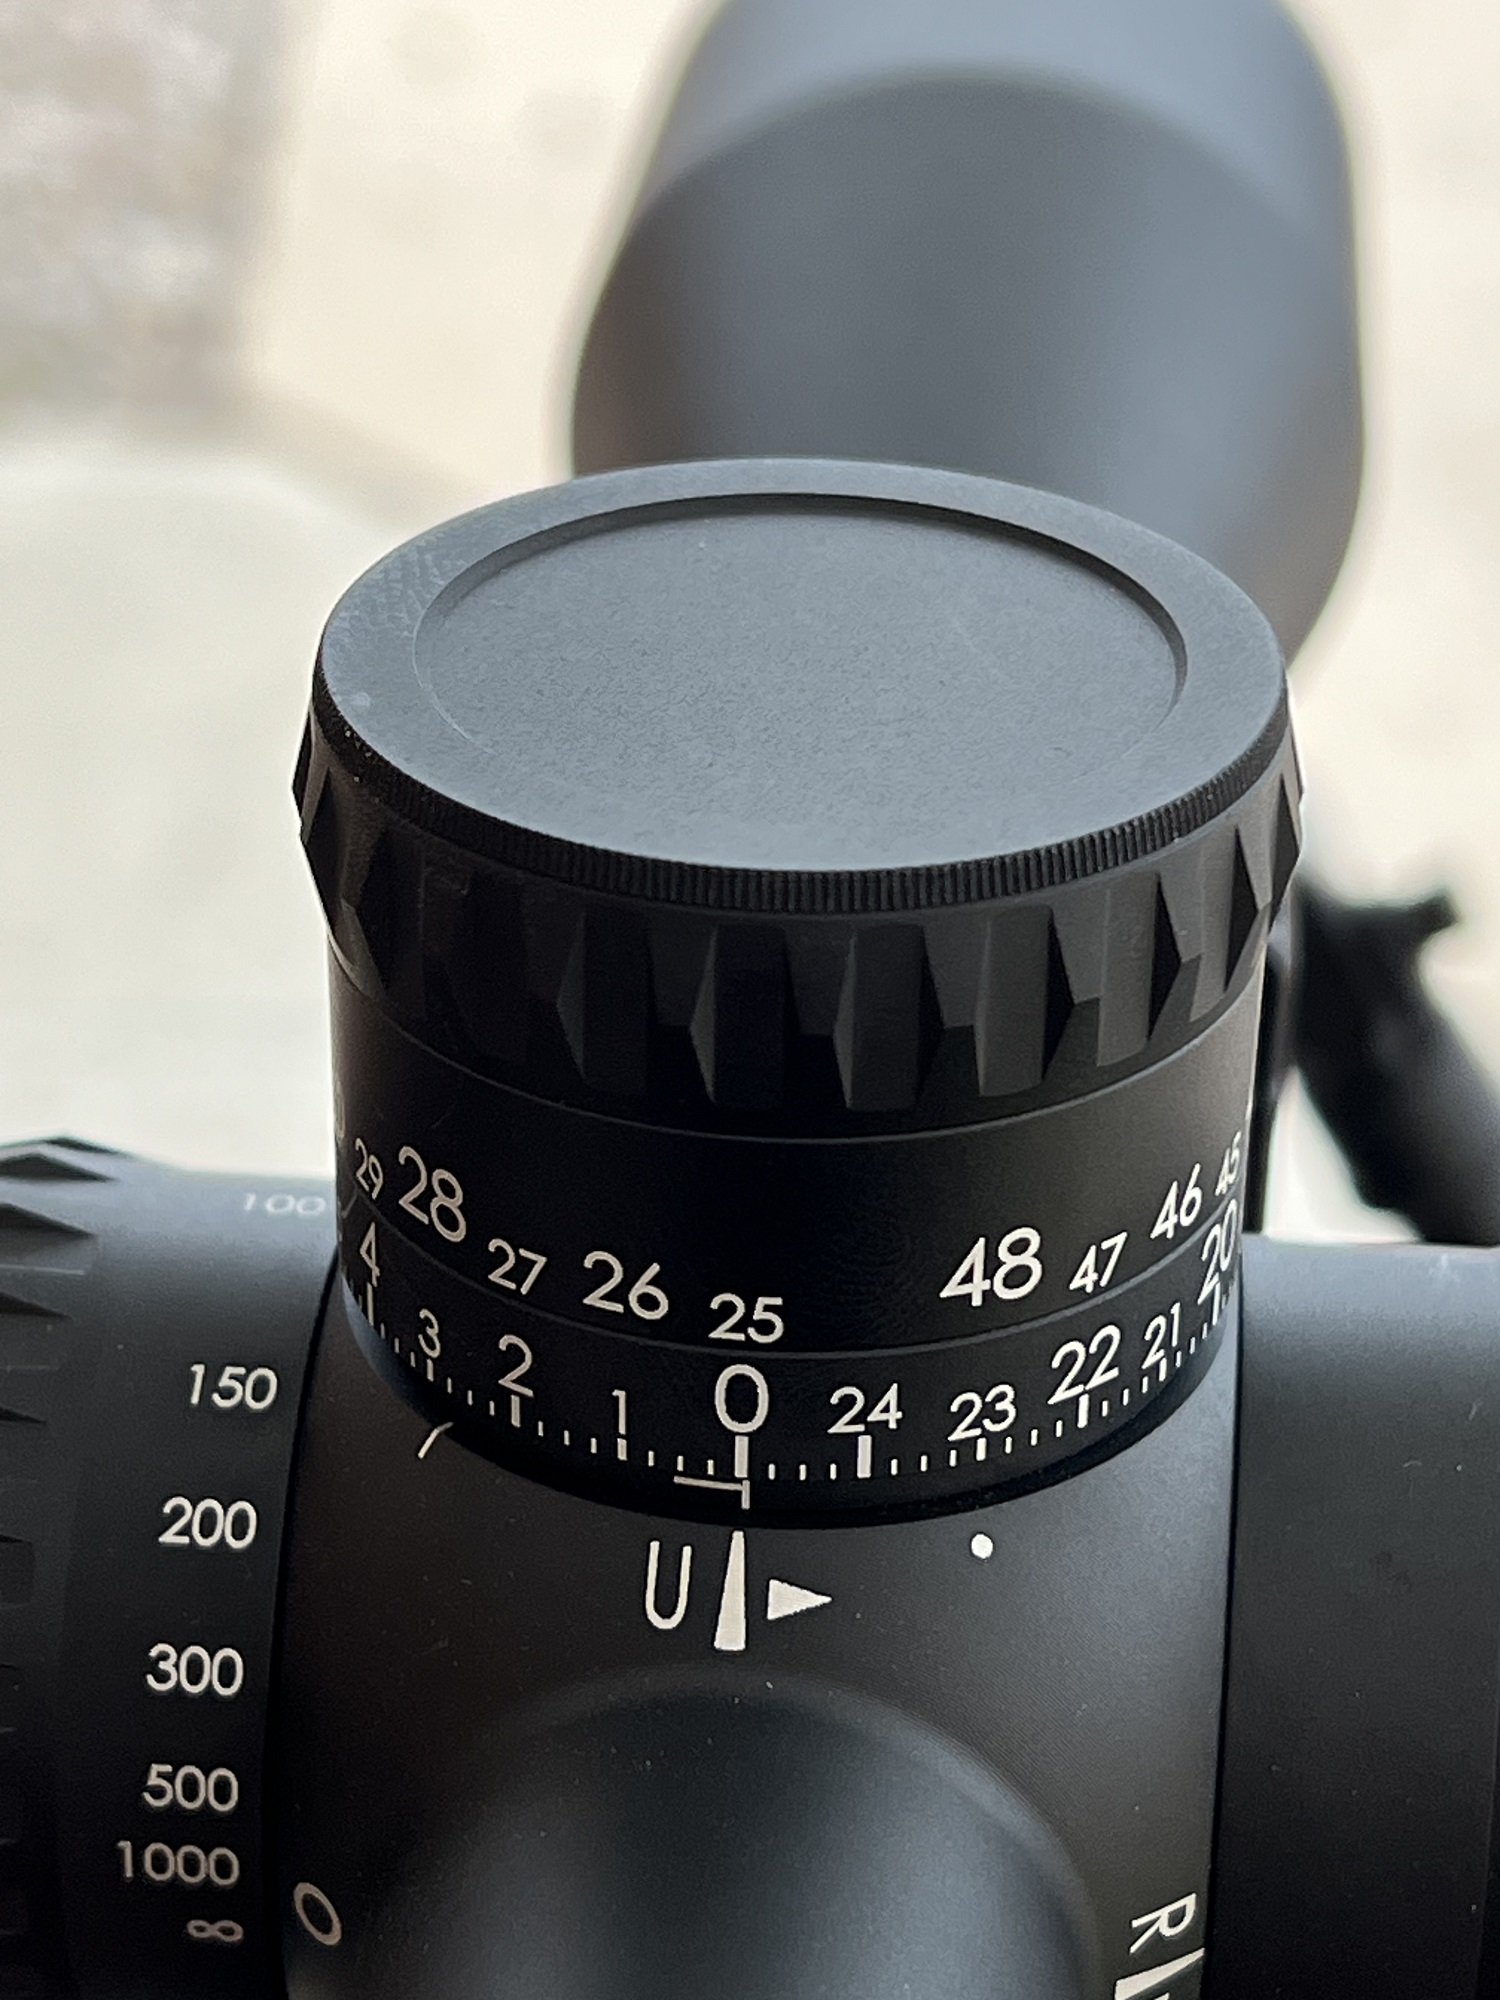
Custom-cut turrets are available. I might have one made before hunting season, but I really prefer the simplicity and versatility of MOA marks.
Revic Acura RS25i Testing
Next, I dialed up 7.75 MOA and put five shots on an 8” steel target at 450 yards. There was not a lot of wind, but enough to require a “left edge” hold. I returned to zero and shot five shots on a 4” X 5” square at 100 yards. Starting at the bottom left, I went clockwise, dialing the pre-measured distance for each shot while aiming at the bottom left target. Then, I shot another shot when I was back at zero/zero. The first shot is the one in the center of the bottom left dot. The last two are a little low but probably still within the system’s cone.
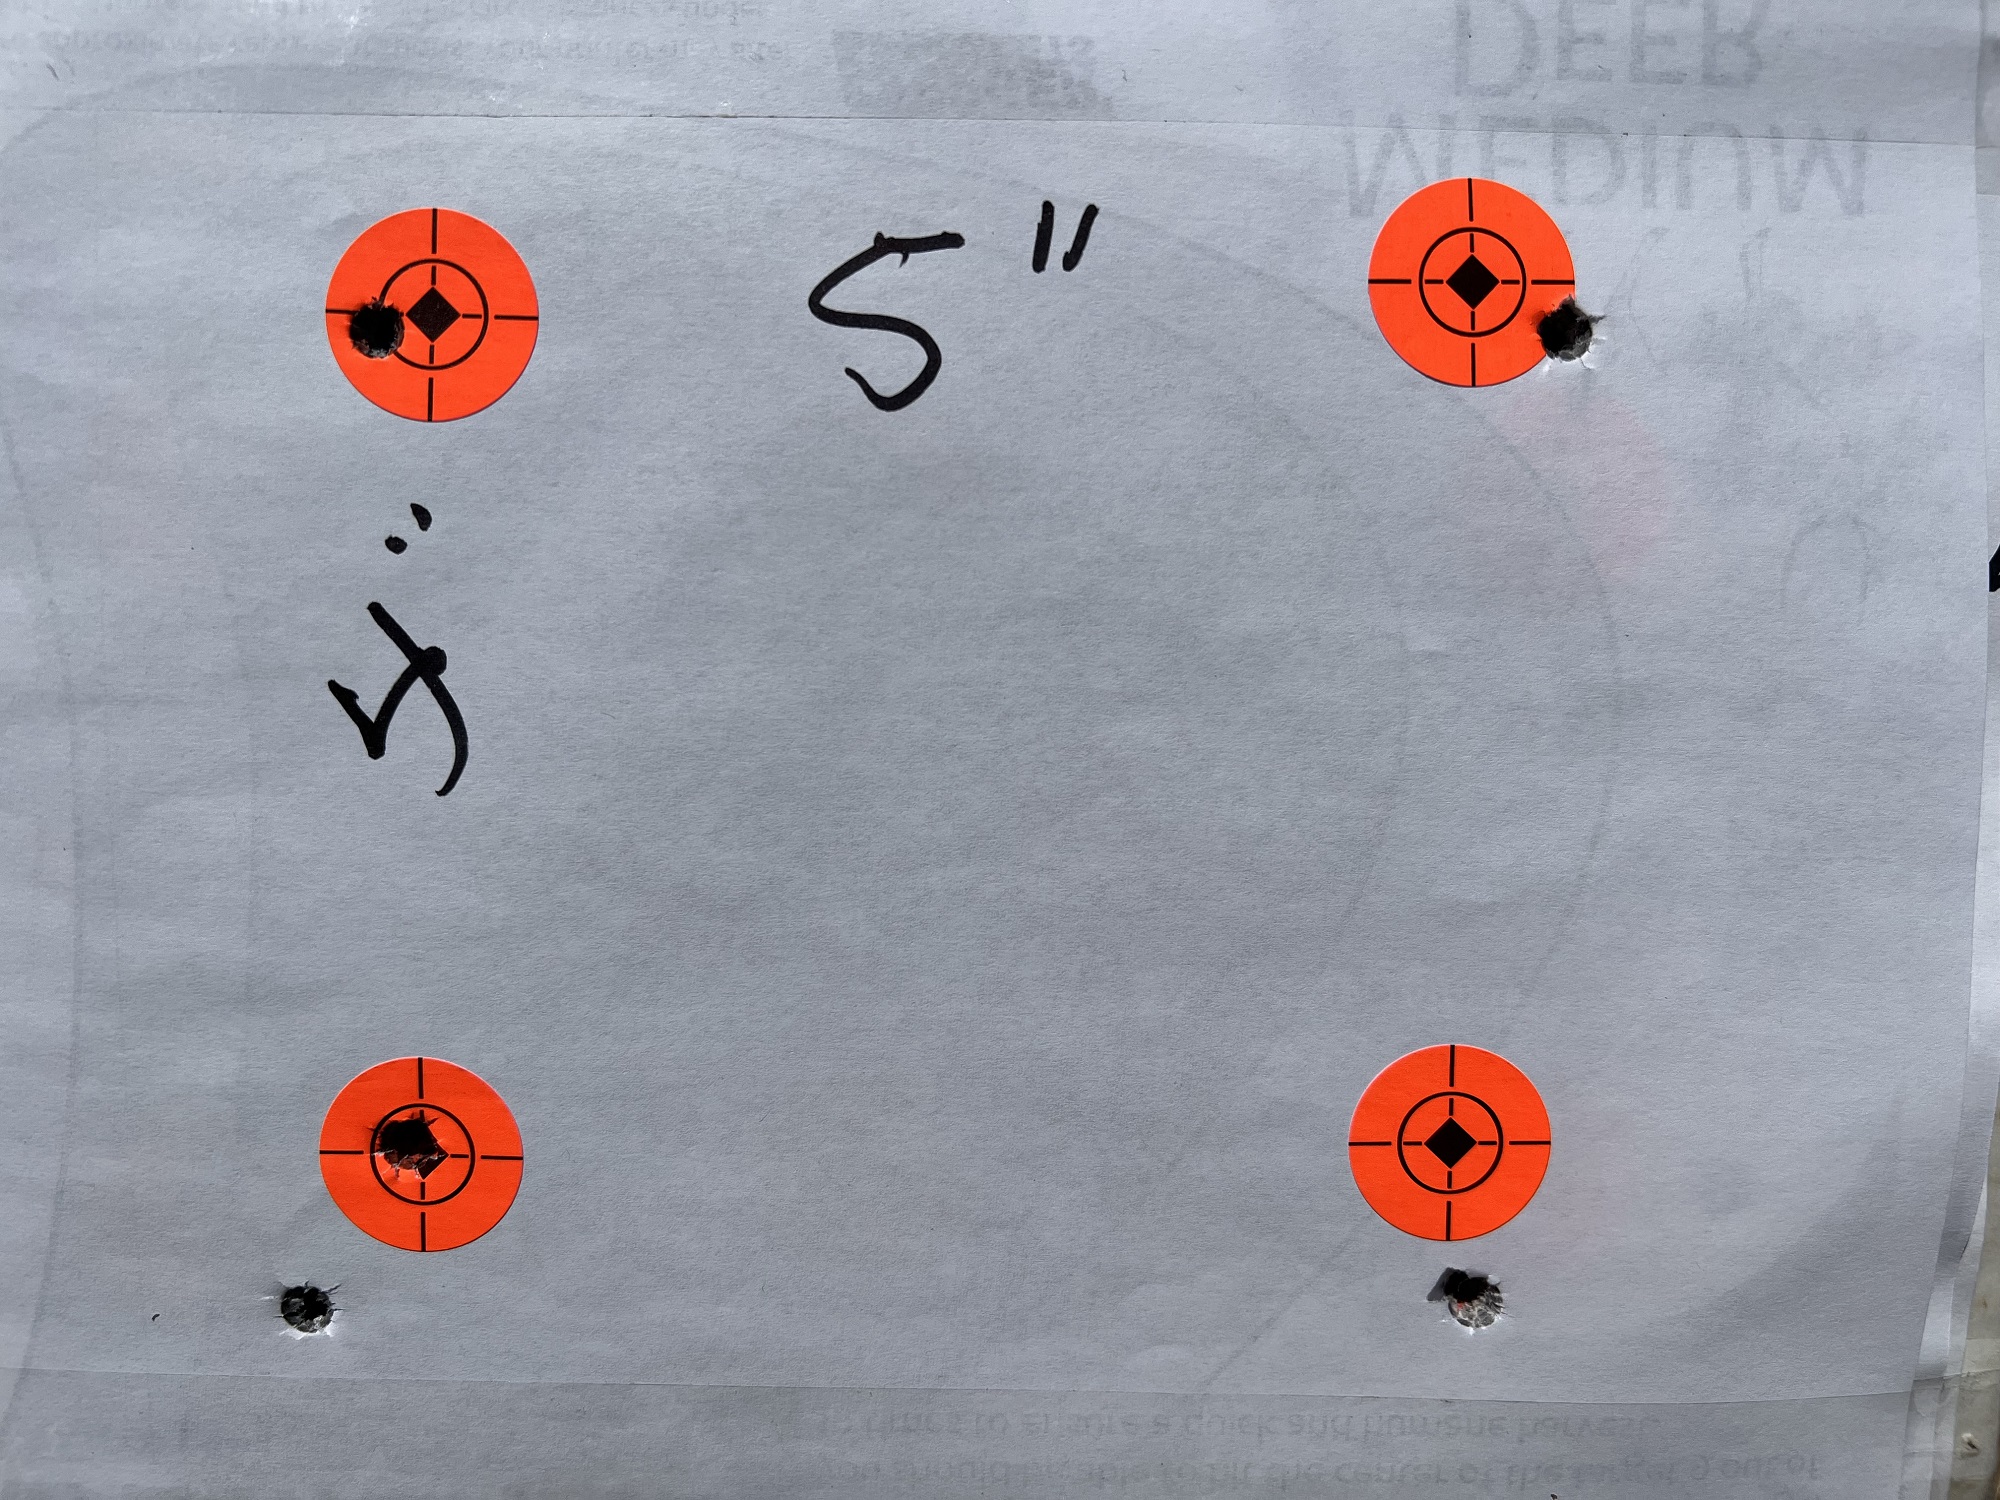
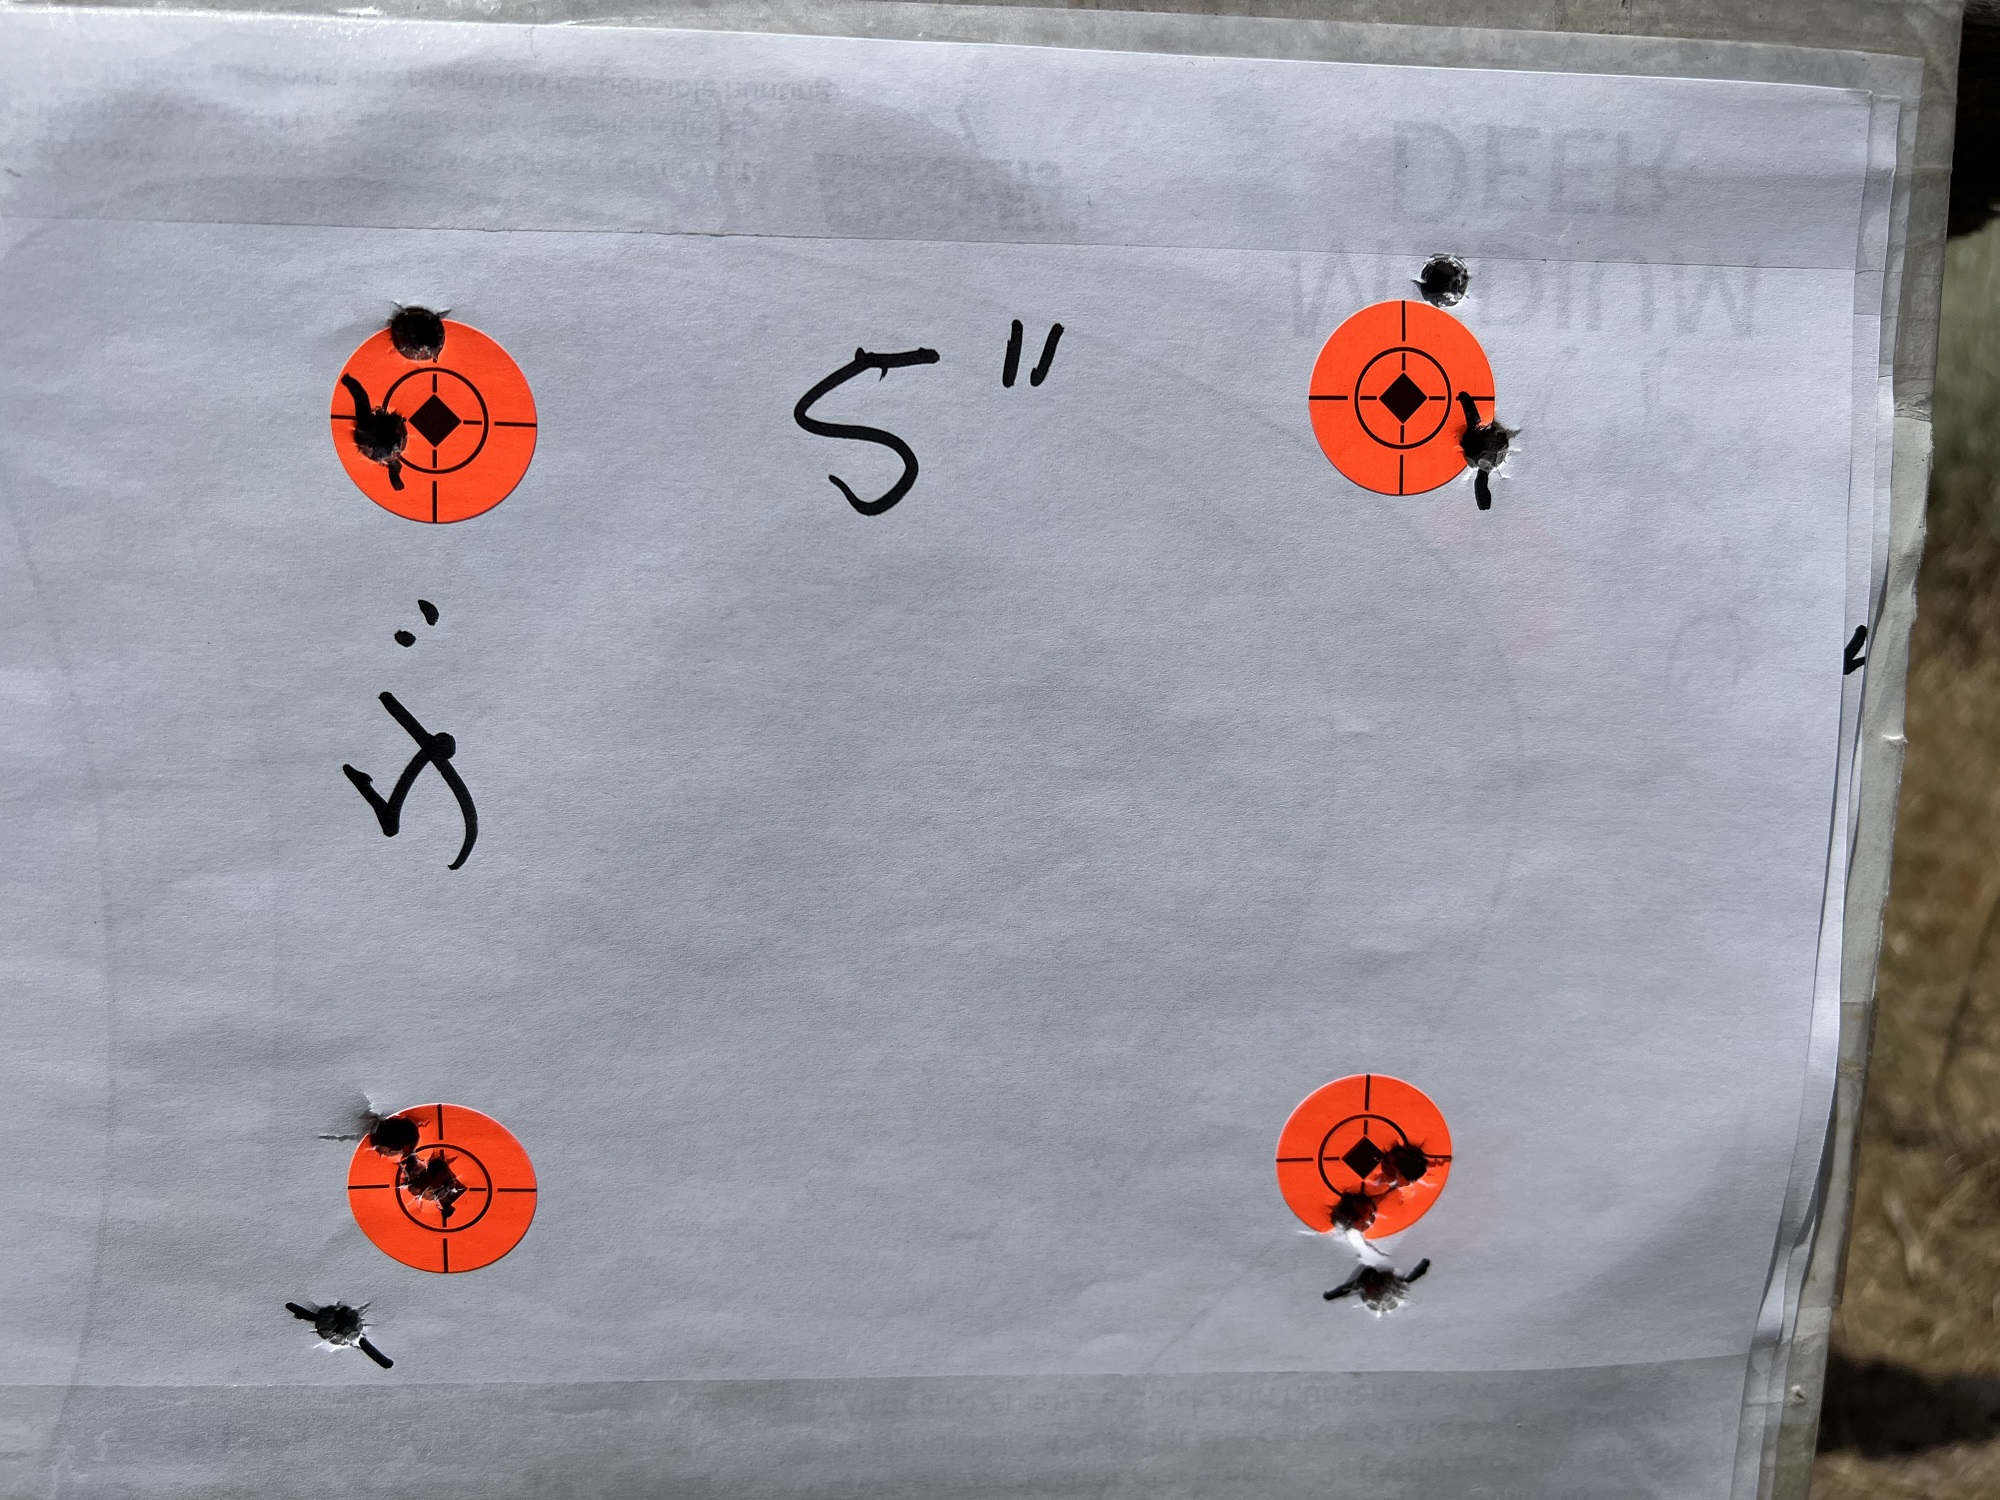
I dialed up and shot five more at the steel target, then back to zero. Back on the previous target, I fired another box test. This time I started at the bottom right and repeated the drill backwards. The bullets all landed where they should.
More Testing
Next trip I did a “tall target” test. #1 was the first shot of the day. I dialed up five MOA for each shot to 20 MOA. Then, in reverse. (The line is plumb. The camera was not) Nine of the ten shots favor the right side, and #6 is the farthest out. I might need to re-check my level. Nonetheless, through 20 minutes of travel the scope tracked and returned to zero.
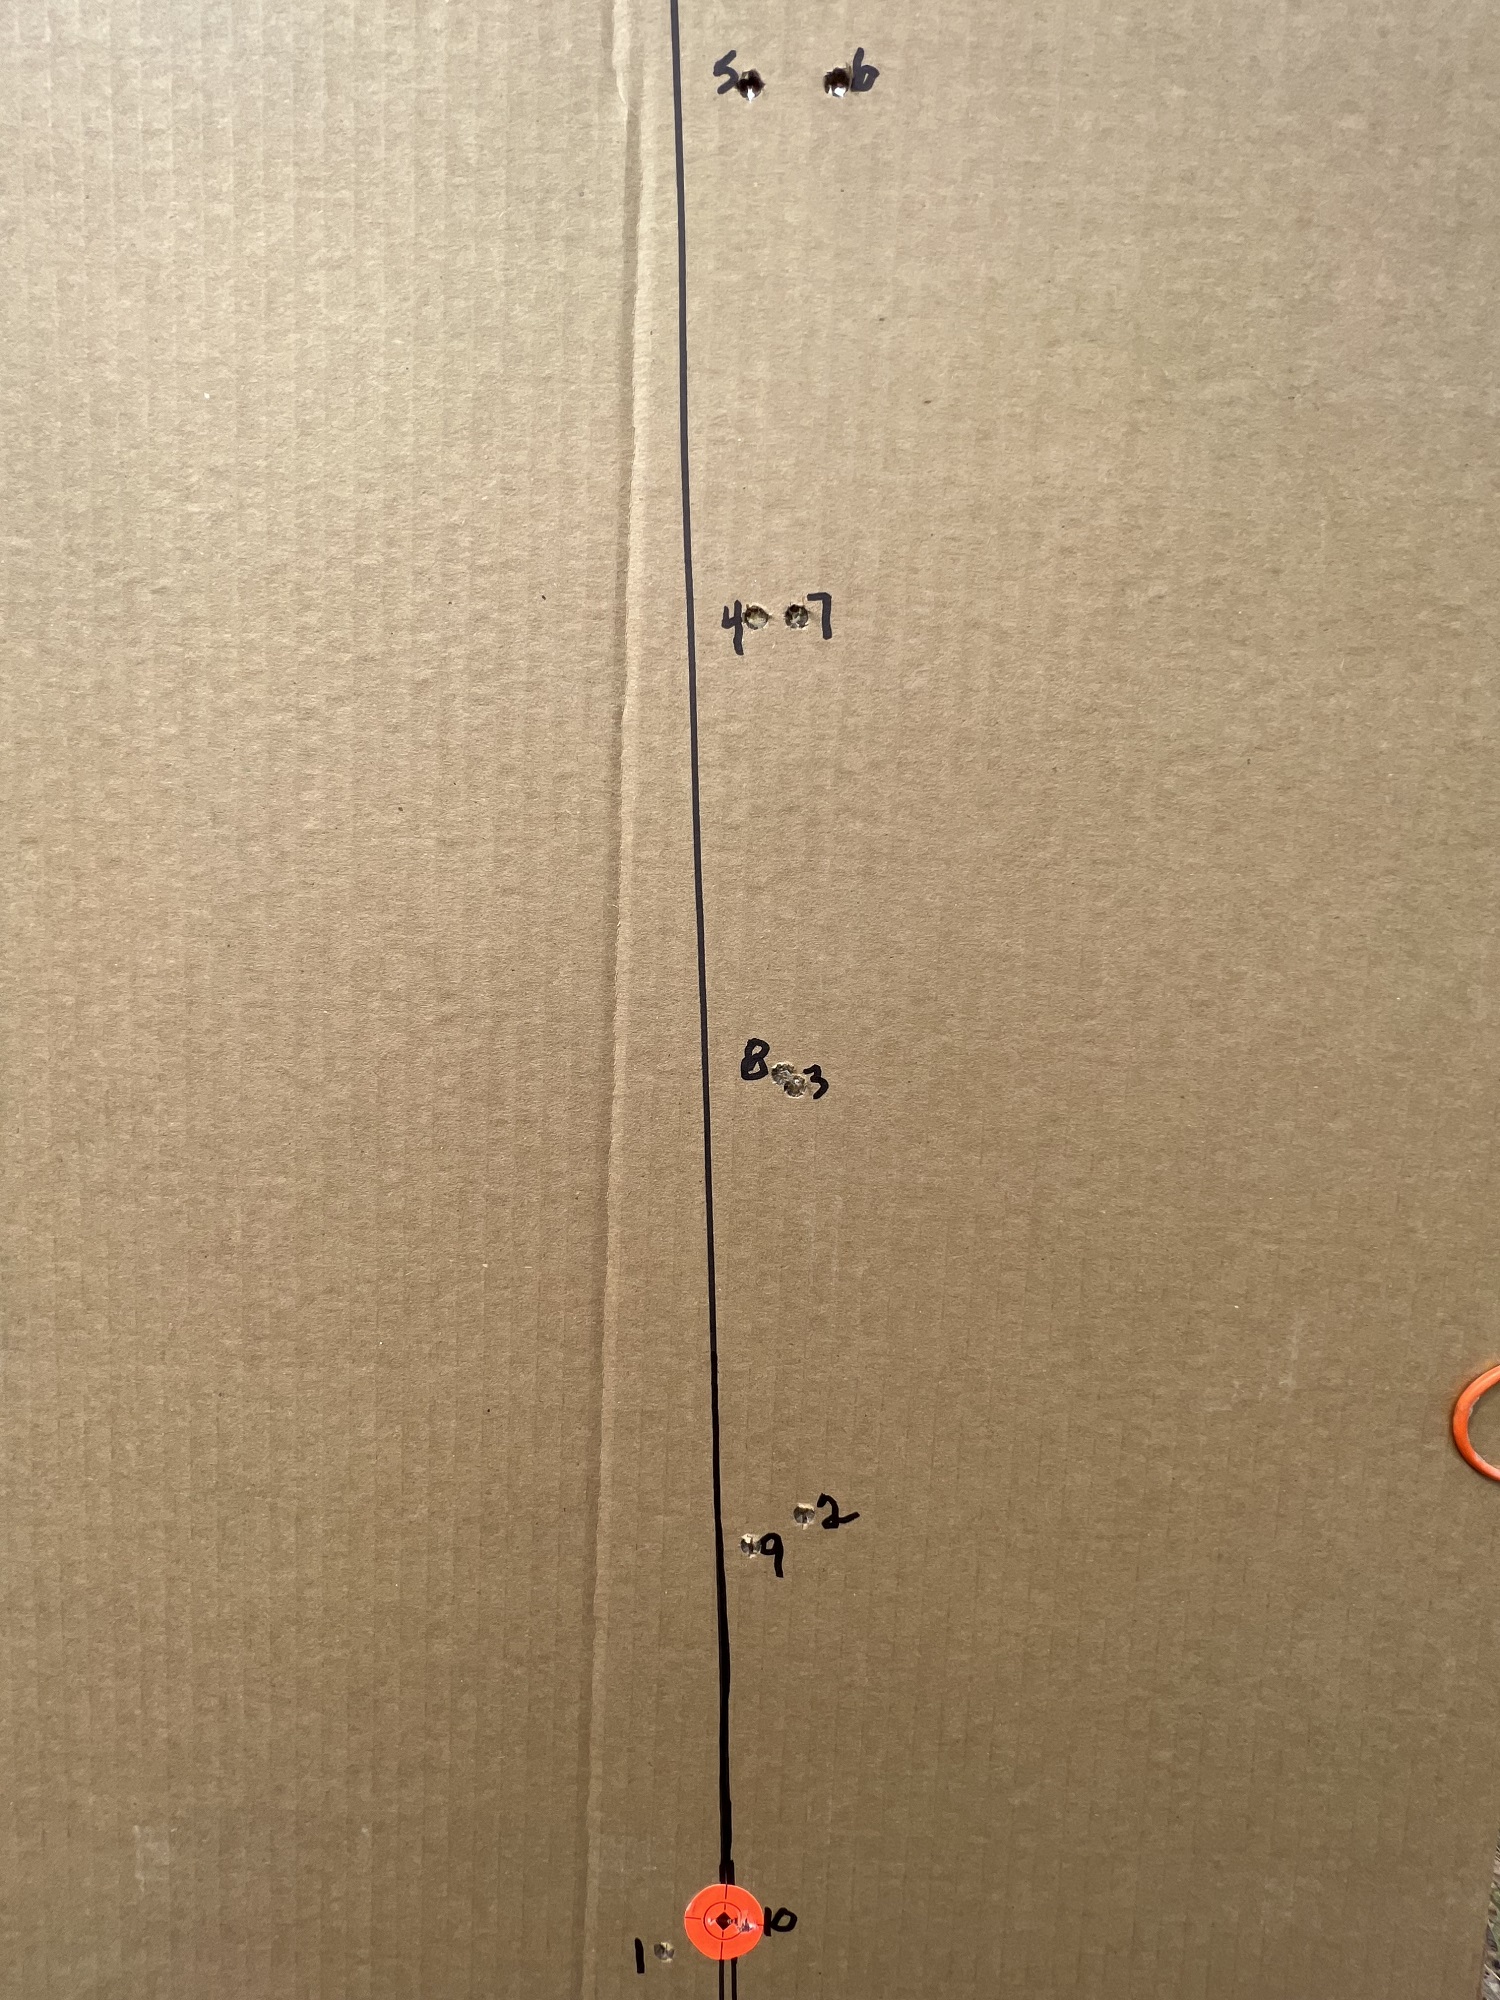
Drop Test
This next test was very painful for me. I was told by one of the owners of this outfit to “test the durability” of the scope. So…Immediately after the tall target, I dropped the rifle, left side down, from 24”, onto my shooting mat. I then fired shot #11. Picked the rifle up and dropped it again from the same height on its right side. Blew my nose, dried my tears, and shot #12. Something moved, but it is hard to say what.
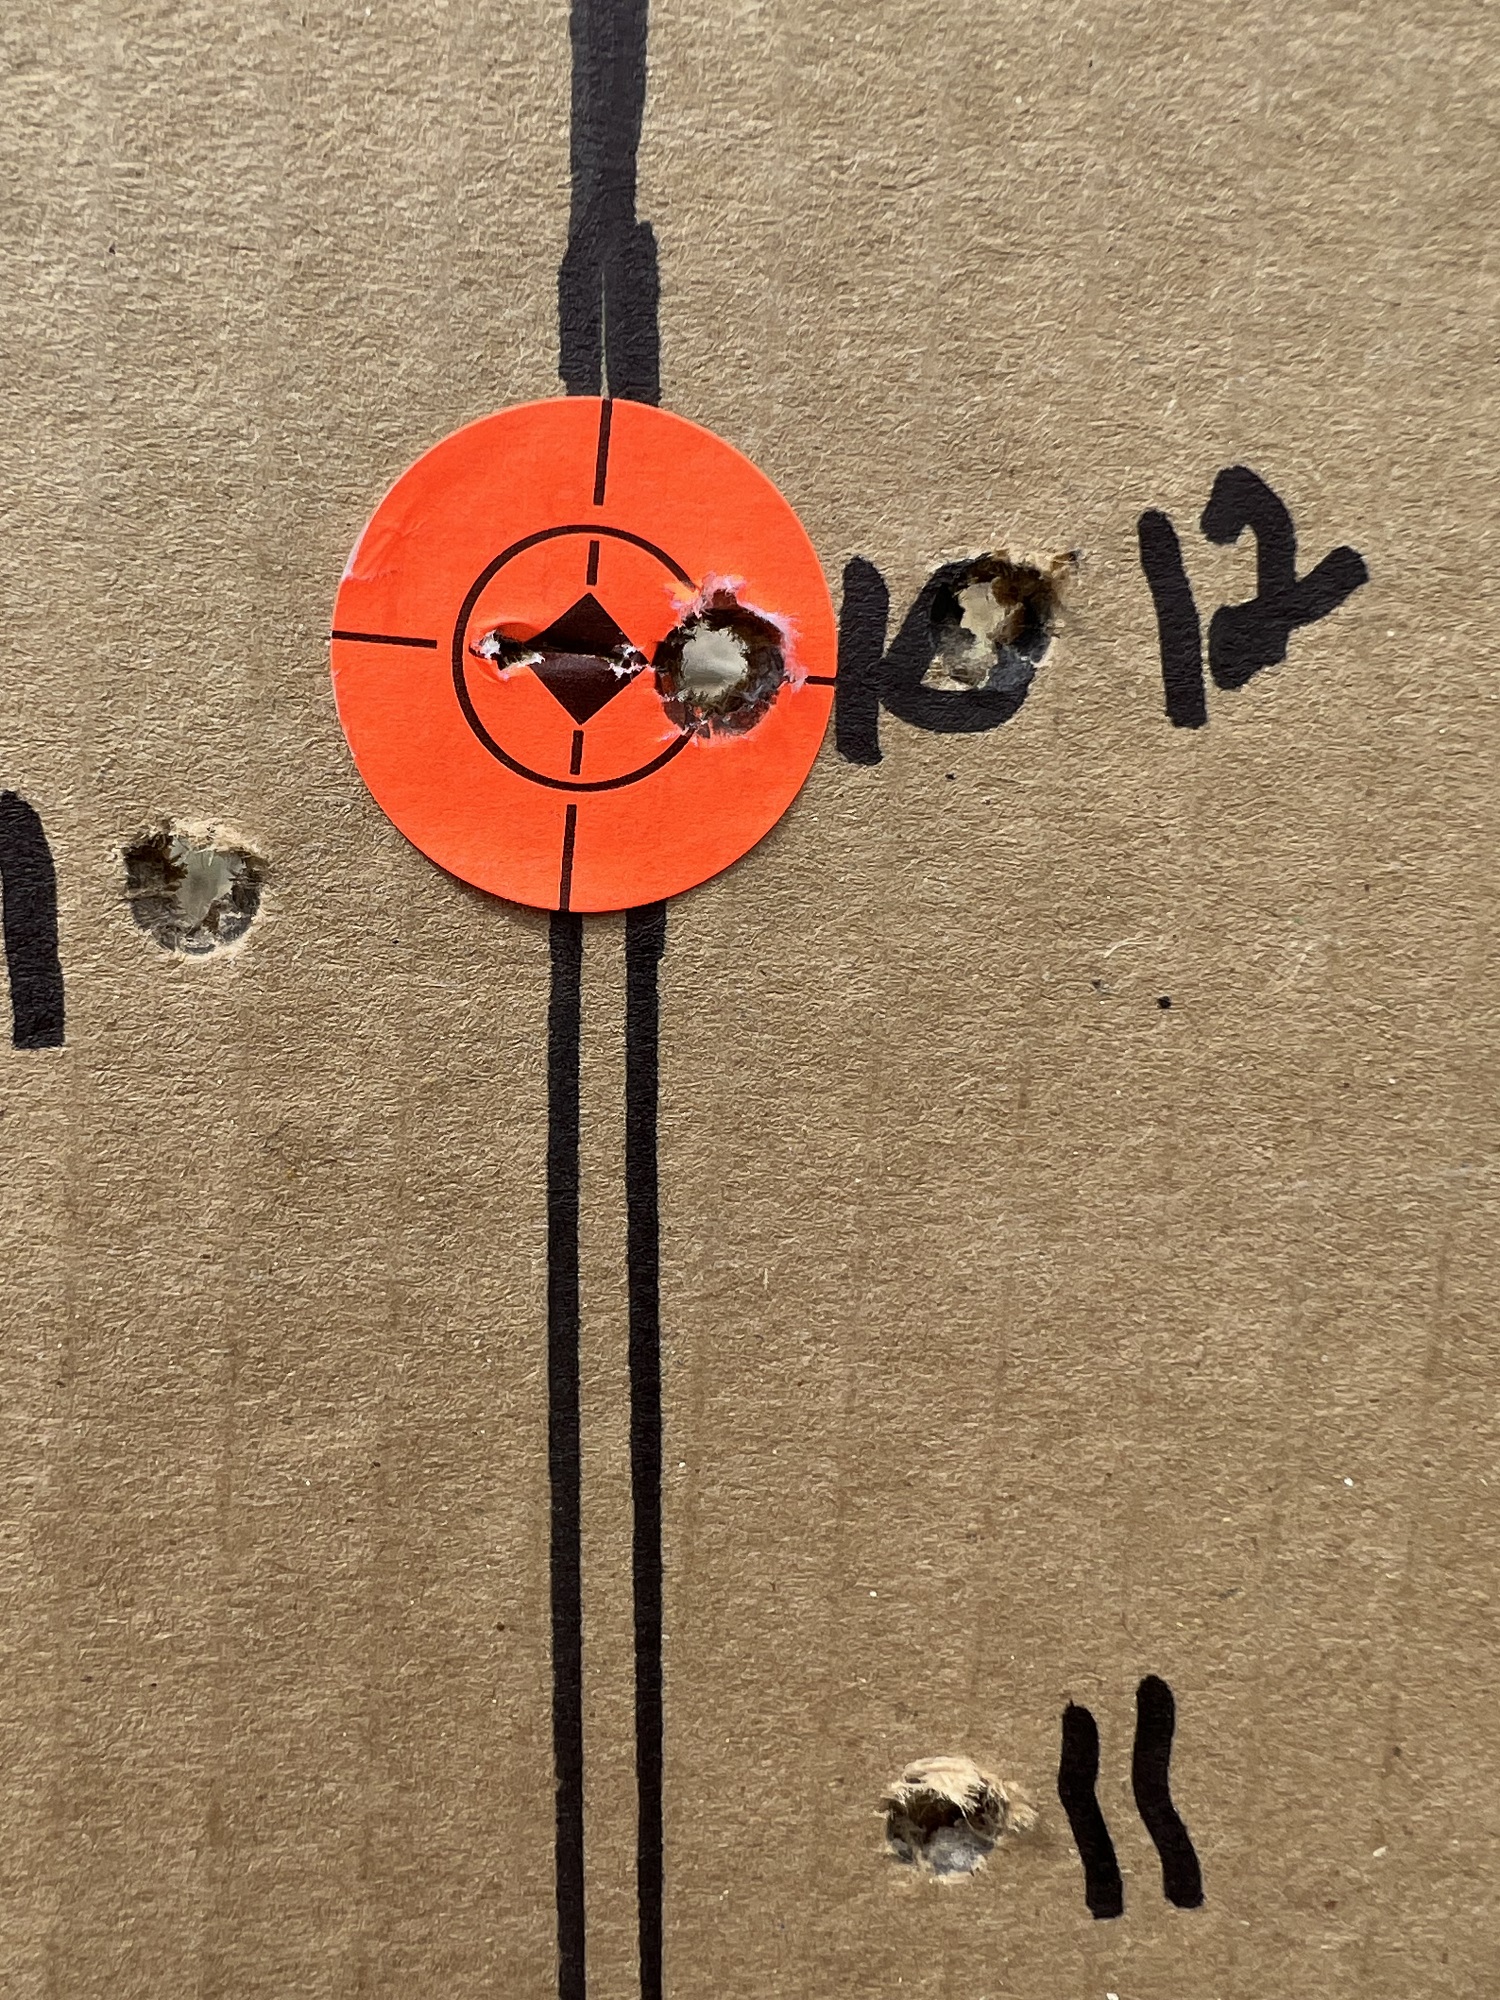
Then, I shot five more on a new target. The first shot is the farthest out.
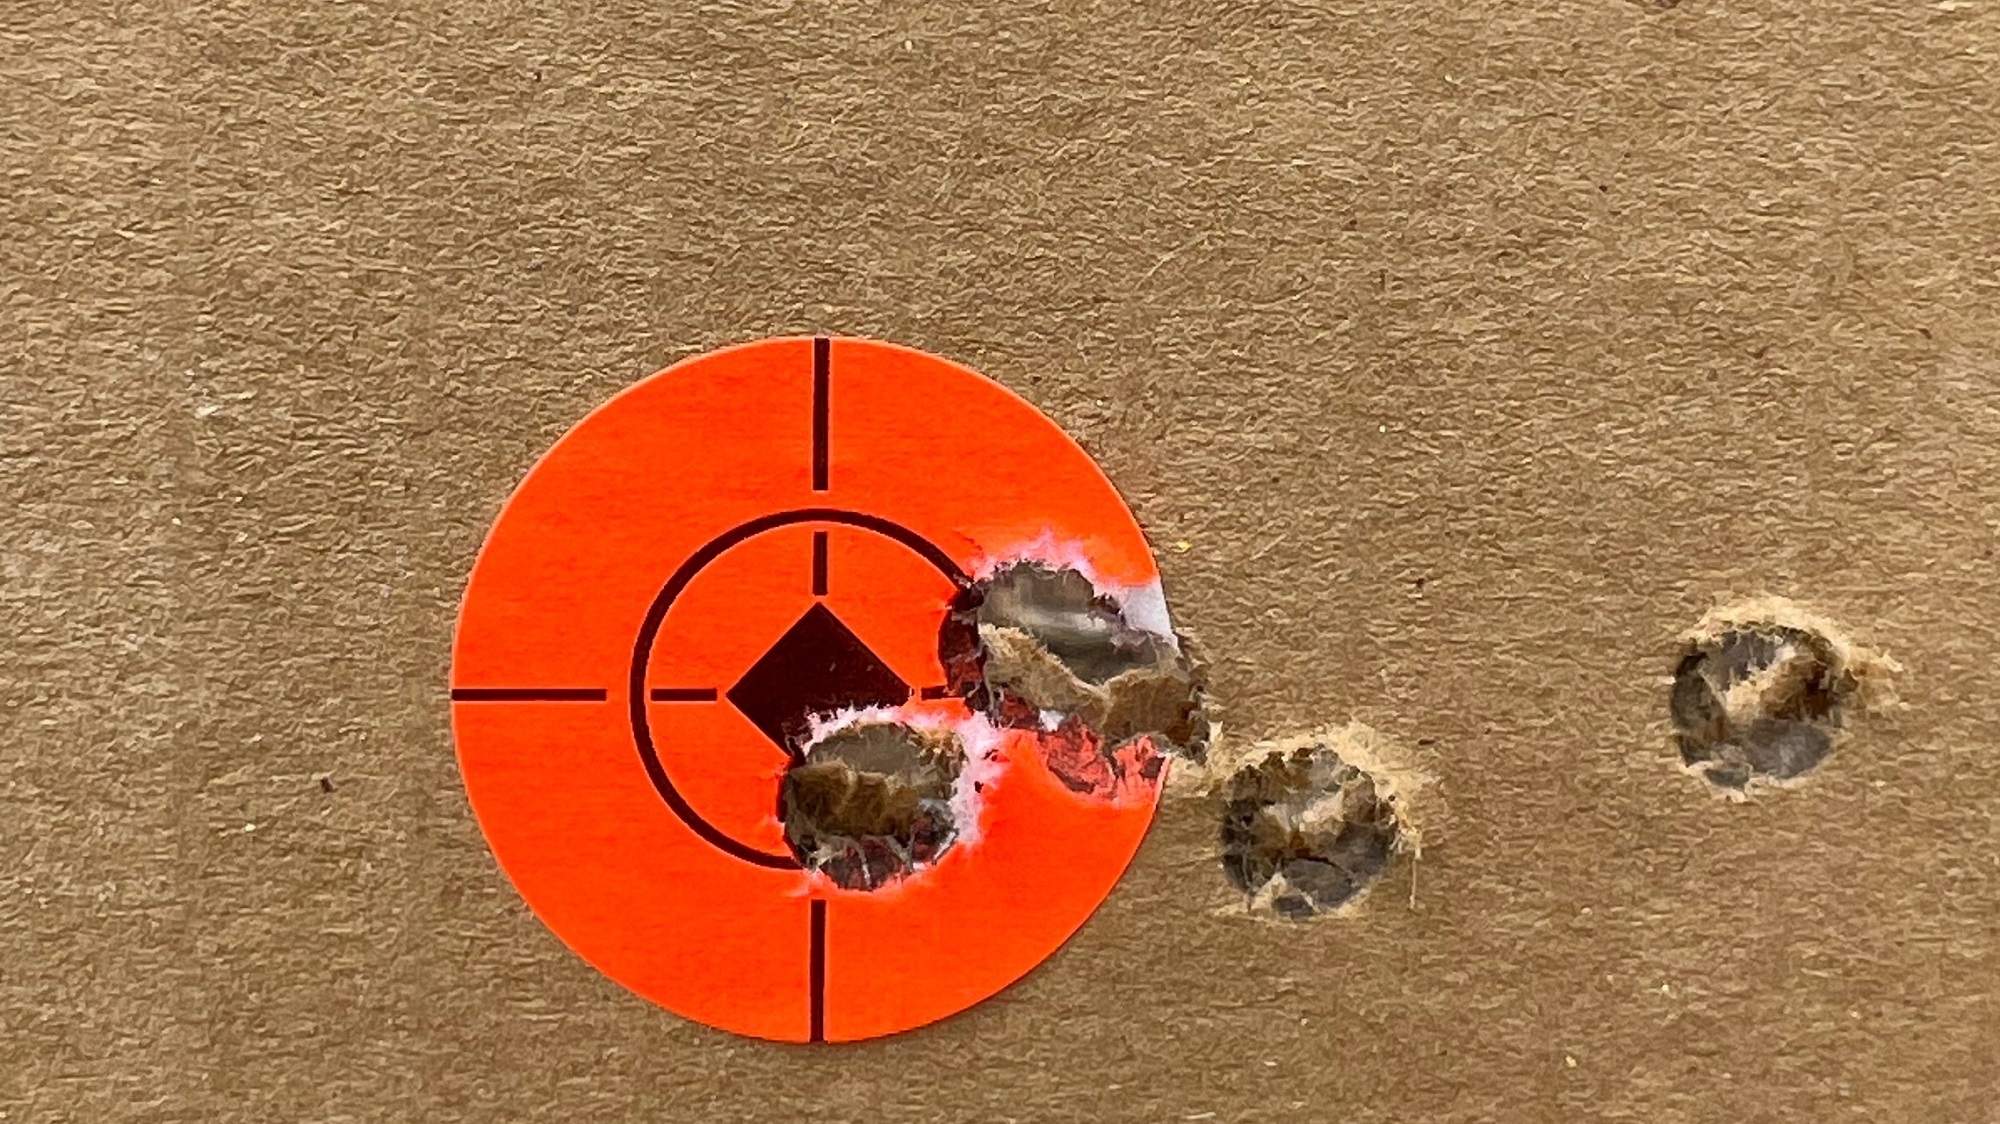
I dialed up. Shot two at the 600-yard rock. Dialed back to zero and shot five more at the same dot.
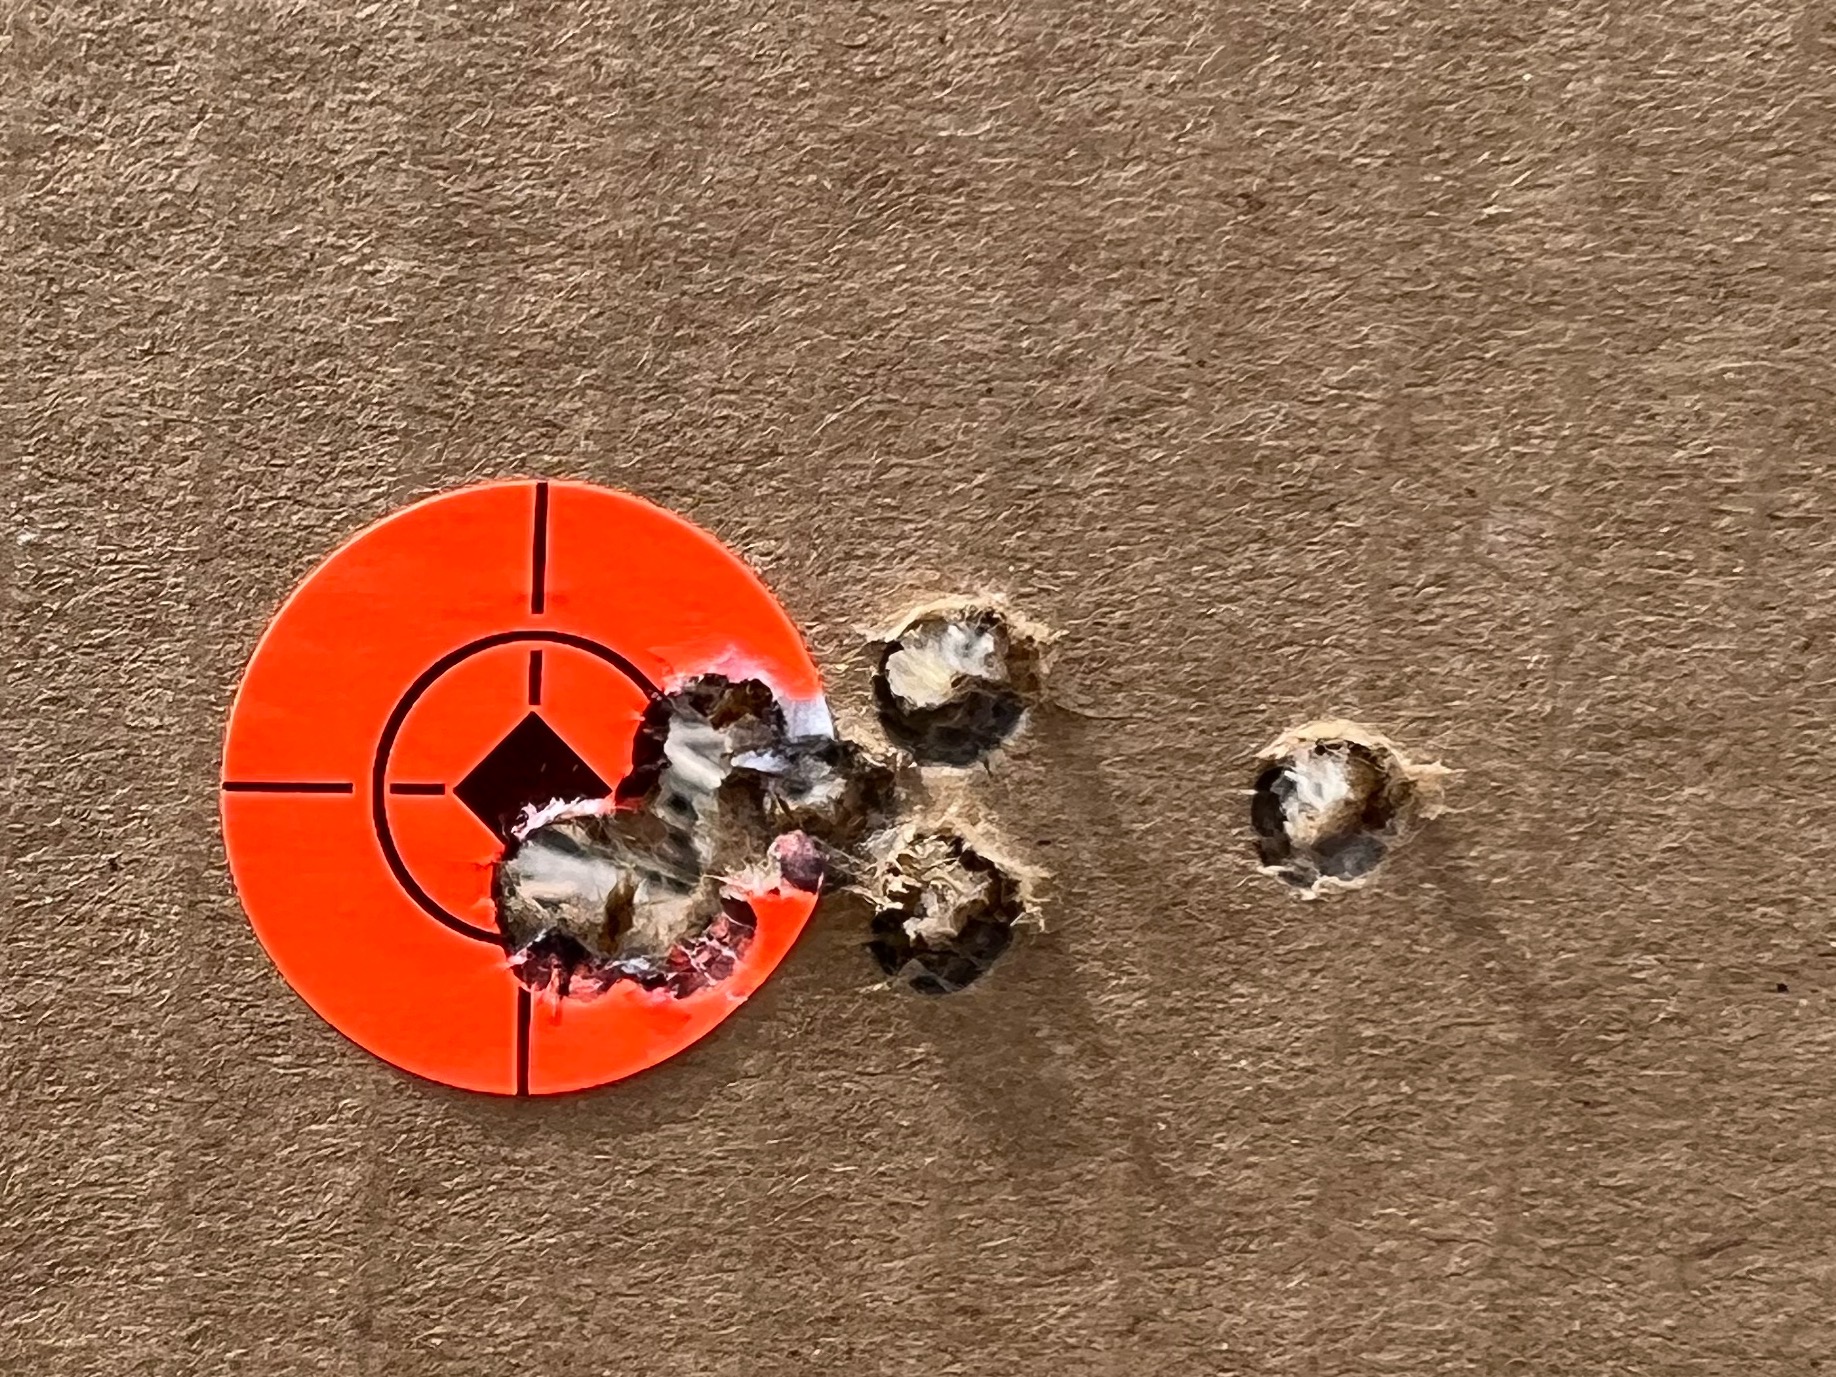
So…after this brief test, I’ve found many things to like about the Revic Acura RS25i.
The glass is definitely good enough. I can see well enough to shoot way past shooting light.
I like the big turrets. They are easy to get ahold of. The numbers are big enough. The clicks are definite and crisp. I like the capped windage. I’ve had some unintentional wind dials in my time. Custom turrets are available if that’s your thing.
The leveling marks on the tube are handy.
The zero stop and zero re-set are easy.
The power throw lever is very functional. It’s big enough to be useful without getting in the way. It can be adjusted, but I haven’t found the need to move it. And it’s included as part of the package.
The scope seems to dial accurately, and it has returned to zero so far.
The magnification range is useful. 25X is a lot and I have rarely used it but it’s there if you need it. Or want it. 5X can be a lot in some situations. The bold edges of the cross wire and thick vertical post make jump shooting possible. First focal plane makes a lot of sense in this power range. The more I use FFP the more I appreciate it.
There is enough tube to make mounting easy.
The “eye box” is sufficient. It’s easy to get the whole picture at full magnification.
One serious concern and a couple of minor bitches are about all I can come up with right now.
The point of impact moved when I dropped it. It worked itself back to zero and is still there, but…it moved.
As petty as it may be, I don’t like the little wind icons at the ends of the horizontal wire. They are unnecessary and gaudy. And they confuse me a little. I don’t like sprinkles on my doughnuts, either.
At this price point, $2200 +/-, some type of scope cover should be included. Neoprene scope coat, at least. Flip-up caps would be even better.
I’m going to hunt with it this fall and try to find a reason not to like it. If you want to talk about it, comment on the Long Range Hunting forum thread. You can order yours here.
Check out all of our optics reviews here, or check out the Drop Tests here.


