


Telling Your Story, Part II: From the Field to Final Product
By Aron Snyder
In Part I – Camera Selection, I covered the best options for a backcountry camera. Now, let’s look at how best to use that camera to tell your story. I have a few friends that have spent big money on cameras, but take about as many photos as a blind man. Taking photos is a habit that you have to develop. For me, I’m taking photos from the time I leave the house, till I get back home. This has actually irritated a few hunting/scouting partners, but of course I always get the, “Dude, email me those photos when you get home!”
To which my response is a sarcastic, “Oh yes, I’ll just email over 300 hi-resolution photos in my spare time….along with a virus!”
The point I’m trying to make is simple; YOU CAN NEVER TAKE TOO MANY PHOTOS! This is YOUR story, no one else will tell it for you, and the most basic parts of your trip are a large part of it!
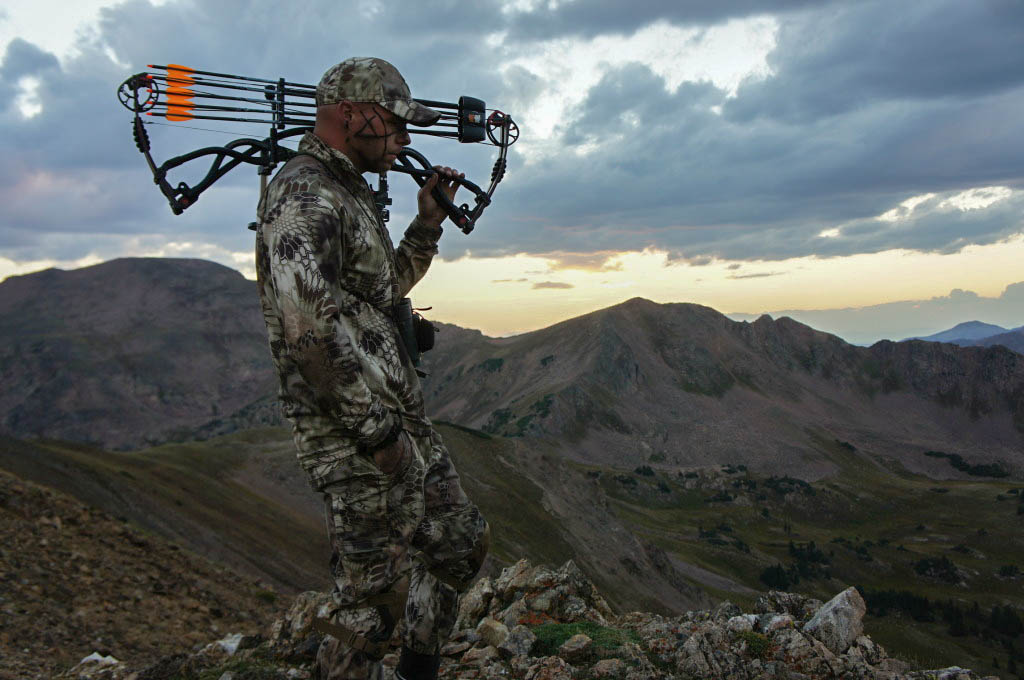
General Photos
When I say “general photos”, I’m talking about the day-to-day of the adventure: camp, gear, meal times, the hike and so on. All of these parts of your trip are needed for the viewer/reader to get the full picture of what happened during your adventure, so don’t take them for granted.

1) Always put yourself in the reader/viewer’s shoes. Think about photos you like to see that help take you along on the adventure, and then start snapping away. Think “What do I want this photo to mean to my viewer?”
2) Never take for granted the simple things. Taking a photo of your partner cooking a Mountain House meal may seem boring, but after a 14-hour day of elk hunting, a photo of his face stuffed with food is worth a thousand words!
3) Photos of camp and camp placement are not only good for showing off your shelter, but also very informational when documenting your hunt.

Scouting photos
As I’ve mentioned before, the path that took you to the trophy photo is just as important as the trophy photo itself, so scouting photos are a must! These type of photos are not just about the adventure, but informational as well.
I’ve found that there’s nothing cooler than snapping a photo of a live animal in July, and having a follow-up shot in September of it dead at your feet! If you have those two photos and everything else in-between, there’s no better definition of a documented hunt.

This will generally require the help of a spotting scope/digiscoping kit when you’re scouting, but the end result will be well worth the effort!
1) Without giving away too much info, take as many photos of the topography/terrain. This shows the viewer what you went through to achieve (or fail) your goal.
2) Take as many photos of potential animals as you can. That way if you end up shooting one, you can act like that was the one you were after – kidding!
3) Photos of gear during this early scouting season are a good idea, as you can refer back to what has changed during the season (what worked/what didn’t).

The Artistic Side
I know we’re all “manly men” that are incapable of taking artistic photos, but just in case you decide to expand your photo taking horizon, here’s a few things to take into consideration.
1) All good cameras have some type of sunrise and sunset setting, and these options let you take amazing photos with little effort. You may want to use a tripod to increase image quality, but either way, these photos should be a high priority.
2) You can get pretty artsy fartsy using the macro setting (used for close-up photos) and blurring out the background, so practice this before you go. Something like zooming in on your favorite company’s logo, with a slightly blurred-out mountain scene can turn out pretty cool.
3) We’ll cover trophy photos later, but doing several angles of a giant set of antlers on your back is always a good idea. You also want to do this when the animal is on the ground.
4) Having a wide-angle lens is great for large mountain scenes, but even if you don’t have one, stop every now and then and get some backdrop photos…just don’t give away your honey hole!

Hero shots
Taking an animal doesn’t always pan out, but you should know what to do when this does happen. In the end, a hunting story just isn’t the same without something dead at the end of it.
1) Make sure you set up your hero shot with the sun at your face! Having it at your back is a huge no-no and will give a large amount of flare in the background.
2) As I just mentioned, the sun needs to be taken into consideration with all photos, but the shade is just important. Having someone’s face half-lit and half-shaded can be unavoidable sometimes, but do everything you can to keep this from happening.
3) You should always take multiple photos at different heights, so start about a foot off the ground and work your way up (you can always delete them later).
4) This isn’t always possible, but try and keep the animal as clean of dirt and blood as possible. Cutting the tongue off before you start taking photos isn’t a bad idea either.

Written documentation
While good photos are paramount, we can’t forget about the text that goes along with them. You don’t need to write a book but having a short paragraph to go along with each photo will help put the reader/viewer in your shoes. Here’s a good example: you have a great photo of a mountain range that makes everyone warm and fuzzy, but your text should describe how much it sucked going over it….and you can’t have one without the other to tell the story.
1) I’ve got a decent memory, so I don’t need to write a lot of stuff down, but keeping a small note pad in your pack is a great idea! This can be used for a daily journal to cover lows, highs, and highlights that you can later reflect on and expand upon when you sit in front of the computer.
2) The written word is very powerful, so make sure the text describes exactly what you were feeling at key times of your adventure.
3) Writing down exact dates of important events shouldn’t be overlooked, things like when you drew the tag, the dates of scouting trips, and of course, when you killed the animal.
Photo and computer tech tips and equipment
Now your SD card is full of photos, what do you do with them? I personally have a few backup hard drives, thumb drives and multiple SD cards. All of these things make my life a lot easier when I’m back at my desk and getting the story of me trip hunt together, but also help keep things in order for years to come.
1) Instead of overloading your computer’s memory with photos, buy a backup hard drive and dump them straight from your SD card to that.
2) Keep each trip’s photos in a separate folder (I made the mistake of not doing this early on). This may not seem important at the time, but you’ll be pulling your hair out later if you don’t.
3) Have at least two extra 16GB (or larger) SD card at all times. This is for a couple reasons: one being a backup when in the field, and the other to allow you some extra time at home when editing/downloading photos.
4) I suggest getting some type of photo editor. Right now, Adobe Light Room 5 is by far, my favorite.
5) Just about everyone has Microsoft Word with Spell Check on their computer. Take full advantage of this resource. You don’t want everyone thinking you’re a dumbass that can’t spell (I’m guilty of this myself).
6) You not only want to make a folder for each trip, but make sure and title each “epic” photo and put it in a separate file with the Word DOC of your story.
7) ALWAYS save the final draft and photos on your computer and backup hard drive!
Let’s do a quick recap:
1) Get a good camera
2) Learn how to use the camera
3) Take lots of photos
4) Organize the photos
5) Keep good written documentation of your adventures
6) Use Microsoft Word when writing your story
7) Save your final draft on a backup hard drive
These guidelines will point you in the right direction for documenting your next adventure and transforming that adventure into an article.
Always remember, this is your story and you’ll be sharing it for years to come….so make the most of it!
For all your camera and optic needs, check first with Rokslide sponsor Cameraland here


")

