


")


Backcountry Proofing Your Bow
by Shaun Smith, Rokslide Senior Member
As Murphy’s law states, if it can go wrong it will go wrong. This holds especially true as a backcountry archery hunter. Anything from the wind swirling and blowing a stalk, to the extremes like having your tent shred apart in a storm. The cards are rarely in your favor, but debilitating as some equipment failures can be, most are very minor setbacks and likely will not end your hunt. However, if your bow goes down while you are miles from the trail head, everything comes to a screeching halt.
In the backcountry, your bow is exposed to some of the harshest elements it will ever see: rain, sleet, snow, and sun for days on end. These elements can wreak havoc on performance and accuracy not to mention all the bumps and bruises a bow experiences in the backcokuntry.
Managing a few items like string care, reference marks, nock sets, and repair kits are some very simple measures one can take to avoid most issues on the mountain. Of course some issues that arise are completely freak accidents and you need to prepare for worst case, too. In this article I explain the steps that I take to make sure my bow is ready when opportunity comes knocking.
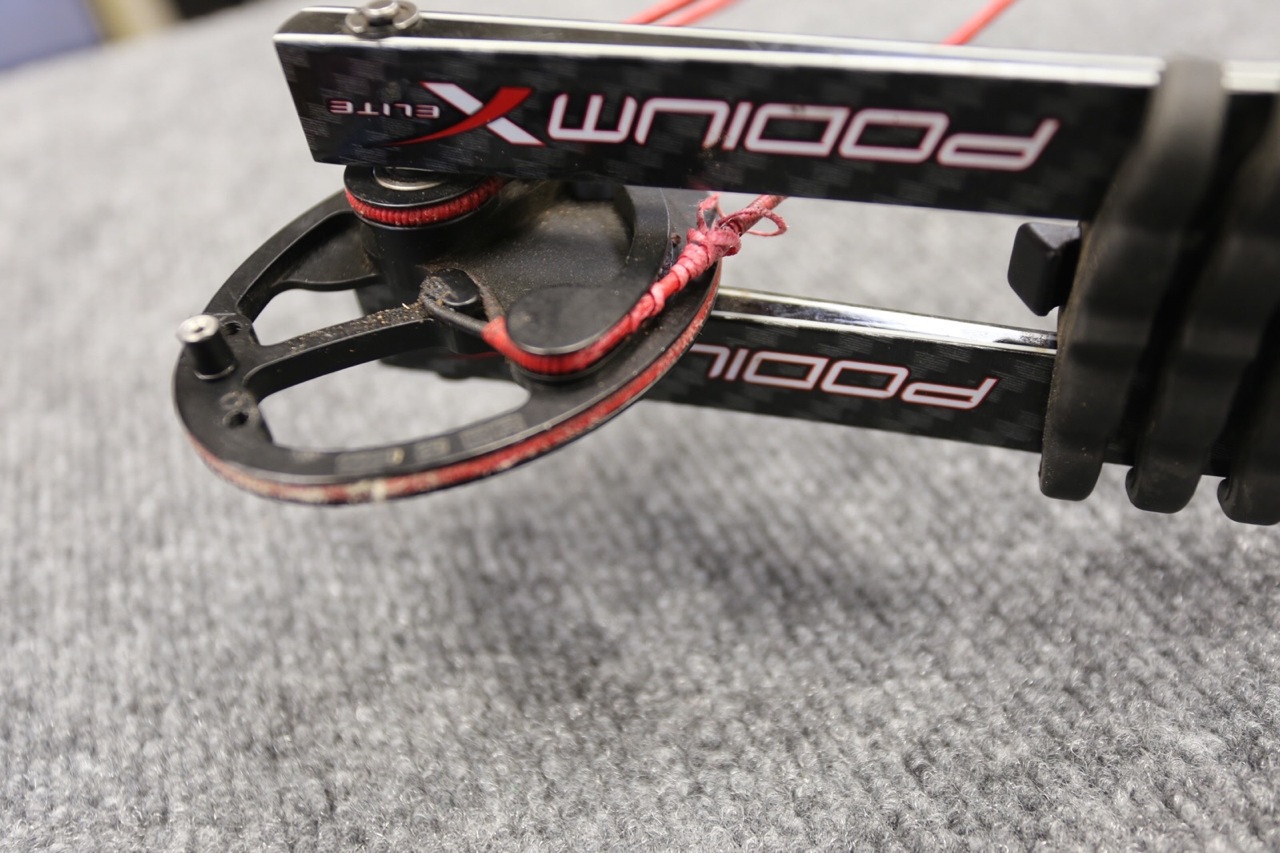
String Maintenance
One of the most overlooked and most important items on your bow are your string and cables. Your strings and cables are the life line of your bow. Being exposed to the elements and UV light days on end can play havoc on them. Before season, do a thorough inspection on your strings and cables. Check things such as axle to axle measurement, brace height, and timing. Make sure to also inspect for any serving separation, abnormal wear, or broken strands. It is much easier to change out a set of strings prior to season, than it is to gamble on something happening when you are miles from the trailhead. After inspecting strings, apply a high quality conditioning wax using a piece of leather to heat the wax and work it into the fibers.
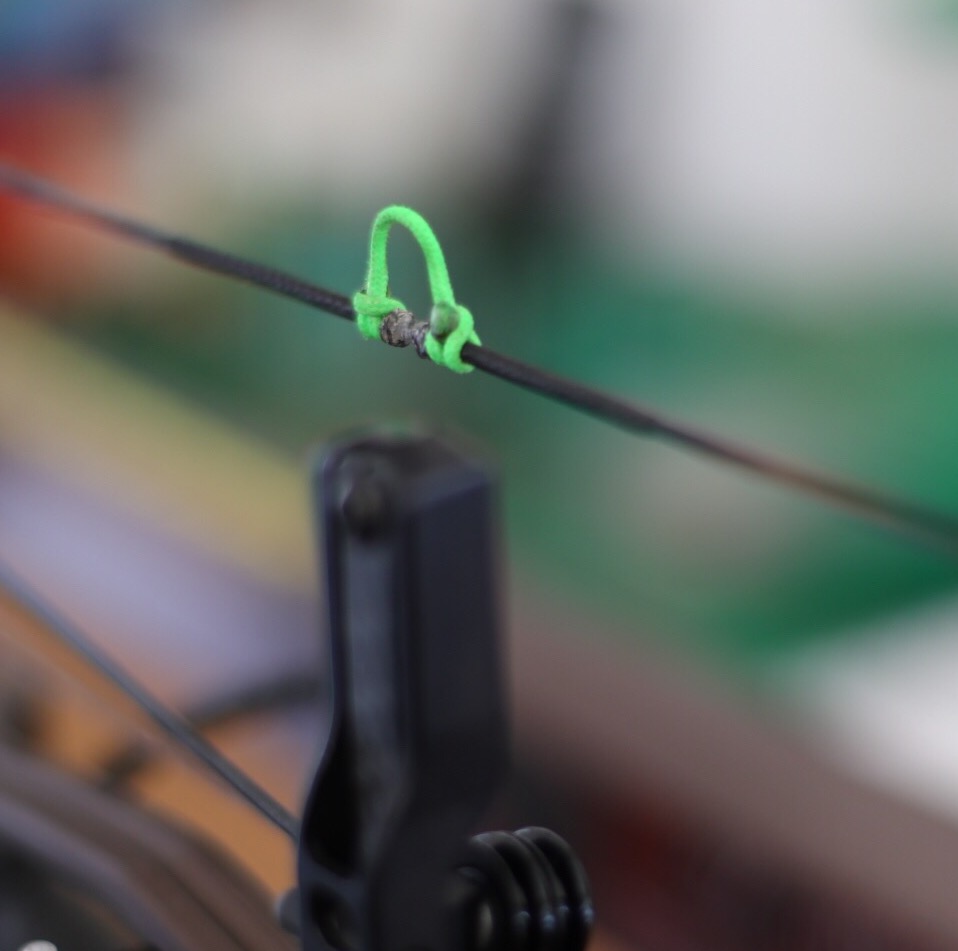
Nock Sets
After initial setup and tuning, I recommend tying nocking points on top and bottom of your nock point using serving material such as BCY 3D. By doing this, you are not only alleviating any nock pinch that can be caused by a D-Loop, you are also guaranteeing that you’r nock point will stay consistent if you have to replace a a D-Loop on the mountain. This will greatly minimize any down time you will have trying to get your bow up and running again.
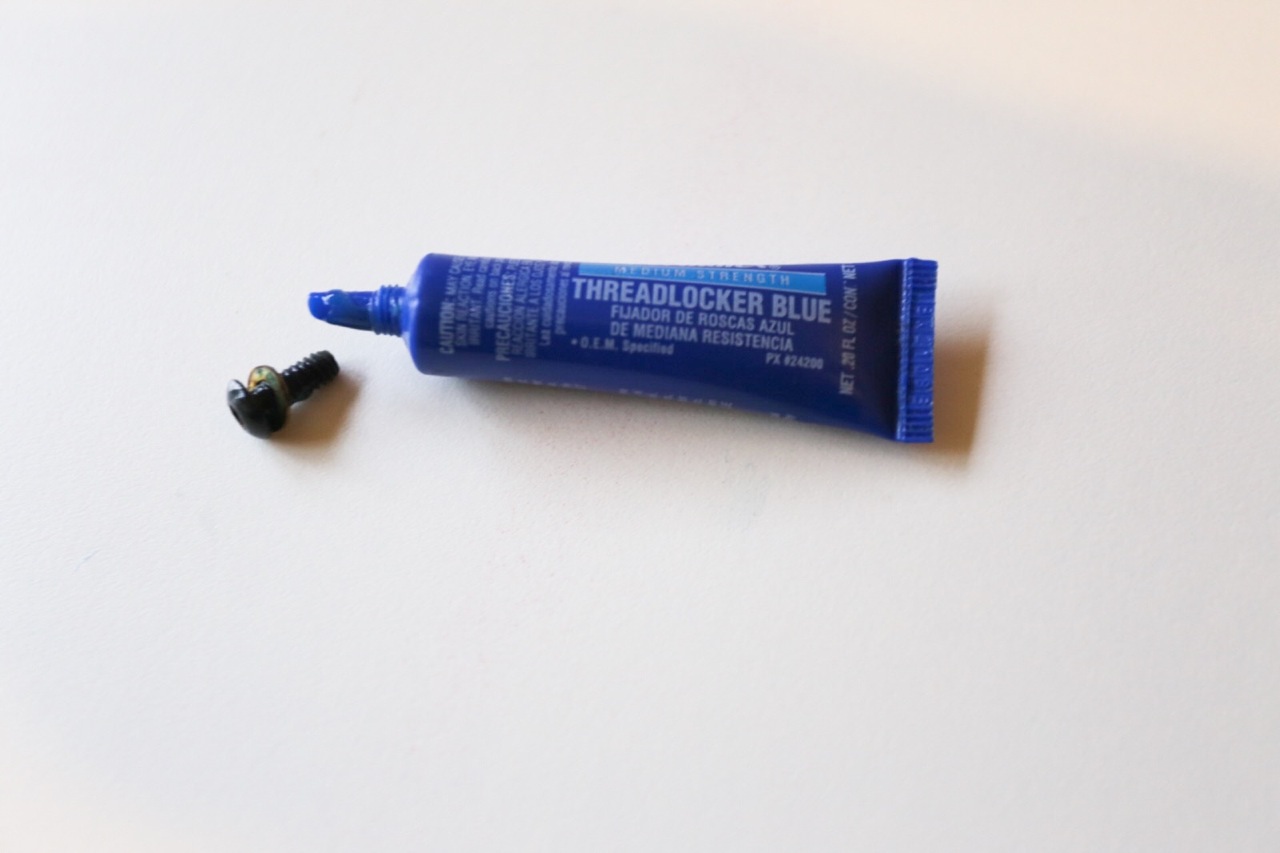
Thread Lock
During initial setup, spending the additional 5-10 minutes to thread lock everything you are mounting to your bow will pay dividends in the long run. Bows produce a lot of vibration and it is very easy for bolts to work loose, making a ton of noise during a shot, or even moving your POI. Even though a loose bolt may not be detrimental to a hunt, it is just another headache one can avoid by taking preventative measures ahead of time.
*Note: Make sure you are using Blue thread lock (temporary applications) and not Red thread lock (permanent applications) if you would ever like to remove the bolt again.
Axis Adjustments
As overlooked as they are, axis adjustments can make or break a shot. If your 3rd Axis is off just a few degrees, it can make a drastic difference in your point of impact when shooting angles. A sight is broken down into 3 different axis adjustments: 1st, 2nd, and 3rd Axis. All three of these play a critical role in sight leveling. Overall axis adjustments are very simple to correct utilizing a tool like Hamskea’s 3rd Axis Level. There are tons of videos and resources to walk you through sight leveling ensuring that you are doing it correctly. Here’s one from Rokslide’s Vimeo Page: 3rd Axis
You might also choose to use a reputable pro-shop if you have one in your area.
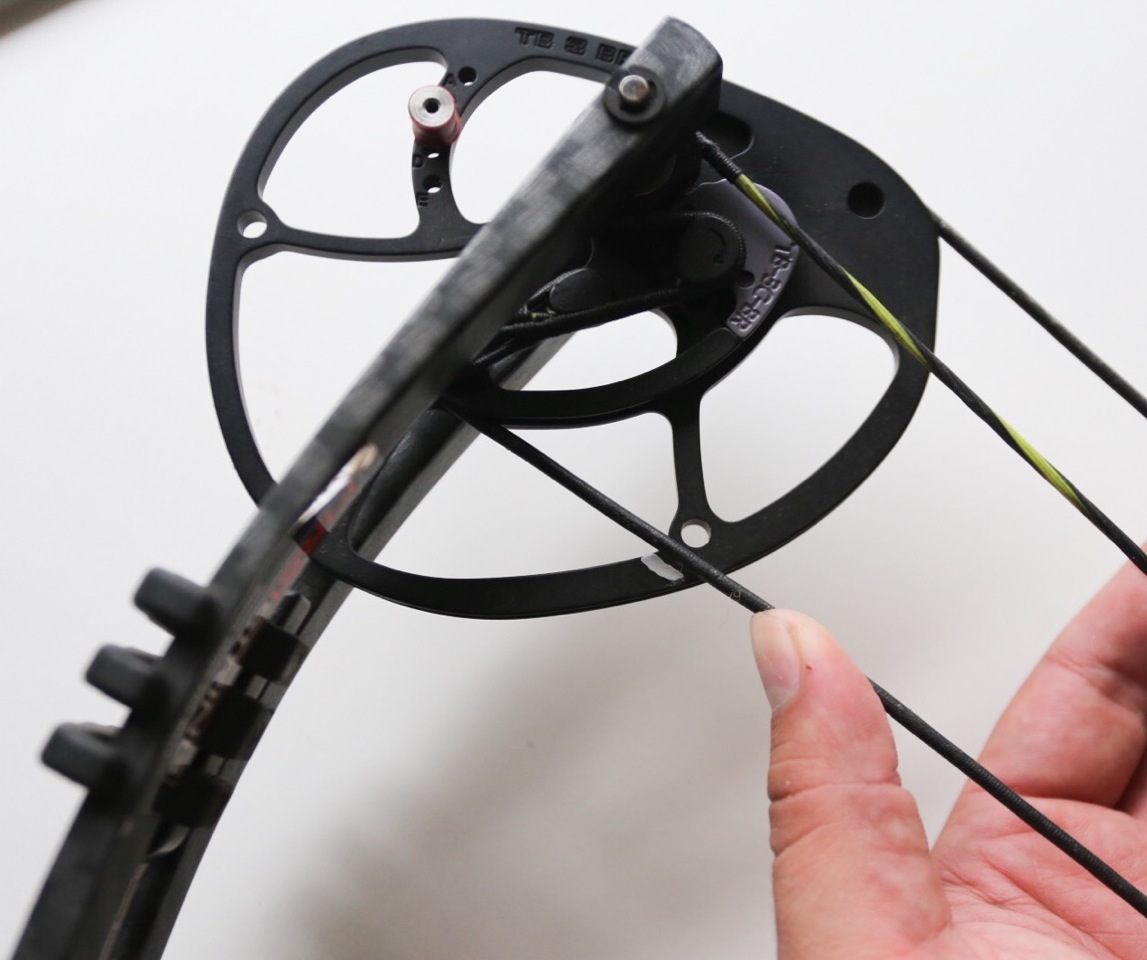
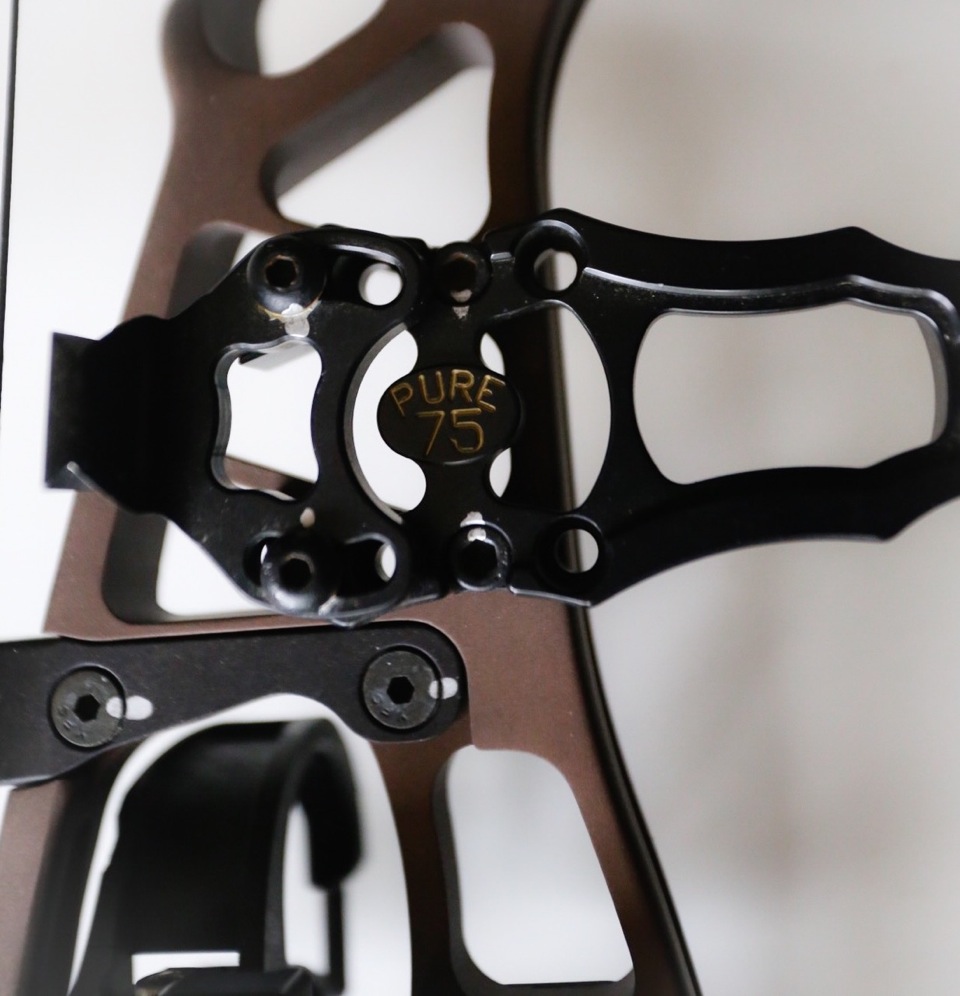
Reference Marks
Using a paint pen or something similar, put reference marks on anything that has the potential of moving. I go through and mark everything from my rest to my sight. I also put reference marks on my top and bottom cams. Putting reference marks on your cams makes it easy to verify that you’re not experiencing cam creep. When cams move, even a little, timing is affected and accuracy is destroyed. By utilizing reference marks on your bow, it is very simple to do a once over each day, verifying everything is where it should be.
Emergency Repair Kits
If you do find your bow out of tune or damaged on a hunt, having the proper repair kits available is key to saving your hunt. Personally I have two kits. One that stays in the truck at the trail head and one that I carry to camp.
My big kit will have everything from extra nocks, a bow press, a back up set of strings and cables, to a wide selection of tools. While I may have to hike out to utilize this kit, it beats the alternative!
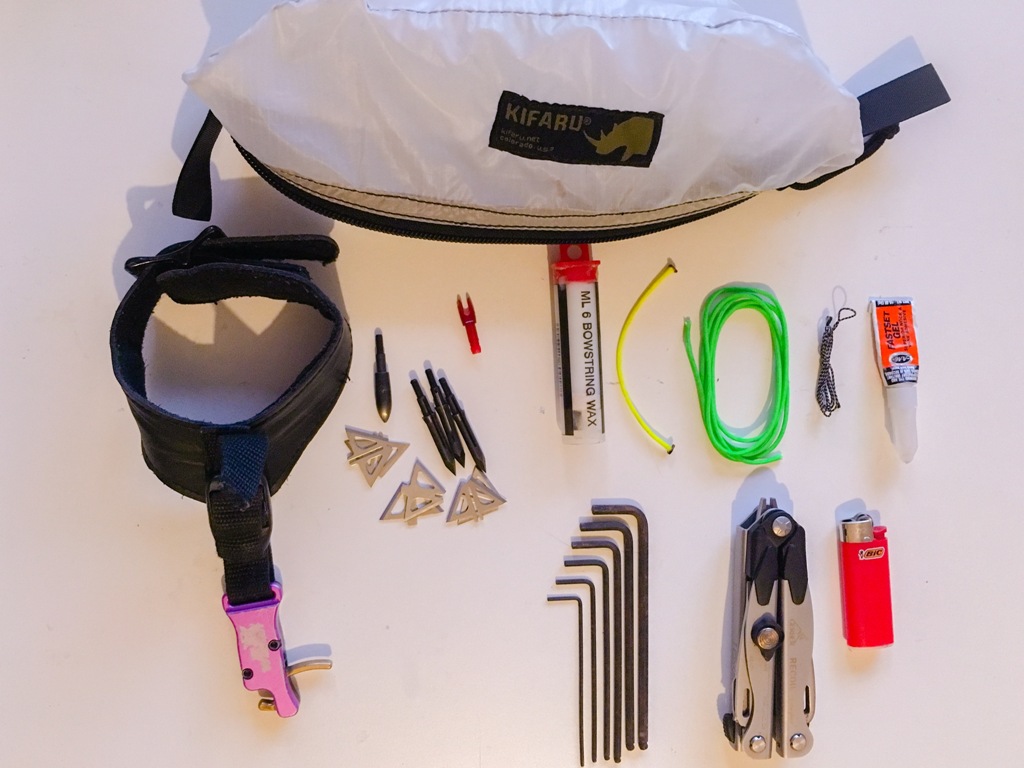
The repair kit that I carry to my backcountry camp is very simple and light. It includes a handful of allen head wrenches, fletch glue, one field point, several spare broadheads, 2-foot serving string, one precut D-loop, a small tube of wax, a spare release (that has saved my bacon twice now), and a small leatherman style multi tool. I put this kit in a medium Kifaru Pull out.
Spare Bow
In the event that you can’t repair your bow, nothing rests easier on the mind than having a fully set-up and tuned spare bow. While many hunters carry a spare bow, too often it is their old bow and hasn’t been shot much in years, if at all. Make sure you shoot your spare bow at least a fair amount before the season so you can make the switch at a moment’s notice. Carry a target in the truck so you can adjust your form with a few dozen shots if forced to switch bows (unless you’re lucky enough to afford two identical bows.) Also, make sure your spare bow has it’s own arrows and broadheads ready to go. With preparation, you can often tune your spare bow to shoot the same arrows as your primary bow.
I don’t recommend leaving anything valuable in the truck at a trailhead, so you might have to get creative when toting a spare bow, target, and repair kit along. Some hunters utilize the local taxidermist they plan to use or a meat locker. If you know a local that you trust, that is even better. All these extra steps will be worth it if Murphy rears his ugly head.
If you plan on putting the time and effort into a backcountry hunt, then remember it is in your absolute best interest to put the same effort into learning your equipment and how to repair it. This extra work can save your hunt if problems occur.
You can ask the author questions here
You can read Shaun’s previous article, “Practicing for Success” here


