Beat the Heat – Cool Strategies for Ice Conservation
Travis Bertrand with contributions by Darin Cooper
Since I live and hunt in the high, remote deserts of Nevada, it’s a necessity to have a cooler system that will hold ice for extended trips to maximize comfort and convenience in any warm weather base camp. Over the years I have used and owned a number of different coolers and have tried various strategies to conserve ice when it’s hot out. After much trial and error in my fight against the heat, I am finally coming out on top. I wanted to share some tried and true strategies with Roksliders to make your camp more comfortable and to help ensure that your hard-earned meat stays cold and fresh until you get back to civilization.
A
ll Coolers are NOT Created Equal
I have owned 3 big Costco/Walmart coolers – you know, the big white ones. Everyone has them, they all have broken hinges and remnants of duct tape or a bungee strap over the lid to keep it from blowing open on the way back from a hunting trip. Each of these coolers has cost me $70 – $90. If you multiply that by 3, you can see I wasted a lot of money on coolers and probably more on gas to go buy more ice for my overrated tote boxes that haven’t lived up to the task. Instead of buying a fourth, I decided I was going to INVEST my money into a good cooler. Yes, I said “invest” in a cooler – because the best coolers are expensive, but if you use them a lot, you’ll probably save money in the long run buying one good cooler rather than several disposable coolers and a lot more ice over the span of your hunting/camping/outdoors career.
What to Look For in a Cooler
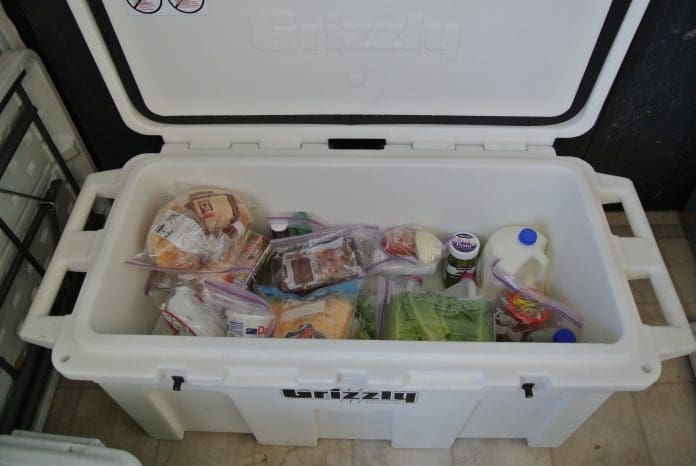
Everybody has different needs when it comes to this subject. However, traits like a rugged, efficient design, excellent build quality, top notch materials, and being manufactured by a reputable company that will back their product should be at the top of the list. Nowadays there are several different companies that hit those benchmarks and you should compare all of them before you invest in a high dollar roto-molded cooler. If you fish, you might want to go with a smooth interior and exterior finish so it will be easier to clean. If you live in a hot, dry climate then insulation might be most important to you. Some of you may prefer a certain look or even want your cooler to match your boat. Some of the most popular brands are Yeti, Grizzly, Pelican, Engel, and Igloo. Each brand has offerings in a variety of configurations and sizes with a host of options.
Consider features like durable handles, bomb-proof hinges, tough-replaceable latches, padlock provisions for bear country or keeping the kids out of the barley pops, a sloped floor for draining water, removable rubber feet, and a size, shape, color and price to fit your needs.
Extreme Cooler Considerations
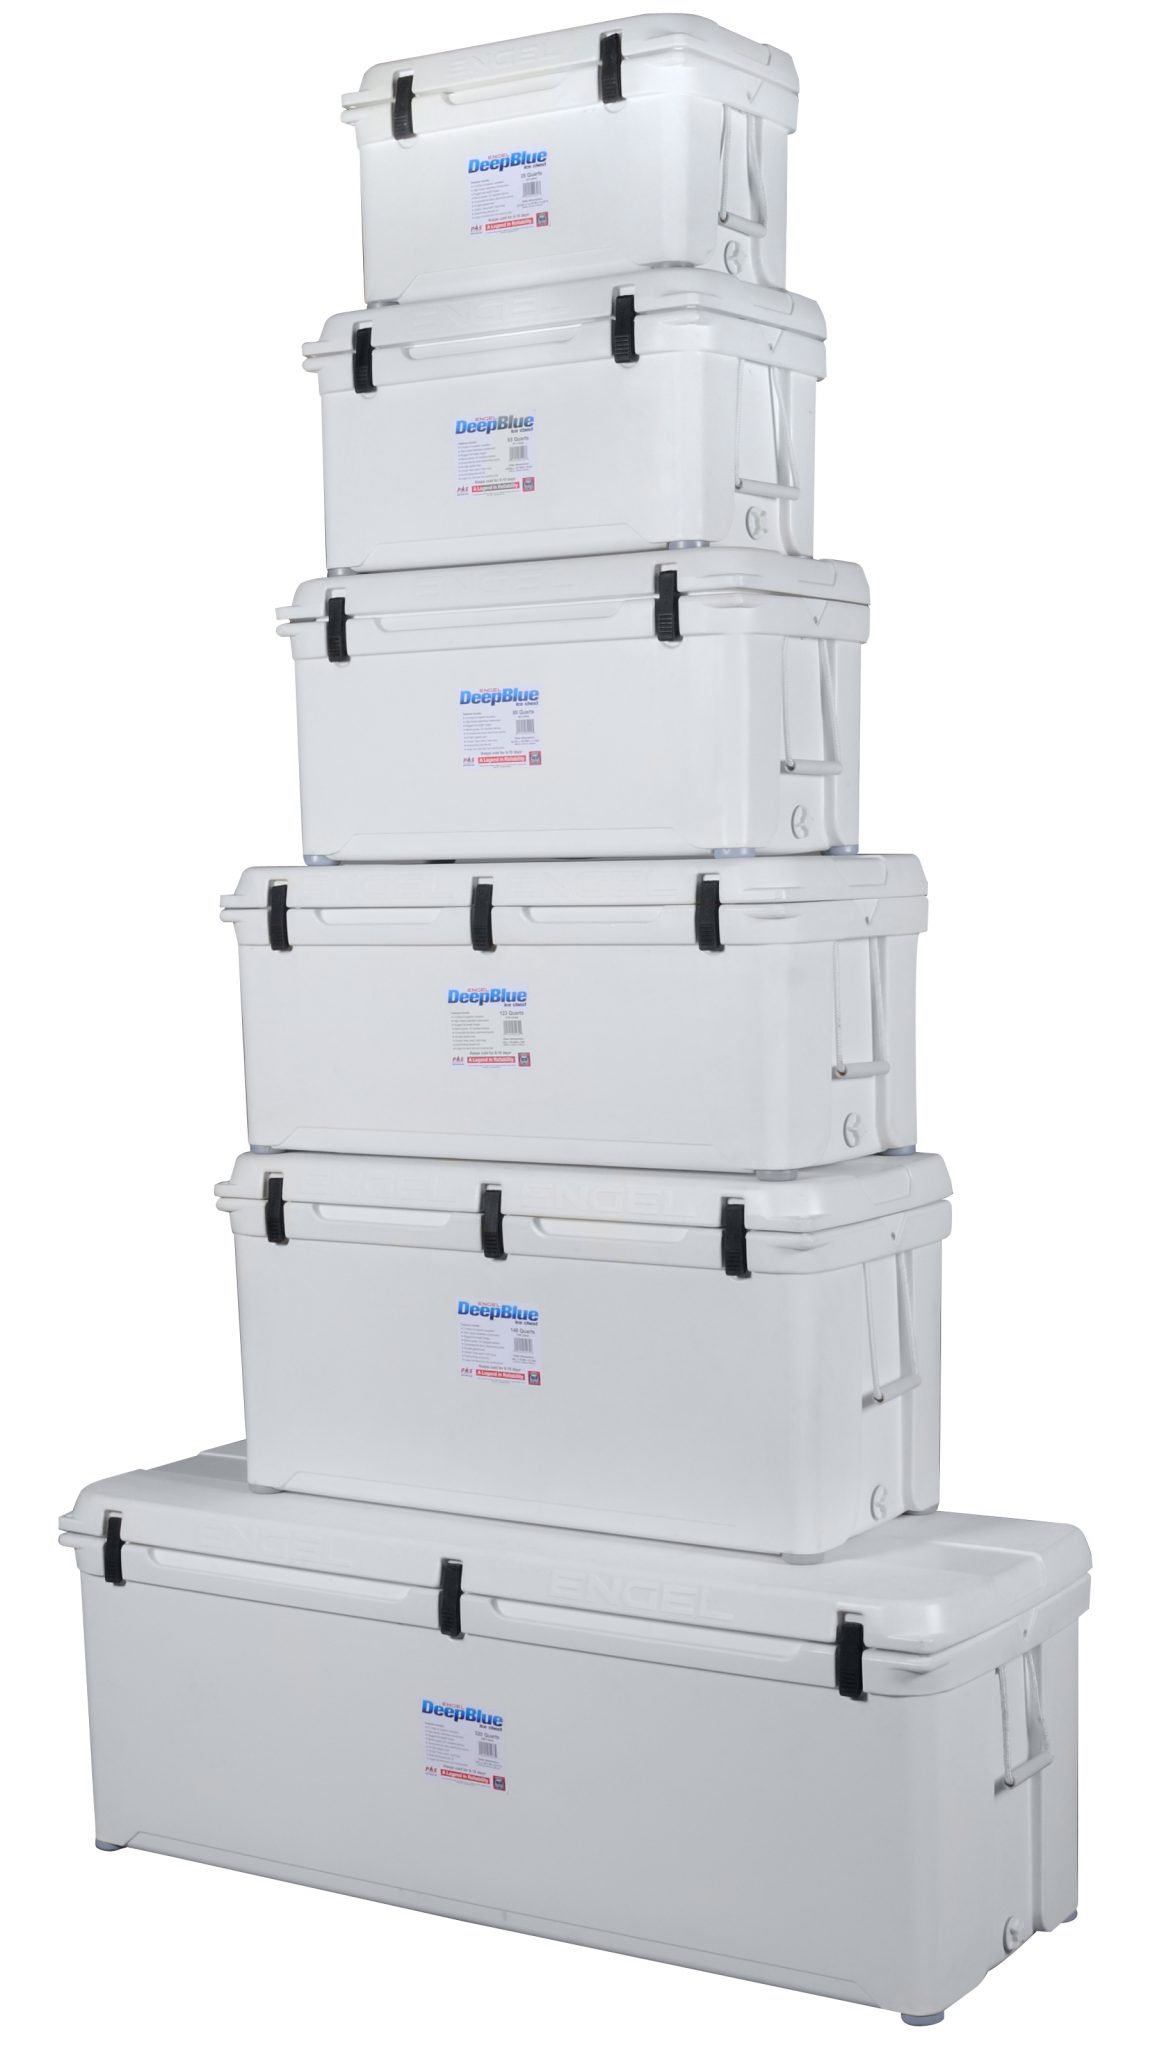
The latest coolers on the market are extremely efficient at keeping ice. Claims vary, but most state that ice can be kept for 7 -11 days. That’s fantastic, but performance comes with a trade-off. One issue with roto-molded coolers is the sheer mass weight, often nearly 30 pounds for a 65 quart cooler. When fully loaded with ice it’s advisable to either have a buddy help lift these larger coolers into the truck or put the cooler in your rig before you fill it! A 100 quart cooler with ice and elk quarters will strain two grown men so keep that in mind when selecting capacity. A great cooler that’s left to bake in the back of the truck won’t keep ice much longer than a cheap cooler in the shade.
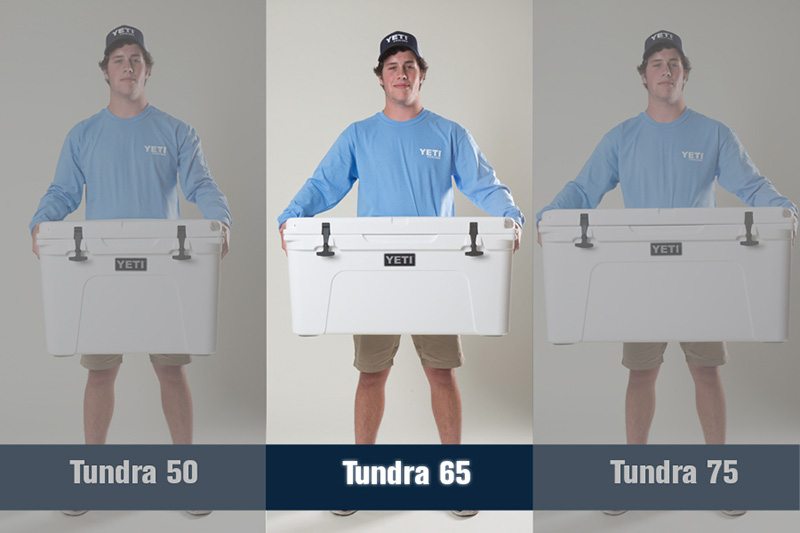
The rubber feet offered on most extreme coolers are great for keeping the cooler from sliding around in a boat or a slick truck bed during transport, but they can also be a problem when you need to slide a loaded cooler into the back of the truck bed (especially if you have a camper shell), so removable feet are a nice option.
Extreme coolers have more insulation, so they are always larger for a given capacity. A 70 quart roto-molded cooler is about the same size as a typical run of the mill 100-quart cooler. That can be a problem if your truck is as packed as mine when leaving for a 9 day hunt.
At first glance, the cost of extreme coolers seems borderline outrageous – certainly hard to swallow when you’re used to “disposable” coolers that are cheap and still manage to do a decent job. Prices range from about $300 – $500+ for coolers in the 65 – 75 quart range. All factors considered, the price could well be worth it to you if you can shake of the initial sticker shock.
All Ice is NOT Created Equal
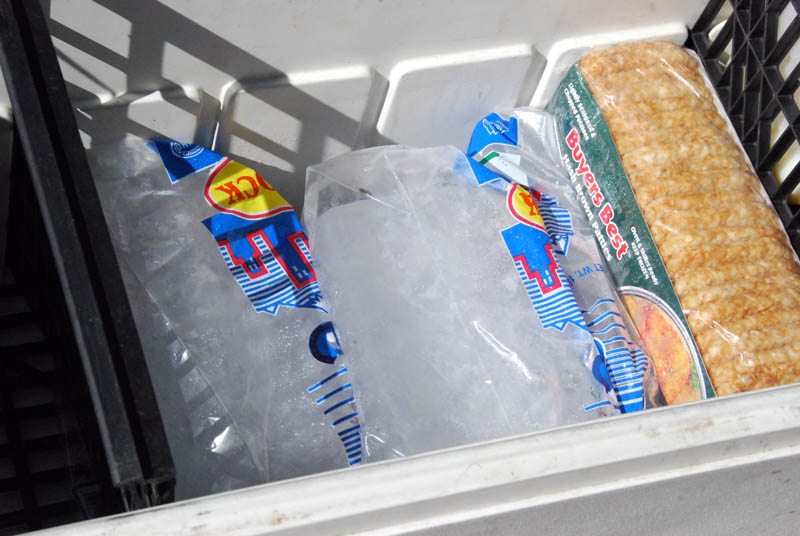
Ice quality is definitely another key factor in keeping your cool. If you look at an ice cube, you may notice that some have an opaque white appearance in the middle. This is due to air entrainment in ice. The clearer the ice cube, the better it will be at retaining its solid form. Commercial ice makers tend to have a lot of air in the cubes which decreases density of the cube and increases surface area. The more air that can touch the cube, the faster it is going to melt. This is why block ice or frozen jugs last longer than cubes.
Conservation tips
Working summers outside in Nevada gave me an opportunity to experiment and develop reliable methods to keep ice longer. When I first started, it was my job to drain the water out of the cooler and put new bags of commercial ice back in it. The next day I repeated same process because the ice would never last longer than a day. I saw this challenge as an opportunity to see how I could make the cooler more efficient. The first change I made was to stop draining the water and instead just adding more ice to it. Surprisingly I started seeing ice left over the following morning. I then found that keeping the cooler full with less air space improved its efficiency. I kept the cooler full of water bottles and Gatorade, and stuffed as much ice in it as possible. If I packed ice & water near the 2/3 mark, I could get 3-4 days in the hottest days of August. Water and ice have a much higher heat capacity so they resist warming better than air.
Salt lowers the freezing/melting point of water, so when it freezes and thaws it will be colder than regular ice. I tested the theory by deep freezing three milk jugs for a week and setting them at room temperature to see which one would last the longest. One with a tablespoon of salt, one with a teaspoon of salt and one with normal tap water. I did not find any noticeable difference between the three jugs in the end. What I learned was that salt water won’t melt any slower than regular ice, but it will keep the cooler colder. Stacking some saltwater jugs in the bottom or around your regular blocks may help keep your regular ice frozen longer. A saturated saltwater solution will freeze and thaw at -6° F instead of 32° F! Most freezers don’t get that cold so you may want to use a dilute solution if you don’t have a good deep freeze.
I used dry ice on the way back from Wyoming one year. I found it to be very effective if you place a layer between the ice and what you are trying to keep cool. The problem with dry ice is cost and availability. Using a good cooler with the other suggestions here has kept me in ice thus far so I haven’t needed it as of late. If you have access to dry ice, it might be the ticket for you. Just make sure you have an insulating layer like newspaper or a towel between it and your food/beverage items otherwise they will freeze. Also don’t mix dry ice with normal ice cubes. You’ll end up needing a chisel to get anything out of the cooler. A buddy of mine learned that the hard way on a multi-day river trip.
Now that my cooler isn’t being used every day, pre cooling is a necessity. I place the cooler in my garage and place jugs of ice in the bottom and top it off with cold water from the faucet. Do this overnight before heading off to the desert. This pre-chills the cooler so that you’re not wasting the new, fresh ice getting the cooler’s interior and insulation down to 32 degrees.
Pack Wisely
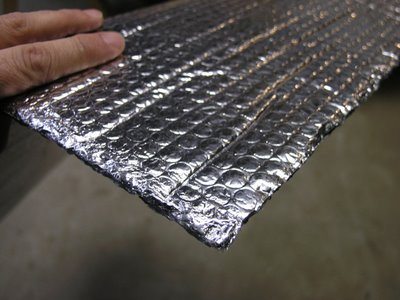
The less time the lid is open the longer the cooler will hold ice. Decide ahead of time of what order your meals are going to be and pack the last days food first. Decide on a corner for your more common items such as milk and ketchup/mustard/lunch-meat, etc… so you do not have to let all the outside heat in while you search for the mayo. Along the same lines, another great tip is to cut sections of reflective foil bubble insulation to cover the top layer of the cooler’s contents in 1/3’s. This way you do not expose all the contents of the cooler to heat when you open the lid to grab something.
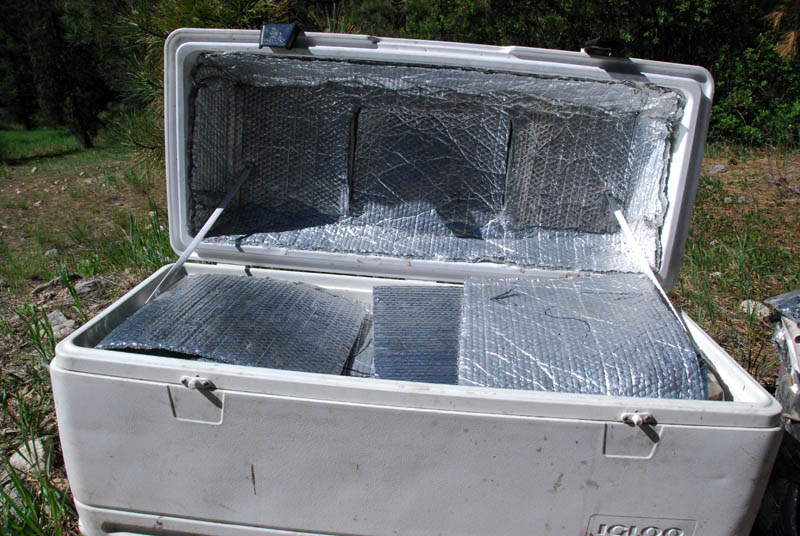
You can pick this stuff up from most building supply stores and it’s cheap.
A friend of mine actually wrapped his entire Walmart cooler in the stuff. Combined with the cut sections of foil bubble insulation inside, it now holds ice twice as long as the stock cooler. He also keeps the contents more organized with dividers and shelves made with cut up milk crates. Each shelf is again layered with the foil insulation to prevent hot air from invading.
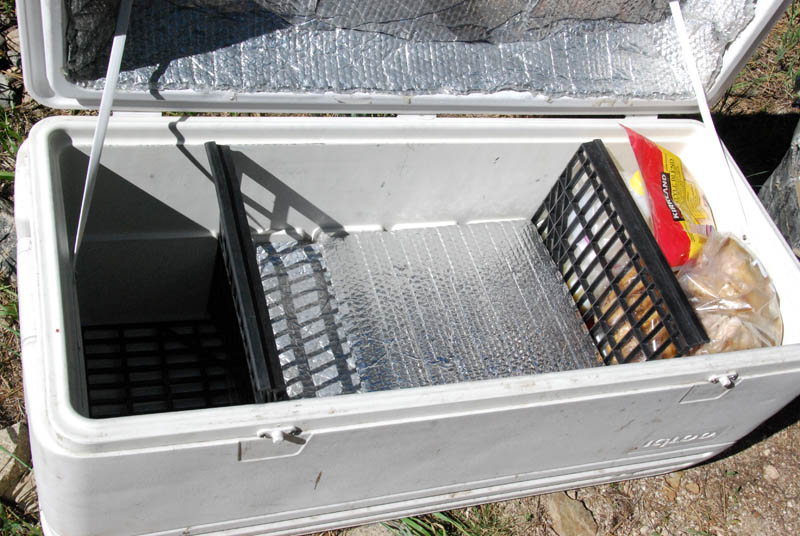
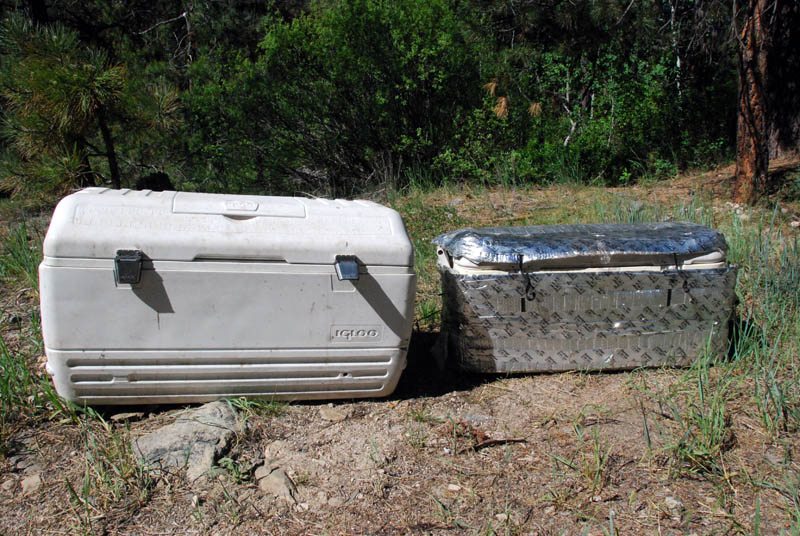
If you don’t want to drop the money on a high dollar cooler, these types of modifications go a long way toward the same goal, but at the risk of looking like a true red-neck!
If you’re planning an extended hunt in hot weather, you may need to have a dedicated meat cooler full of block ice that doesn’t get opened until your meat goes in. This way you can be absolutely certain you’ll have ice available to cool those precious quarters.
Cooler Placement
When you are out in the field, put your cooler in a spot where the dreaded 3 o’clock sun can’t get to it. Don’t worry about the morning sun as much as the afternoon unless you know you will be back to move it later in the day. Avoid placing your cooler in your tent unless it is shaded and well ventilated. If you’ve ever crawled into a sunbaked tent that felt like a sauna, you already know that is no place for your cooler. Temps are typically lower near streams so if you can place your cooler in the shade amongst some creek grass, or even partially submerged it will help the cause. You can also make a lean-to shade structure with a tarp and wrap your cooler in an old sleeping bag or spare blankets if there is no natural shade to add insulation and keep the sun off.
Ride Hard & Put Away DRY
When you return home, make sure you take care of your investment. Clean it up with mild soap and water or bleach if you have a stain in it. If it’s a tough stain, presoak it with soapy water and take it to the coin-op car wash. The high pressure spray works wonders on getting tough stains out. Make sure it is completely dry before you stow it away to prevent mold & mildew.
Whether you are hunting that premium antelope area in the scorching hot August sun or taking the family to the lake for a week, purchasing a high quality cooler and employing some of these methods will ensure your ice will go the distance and you’ll be better equipped to enjoy the great outdoors.


