


Setting Up Your Own Bow, DIY Style
By Jared Bloomgren, Rokslide Prostaff
Setting up your own bow is a common topic that many archers would like to have insight on. Heck, I know many veteran archers who have never set up their own bow and most don’t know what they are missing! I find it very enjoyable and quite relaxing. Besides, not everyone lives close enough to a proshop and knowing how to set up a bow yourself can save your hunt if you ever experience a problem in the field.
This is a very simple article to help you learn how easy it can be. Picking out the best bow is an entirely different subject, so I won’t get in the the weeds there. Rather, let’s focus on the process of setting up your bow from scratch. This is very easy to do and I will not get all technical on you as far as the advanced tuning goes. That as well could be a different article or book as you may know!
For many years as a kid, I never had fancy tools for setting up a bow. Living out in the country put me a long way from a pro shop so I had to rely mostly on myself to get the job done. Although I didn’t do a perfect job nor did I have the perfect set-up, I consistently had success killing animals. I can guarantee that not many of my bows in my early years would shoot a bullet hole through paper, but they still were very lethal with the big game.
For this aritcle, I’m setting up a a compound bow. It could be a single cam, twin cam, hybrid, cam and a half, soft, medium, hard, or no cam at all. I don’t care as this can apply to them all. Think of this as the quick & dirty down-on-the farm bow set-up process. Those of you who are experts, don’t beat me up too bad as this method has worked well for me and dozens of others. There’s the perfect way to do something then there’s the way it often has to be done due to factors we can’t control. This artilce is written with the latter in mind.
Setting Draw Length
Having a draw length that fits you is very important. Most compound bow users generally have their draw length set too long causing form and accuracy to suffer. You’ll also likely experience string slap on your bow arm. That is painful and drastically affects arrow flight, so don’t skip this step. To find your correct draw length, measure from middle finger to middle finger standing with your arms spread, palms facing forward (a buddy is super helpful for this). Take that number and divide by 2.5 to get your correct draw length. Now deduct 1/4″ to 1/2″ less in draw length to accomodate the use of the d-loop (more on that below)
Draw length adustment are made at the cam by moving the draw length modules or by replacing a cam which takes the use of a bow press.
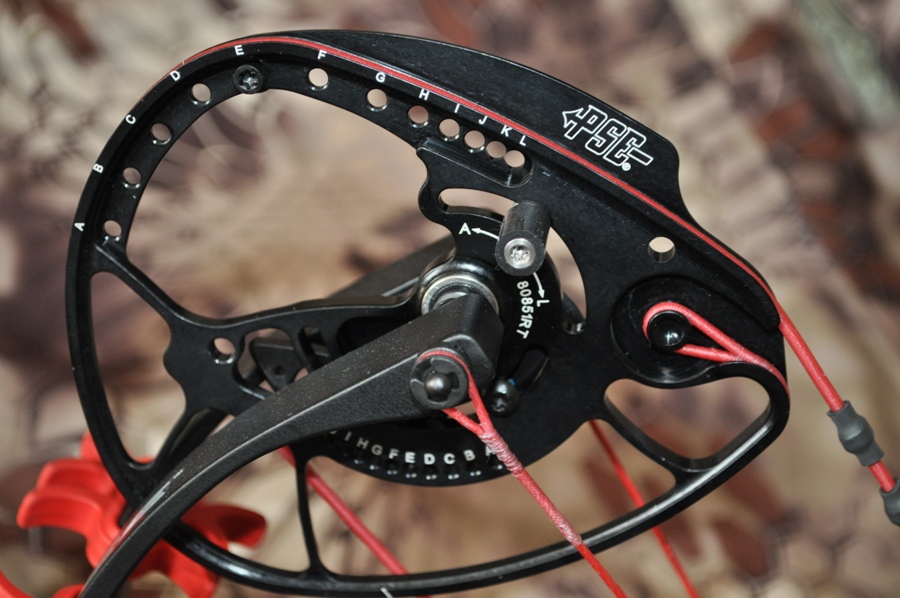
Obviously most tinkering on a bow when it comes to timing will take a bow press which not everybody has. But you can still set up your bow and have someone help you with the final tuning at another location if needed. I never used a press back in the day and I still got things done. But, it is harder to get peep sights set these days without a press of some sort. That is the toughest part. But most of the following can be done with nothing more than the simple torx or allen head set. Advanced tools can make each step much easier.

Proper Rest & Nock Set Up
For years I “eye-balled” my rest and had great luck. Only the critters I hunted would complain if they could. But let’s reference some important areas on the bow for sake of setting up the rest.
The Berger Hole is the threaded hole in the riser where the rest will attach. This is as close to the center of the riser that you can get. Just grab an allen wrench and bolt your rest on. Now nock an arrow and be sure the arrow is located as close to the center of this hole as possible. If you are installing a drop away style rest, you need to have the launcher of the rest up to be sure the arrow is in the right spot.
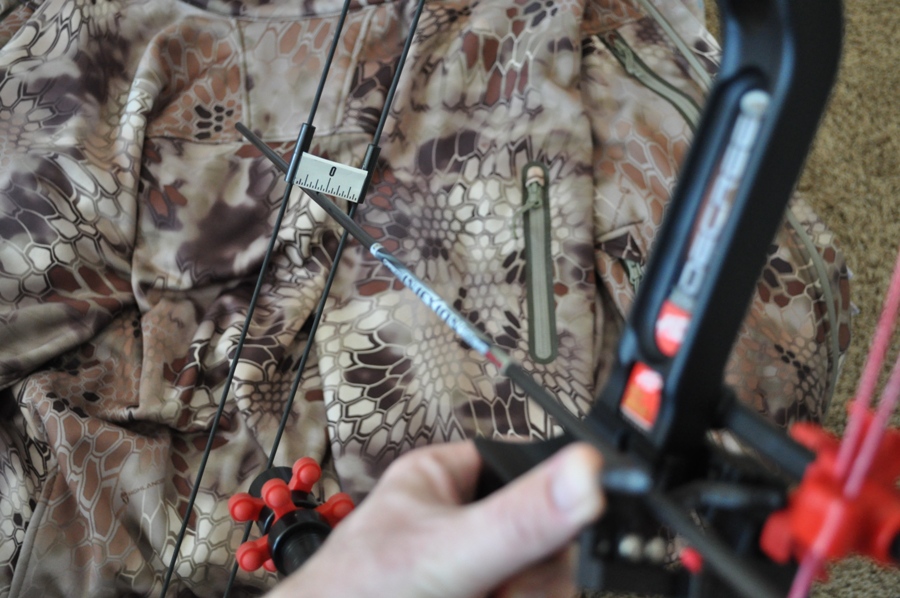
Next look at the shelf of the bow. The arrow should sit parallel to the shelf of the bow. Most bows offer a parallel shelf which makes this fairly easy to once again “eye-ball.” Once you find the spot where the arrow and shelf are parallel, that is when you can set your nocking point on the string. This will set your arrow at a 90 degree angle to the string. I recommend using an inexpensive Saunders Archery Squaring tool to get this step exactly.
A Suanders Archery Squaring Tool is a helpful inexpensive tool
If you are using a drop away rest, move your nocking point up about 1/16″. This allows for the natural rise of the arrow when you release the string. This has worked great for me when using a drop away. If using a mechanical rest you will also need to tie the rest into your string or attach it to a limb. Follow the instructions sent with the rest to help with this.
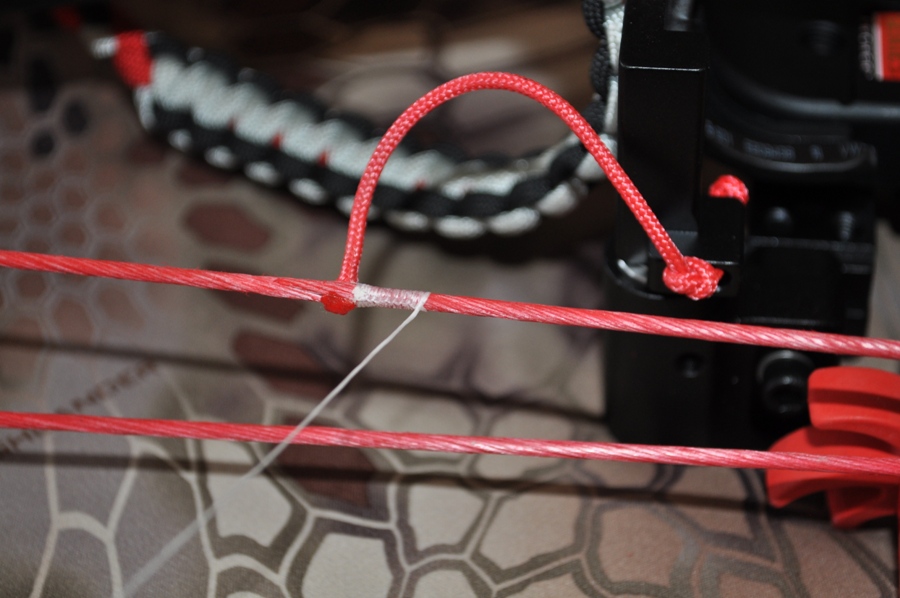
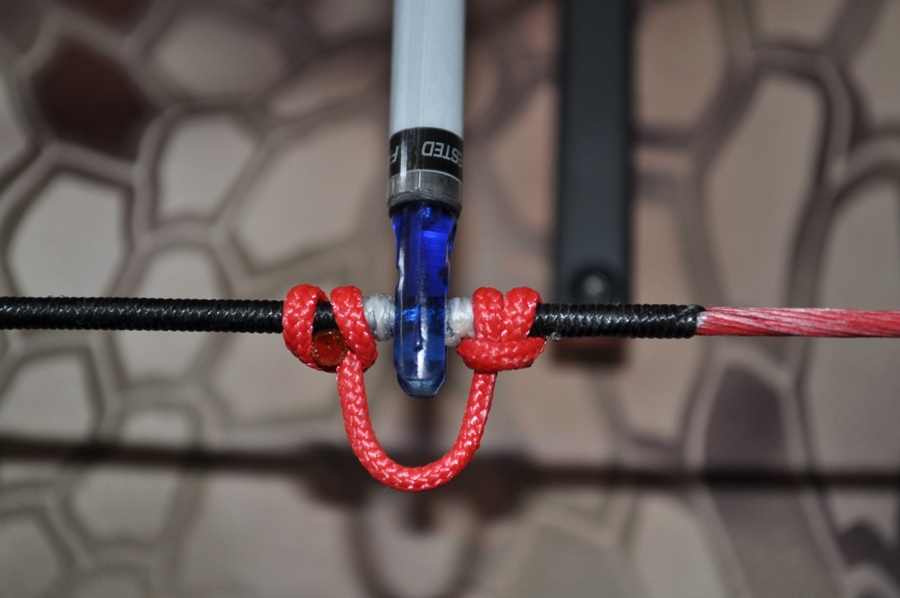
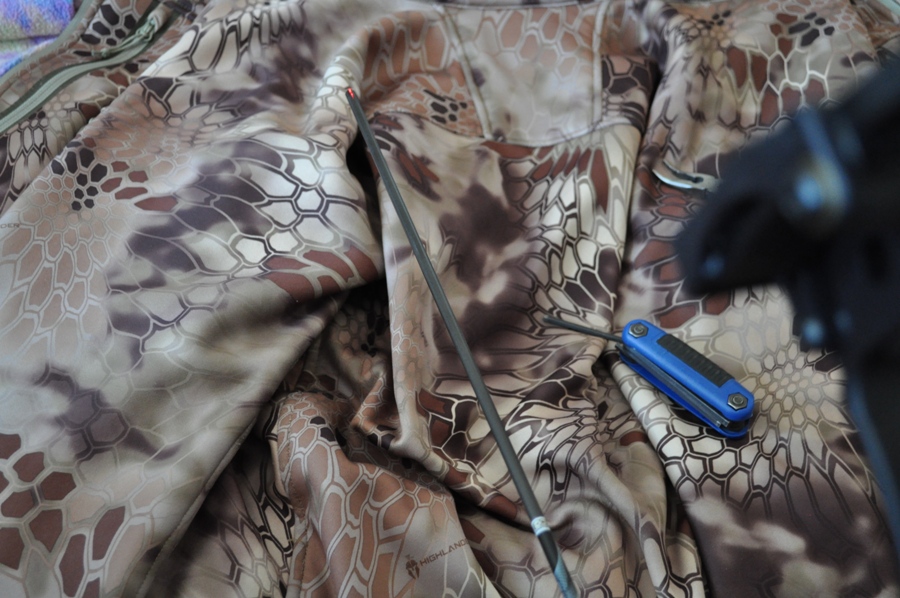
When tying the nocking point, I like to serve on both sides of my nock before installing the d-loop. This helps alleviate nock pinch and makes for a cleaner release of the arrow.
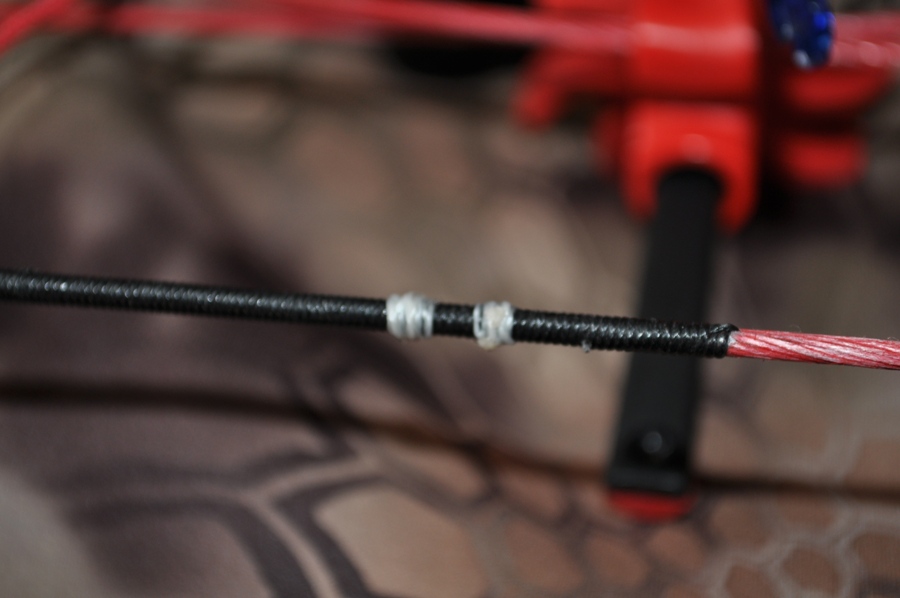
A common mistake when tying in the d-loop is making sure that each point where the d-loop attaches is coming off of opposite sides of the bow string. This does make a difference. But again I probably did it wrong for many years.

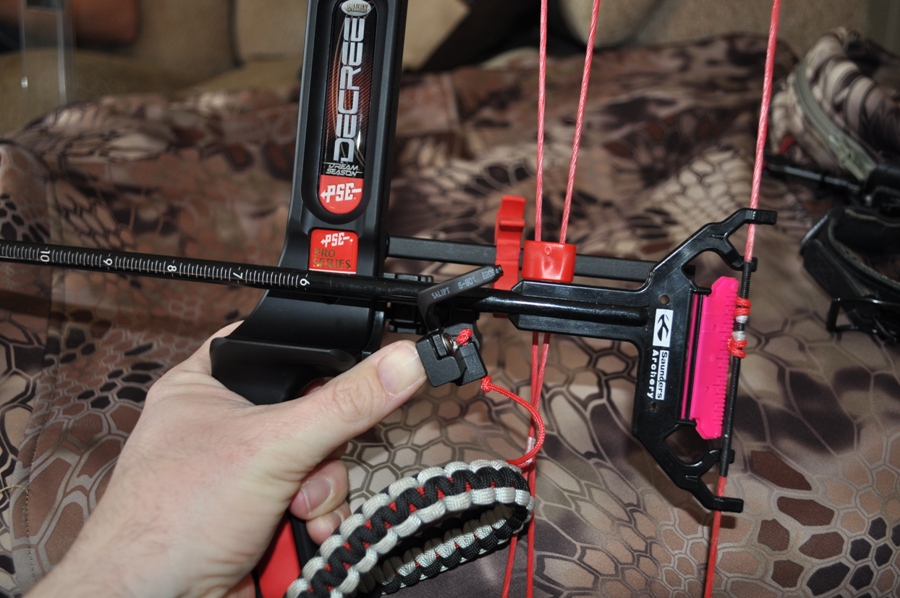
Now hold the bow with an arrow nocked and face it away from you. Look down the arrow and line the arrow up with the string. Does the arrow look to shoot to the left or right? If so, adjust the rest so it looks like it is in line and parallel to the vertical part of the riser. This will get you fairly close to center shot. This can be difficult to get the exact center shot so after a few years, I bought an EZ Center Shot Tuning Tool.
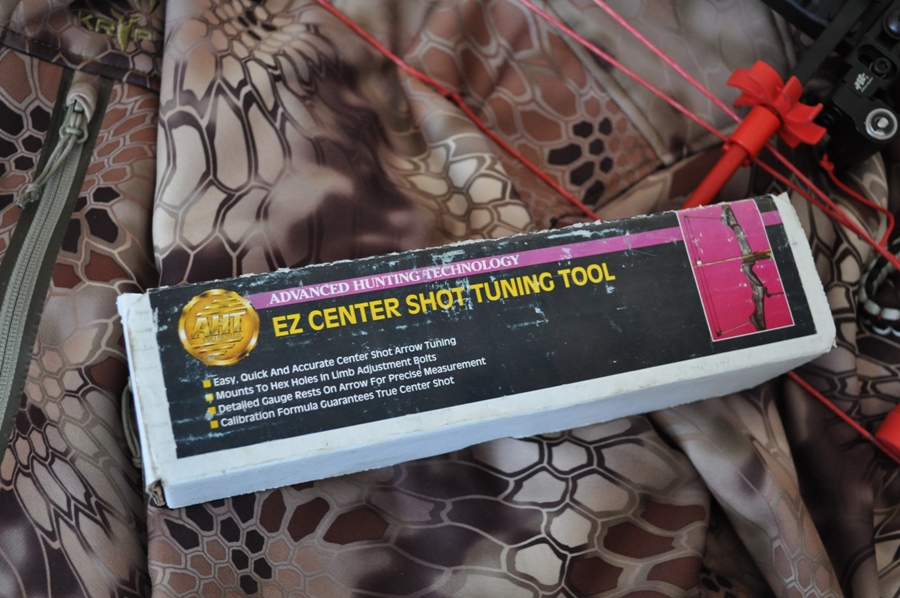
For years I used the EZ Center Shot Tuning Tool
The EZ Center Shot Tuning Tool establishes center shot by a mechanism that attaches to the limb bolts. A rubber tubing stretches between the two and a plastic slider then shows where the center between those two rubber tubings would be. This came in very handy!
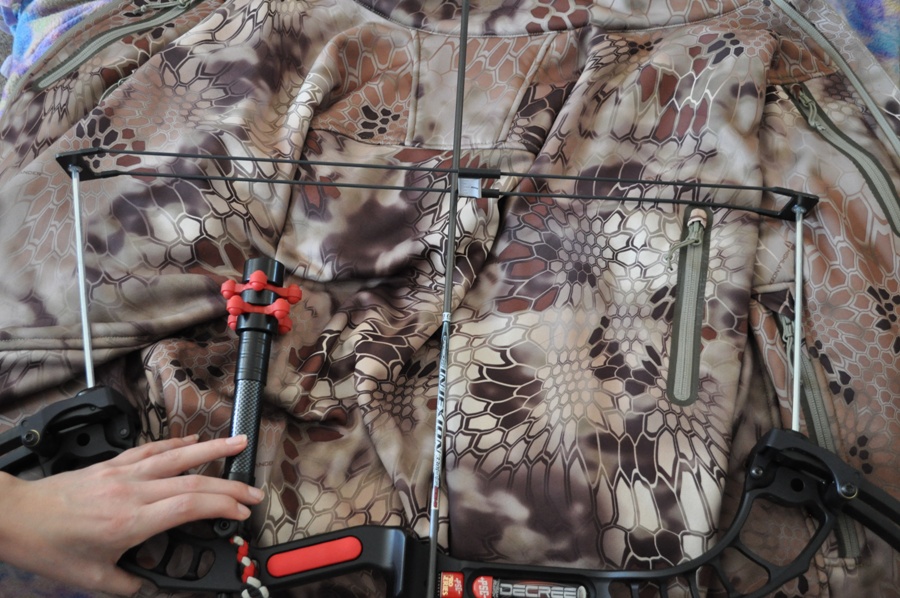
Now I use a laser tool called the the EZE-Center made by Easy-Eye Archery Products. It is easier to use that the EZ Center Shot Tuning Tool and has really spoiled me!
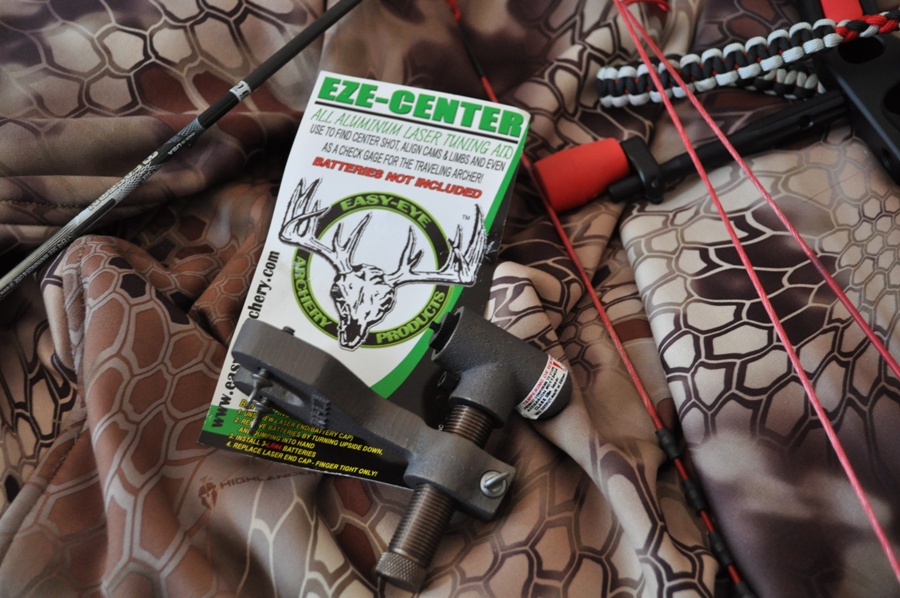
The EZE-Center tool is an aluminum laser tool that attaches to the bow riser and easily establishes center shot
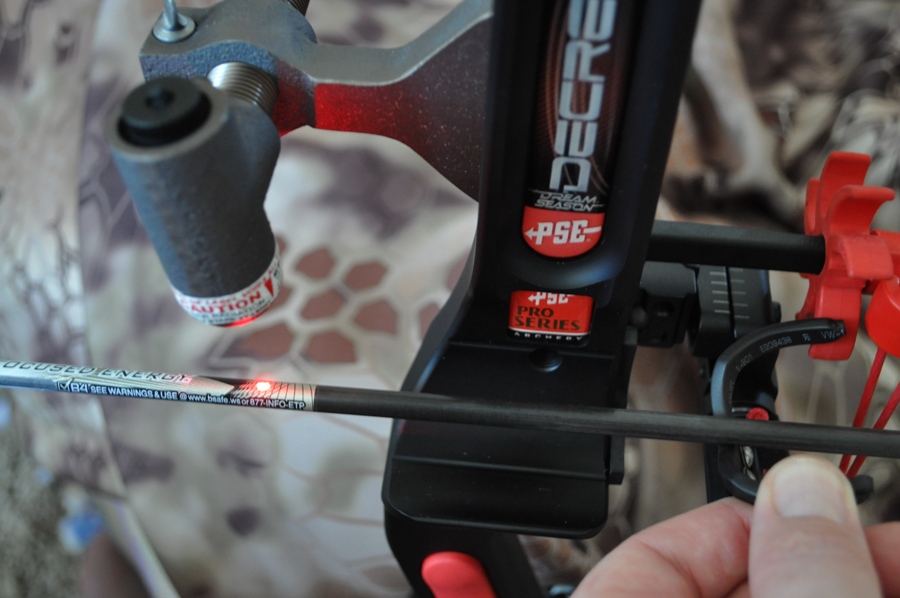
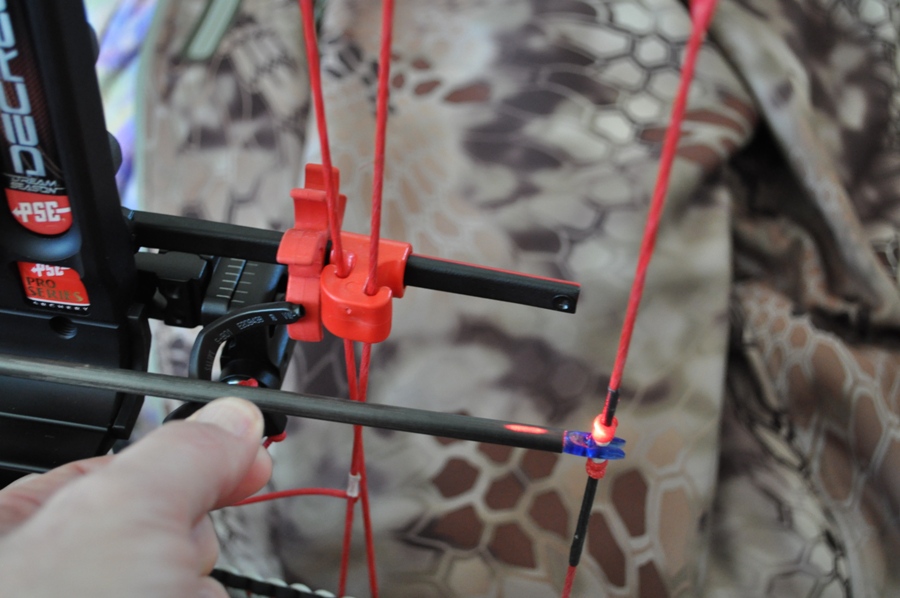
The EZE-Center is very easy to use and very accurate. It attaches to your riser where the sights normally would (sight needs to be removed) You adjust it so that the laser (red dot) travels all the way down the arrow from the tip to the end. This reveals that you have it centered perfectly.
They retail for just over $100 and are a great investment.
The sights
Moving on to the sights, there are a plethora of these on the market. Once you have decided which one you like, bolt it on! Again, if you nock an arrow, you can line the string and arrow up and look at your pins. All three should line up fairly close together. This will help you get your left/right adjustment on your sight fairly close. Each individual pin is a case-by-case basis. Once your top pin is sighted in for say, 20 yards, you can set each sequential pin up for 30, 40, 50, 60, etc.
Remember when making adjustments, chase your arrow to sight in. For example, if your arrow is impacting high, then move your pin up. If you are impacting right, then move your sight housing right.
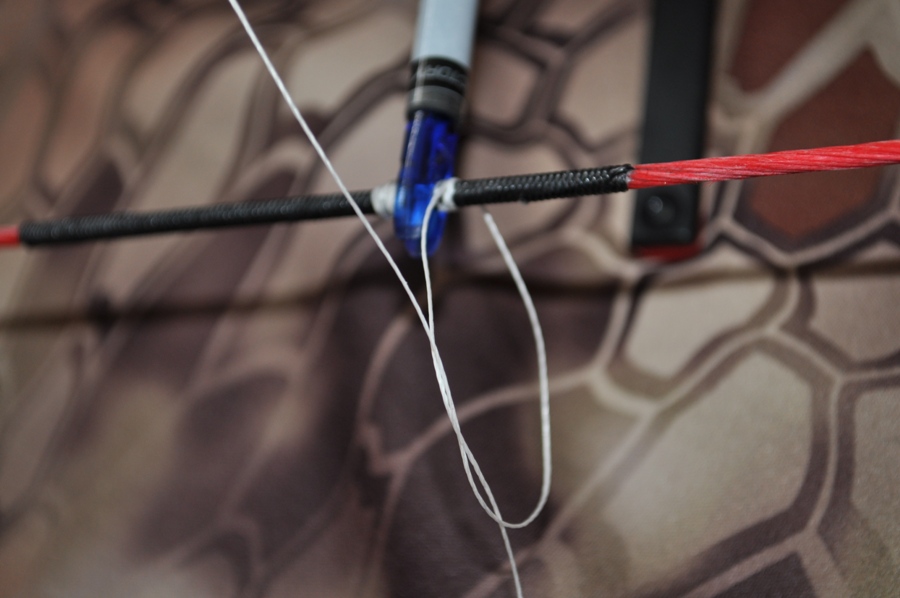
What about a peep sight? If you have no option of getting a peep sight tied into your string, you can always look into a kisser button as well. I like to marry my peep sight up to match the size of my sight housing so they fit together well. Peeps come in various sizes. I prefer 3/16″. This can be the hardest part of the bow set-up because it requires a bow press for the most part. There are tools to separate strings to install peeps but I have damaged strands of the string by doing this. Decrease poundage by turning out the limb bolts to help with this process. There are also portable cable presses that can work for this as well that are fairly inexpensive but can only work on certain bows due to limb/cam configuration. There are also various ways to tie in your peep which you can access on places like You Tube. I prefer this tie to others I have used.
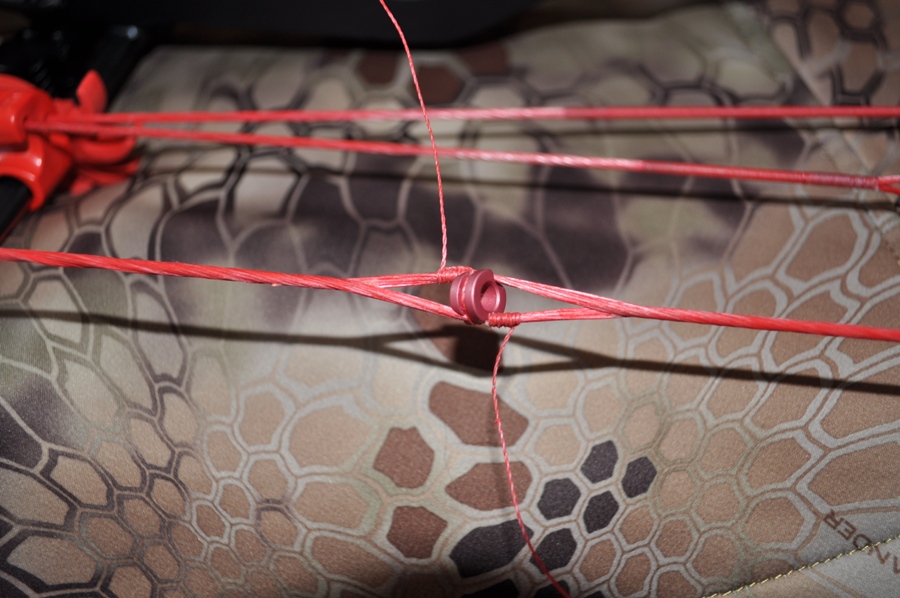

Finding the location to tie the peep sight into the string should be where the peep naturally lines up with your eye while at full draw.
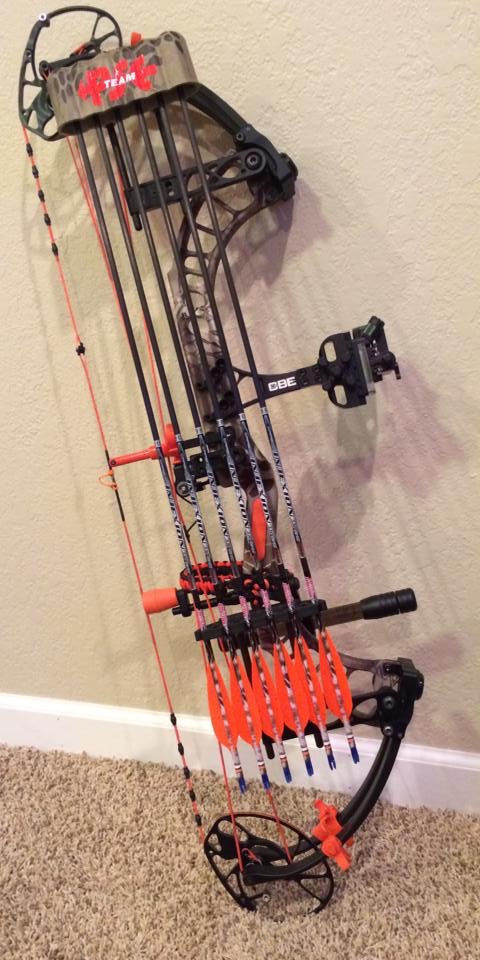
Those are the first few important aspects of setting up a bow. The other accessories such as a stabilizer, quiver, wrist sling, arrows, fletching, etc. are other options. The stabilizer can be trial and error to find out what feels best for your set-up. A one piece or two piece quiver each have their applications. Overall it comes down to your individual preferences.
Now remember, this article is a quick set-up process that anybody can do. It isn’t very technical or in the weeds as bow set-up and tuning can get. But it will supply you with an additional hobby that is very rewarding and it will also keep some extra money in your pocket as you shouldn’t need your local pro shop do all of your work.
As you take the step to do this process yourself, you will begin to learn better and new ways to do things. We are all individuals and we each have a way of doing things. If nothing else, this article will just help you to get started doing the work on your own rig and to give you a little additional enjoyment in the sport we all love so much. By using these steps I can normally set up a bow with simple tools and get it to shoot very well and often bullet holes most times depending on the bow. As time goes by, you can purchase tools that will make bow set-up easier and more accurate. Items include a bow press, squaring device, center shot tool, serving jig, scale, and other items. I can promise that you’ll become a better archer by learning how to set up a bow.
You can discuss this article are ask the author questions here


